
We bought this low…what would you call this piece of furniture? Shelf thing? With hinged cabinets?…when we lived in San Diego. Our cute little house down there had the cable installed under the stairs, so the TV had to go in a weird alcove thing. Since that house we’ve been using this in our front room as a place to shove all of Atti’s toys when people come over. In this house Atti’s bedroom has a built in window bench that needed a cushion, I decided to make another one while I was at it to repurpose this storage piece as a bench.
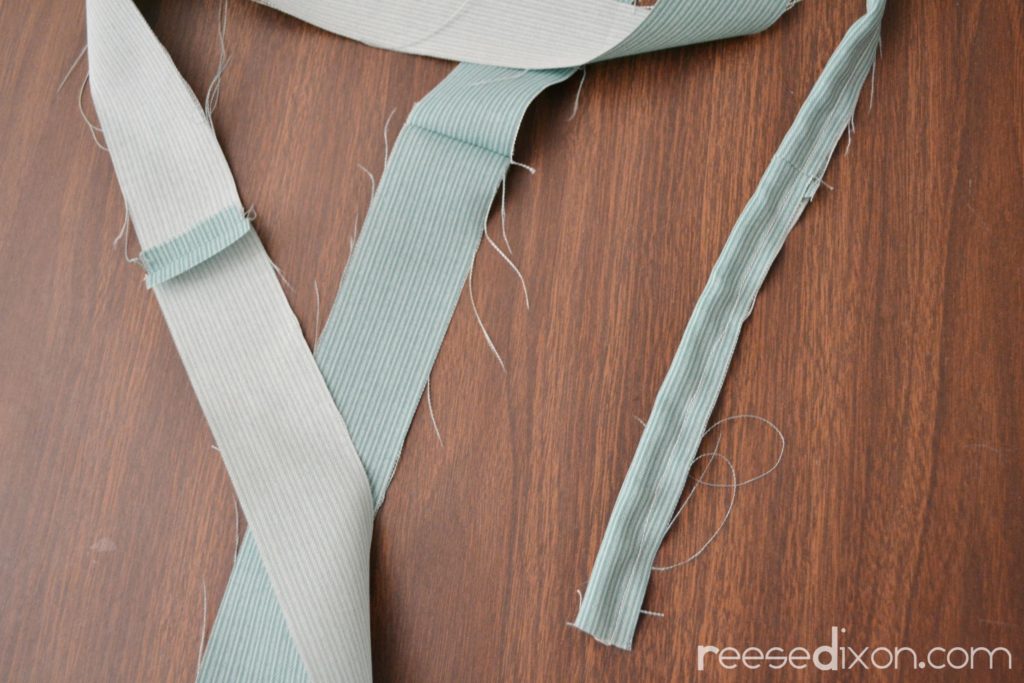
The pieces for this project are super easy to cut, even if it is a custom job. Measure the space you want your bench and that’s the size your foam will be. I got mine at Joann’s and had them cut it to size for me, but there’s a million places online you can order it too. Take the size of your foam and add a 1/2 inch for a seam allowance on each side. Then cut two pieces of fabric out to that length and width. Measure the height of your foam, add another inch for a seam allowance on both sides, and cut out enough strips so that when you sew them together they’ll go around the whole perimeter of your foam. Then sew them all together.
If you want to make piping to go around the edge of your cushion, you’ll need to cut a whole bunch of strips for that too. I cut 2″ wide strips. That gave me room to wrap around the cording and still have plenty of seam allowance. Sew all those strips together to make one super long strip, and then do it again so you have one for the top and bottom of your cushion.
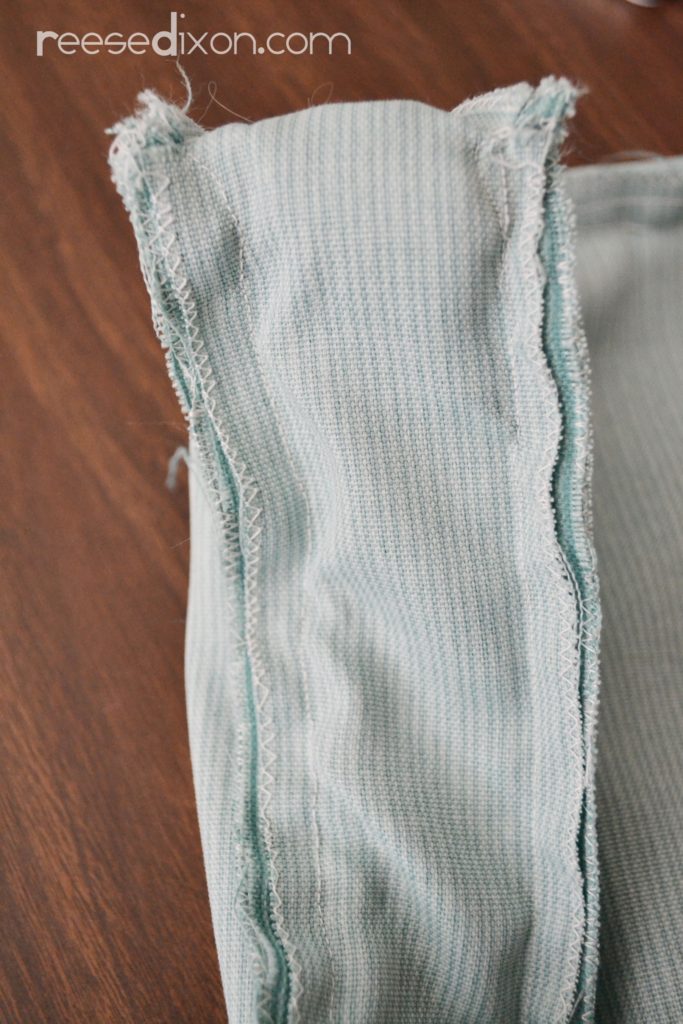
In the picture above you can see where I began to make my piping. Wrap your 2″ strip around a piece of cording. Using a zipper foot, because otherwise it would be too thick to get through your machine, sew the piping shut, making your seam land well inside what will be your seam allowance. You don’t want this preliminary sewing to show in your finished piece, so I sewed it at 1/4″ seam allowance. It will tighten up when you do your final seam.
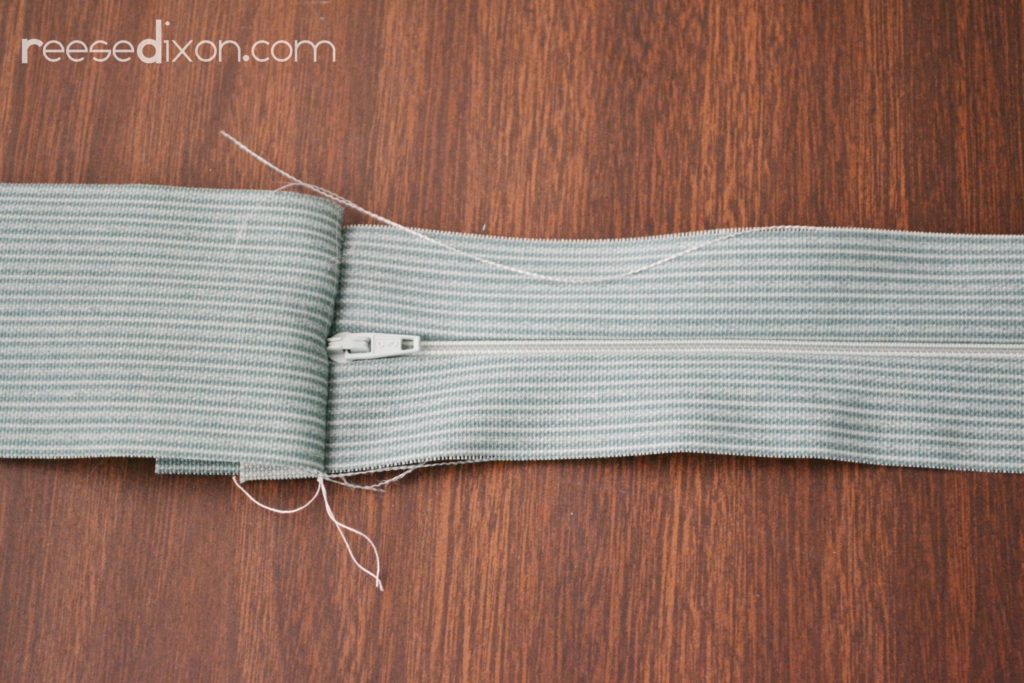
Speaking of a zipper foot, we can’t forget a way to get the cover on and off our cushion, which means a zipper. Adding a zipper means two more seams, so you need to allow enough width for a second seam allowance. I cut a piece of my fabric the length of my zipper and another inch wider than the fabric I cut for the rest of the side panel, and then cut it down the middle. Your zipper will have installation instructions, so follow the advice of your packaging to sew it in place. With the side pieces sewn on, sew your zipper piece to the end of the strips for the side wall.
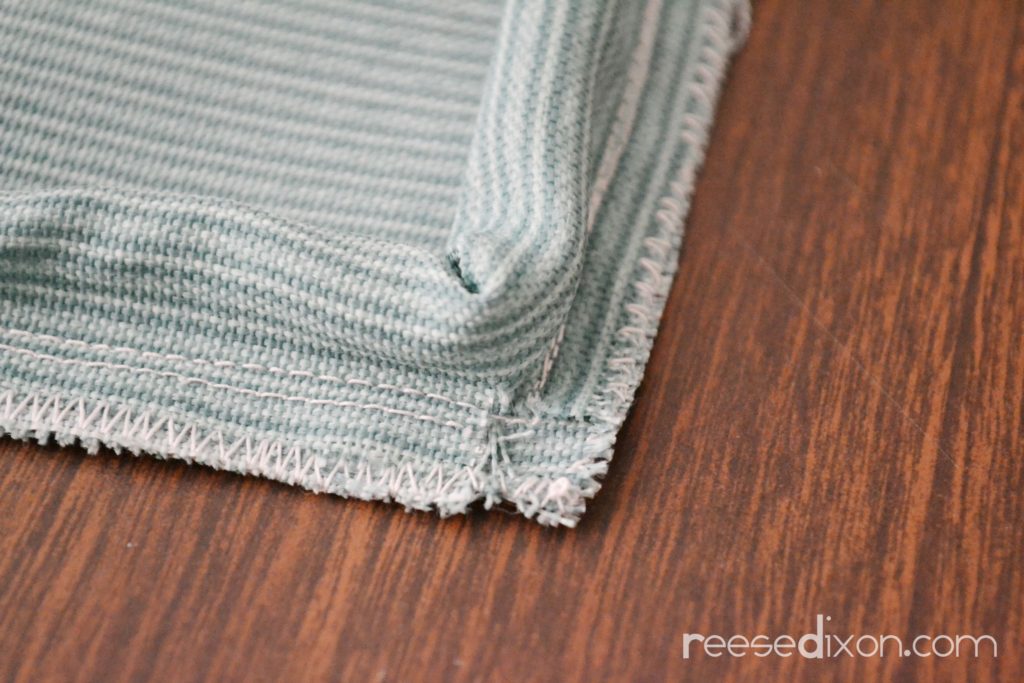
You can sew your piping on at the same time that you sew on the side pieces, but if you take and extra step everything will look so much cleaner. Pin the piping all the way around your top piece, and when you get to the corners snip into the seam allowance to give you the room to make a turn. This will give you a nice sharp corner instead of a rounded corner. When you get back to where you began, cut the cording so that it butts up against the other end and wrap the fabric around both pieces, folding the end of the fabric over on itself so you get a finished folded edge on the outside. Sew in place, again using a 1/4″ seam allowance to hide the stitches. I also used a zig zag stitch to finish the edges since this particular fabric was fraying like it was its job.
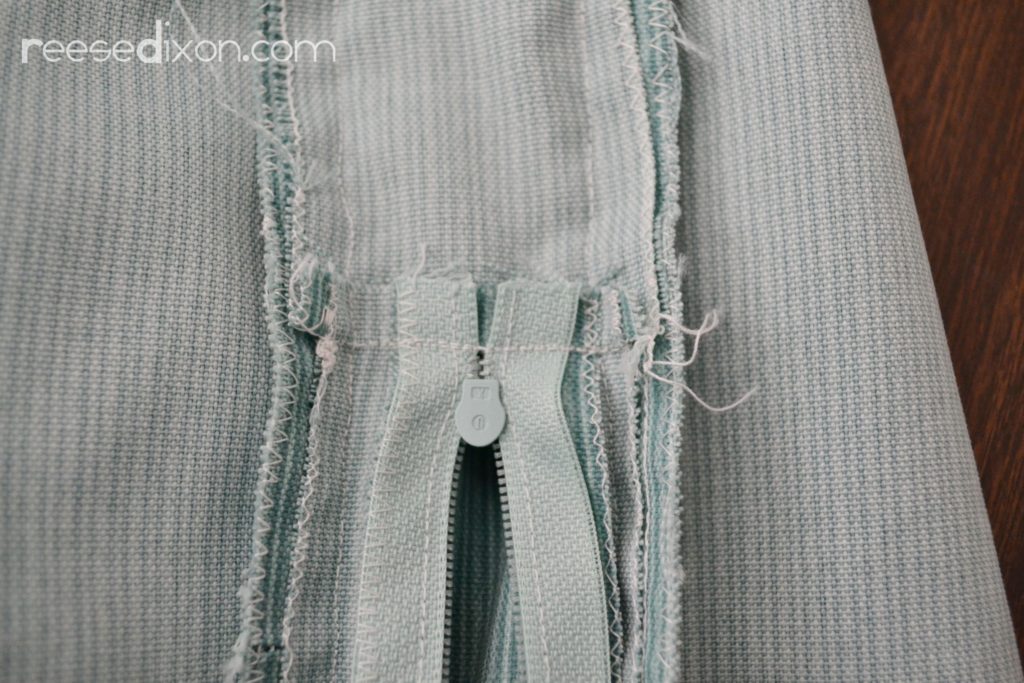
Pin the side wall piece to the top piece all the way around, snipping the corners just as you did for the piping. When you meet back up with where you began, pin one end to the other where the zipper ends and sew to join up the side wall pieces. Repin to the top piece and sew all the way around.
Repeat with the bottom piece, but before you sew it in place remember to open the zipper. You don’t want to sew your beautiful cushion cover all the way shut and have it stuck wrong side out. When the whole thing is sewn together, turn it right side out and wrestle it onto your foam piece.
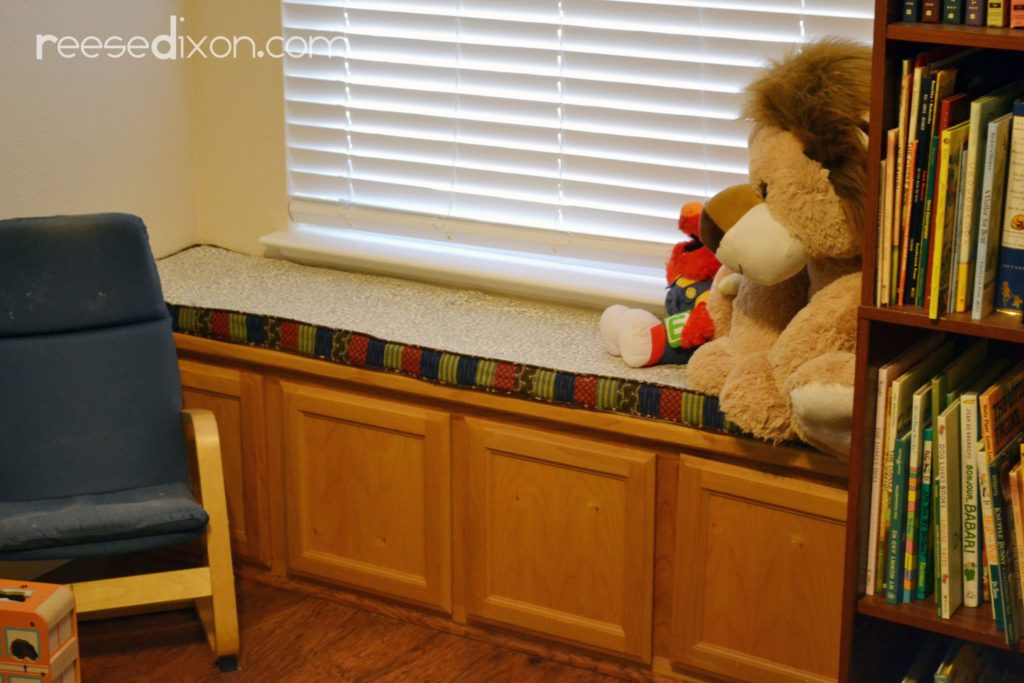
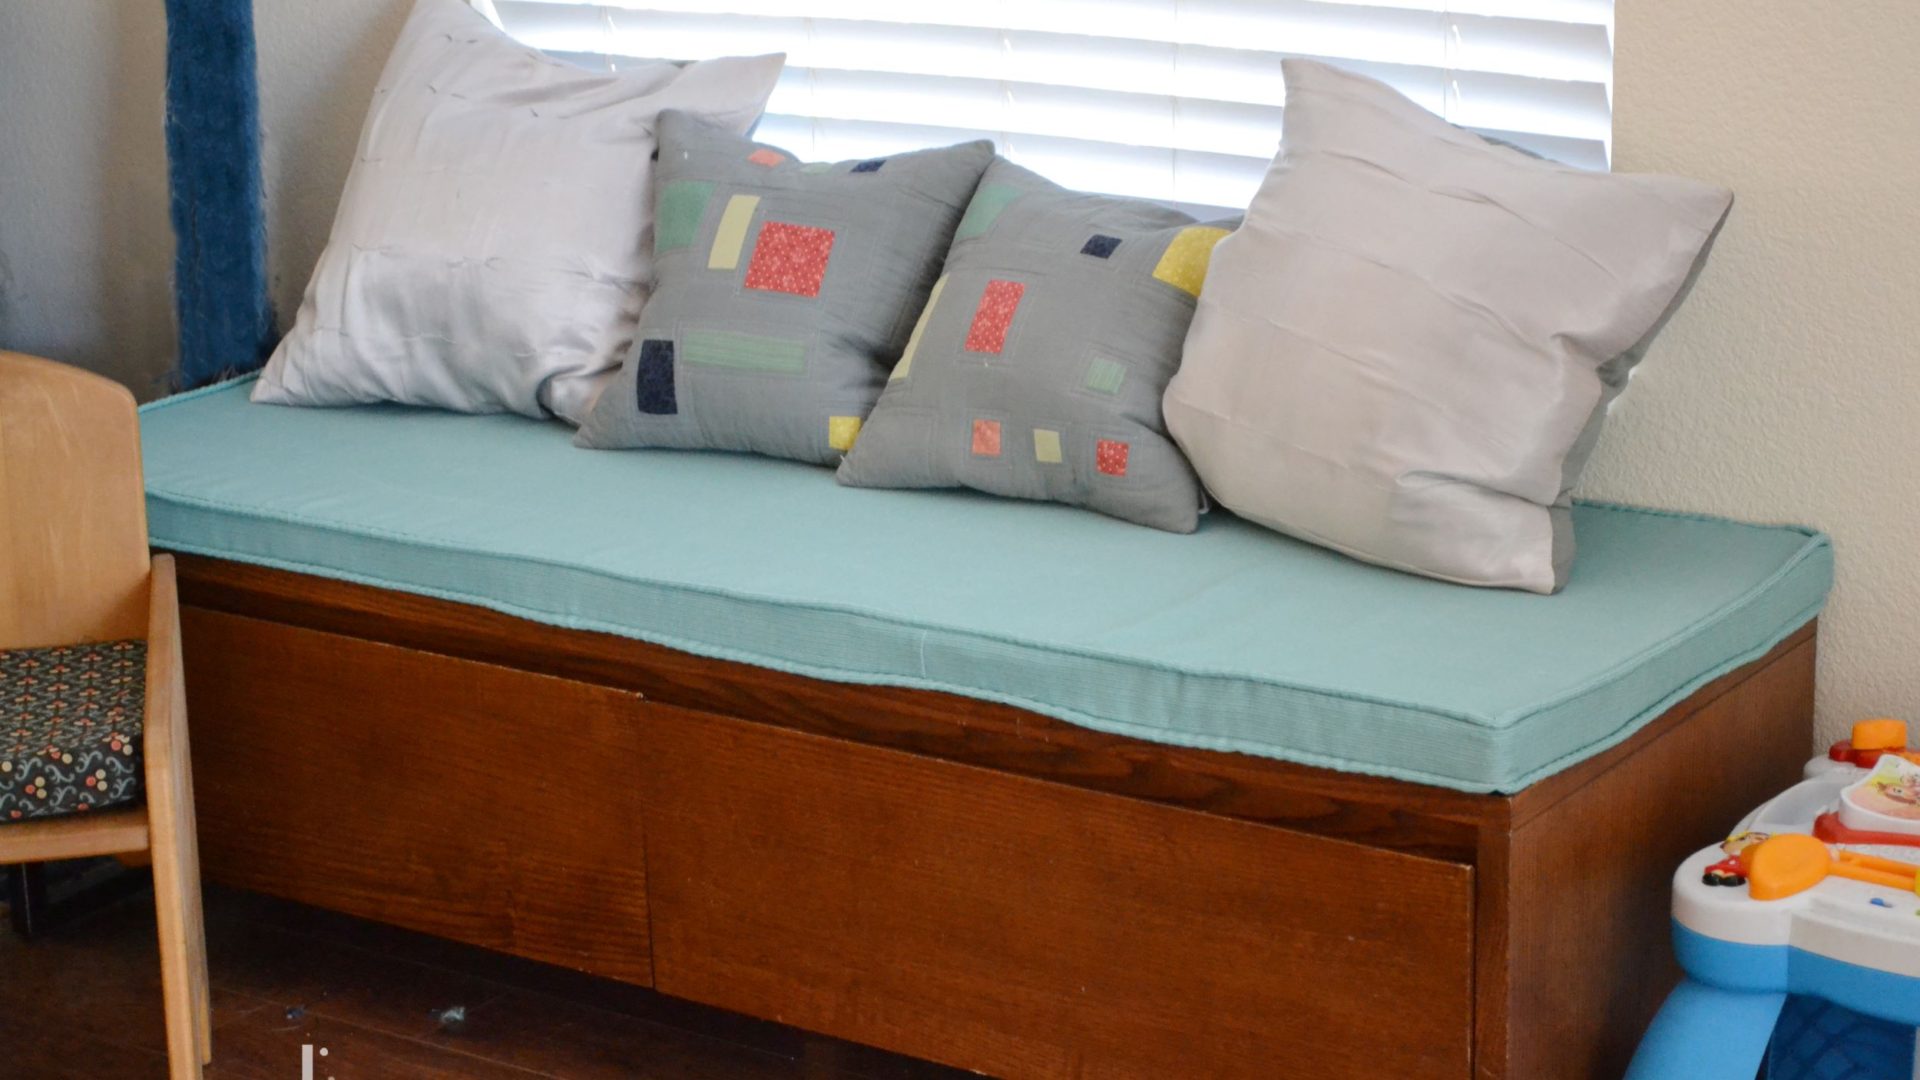
Not only do these cushions instantly create more seating, but they’re also a great way to update a room and inject a little color into the space. Plus, Atti is loving having a mattress he can pull onto the floor and play on.
Be sure and subscribe to the channel for DIY walkthroughs and lots of great Atti videos!



So, does that cushions really safety? Actually from the children?
i would love to making new things and work for recover home decorating things for mine and people who like to do this. you are sharing here such a good idea for the common people to recover their sofa and make some new cushion covers for them. it would be my pleasure to read this blog again.
Thank you for your tutorial! I have been agonizing over how to sew this cover for my foam cushion. I re-purposed an old coffee table to a bench to use at the foot of our bed. Now, I feel much more confident I CAN do this. Thank you again!