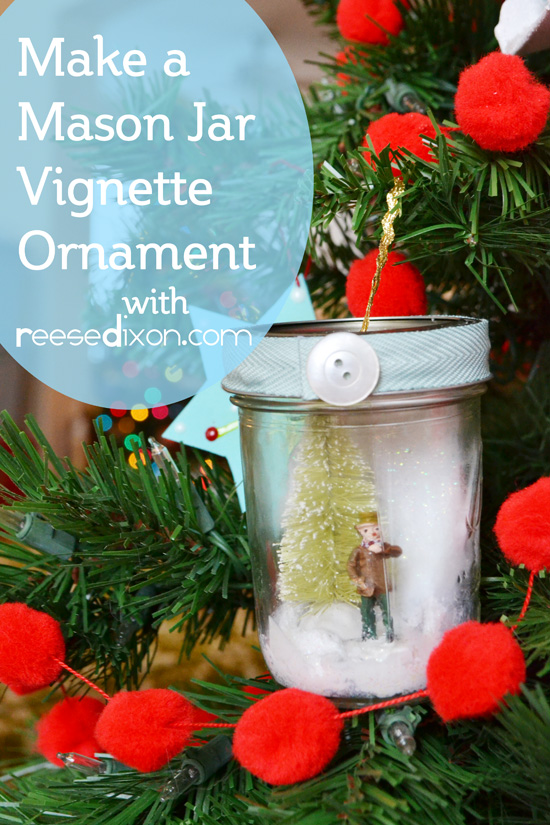
It just occurred to me how many different versions of dioramas I’m doing on this tree. The santa shadowbox, the holiday shadowbox, and now today’s Mason Jar Vignette. What can I say, it’s a trend. This will be my last of the dioramas and once we get all the ornaments on the tree it won’t look like a 4th grade classroom full of Christmas book reports.
This is also the last in my series of being inspired by department stores and knocking them off at home ornaments. The idea for this one started with the ornament I saw EVERYWHERE this year. A glass dome enclosing a winter scene with glittery scalloped paper at the bottom. Somebody must have been a great salesperson at a Christmas trade show because I saw that ornament everywhere from Michael’s to Crate and Barrel, to the little shop on the boardwalk. And then I saw the knock off versions from one end of pinterest to the other. But as much as I want to be too cool to follow the trends, I couldn’t help myself either. It’s just so pretty.
But I could at least keep my pride in tact by making it my own style and by using materials that would fit with my throwback theme.

The first thing you need is a mason jar with a lid and a band. I like the Kerr pint jelly jars. They’re small enough to not weigh to much, and they don’t have a lot of decoration to get in the way of your view. Some of the mason jars you buy at craft stores are trying so hard to look like kitschy mason jars there’s no unobstructed glass left. Make sure you use something you can actually see through.
Then you’ll need some quilt batting or stuffing to make your snowy landscape, and some bottle brush trees or mini figurines or needle felted animals or clay snowmen or whatever you want to make your winter scene look like. I found all my figurines at a thrift store. Even the dollar store might be a good place to look. When you’ve got all this great stuff surrounding it your miniatures don’t need to be that special.
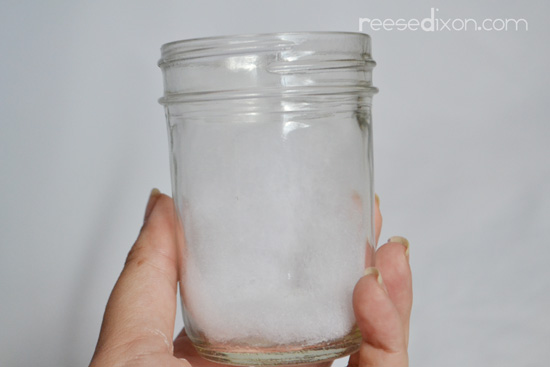
Put a puddle of hot glue along the bottom of the jar and gently tap in some quilt batting. Add enough batting so that the bottom of the jar is covered and it extends up the back to create a winter backdrop for your scene.
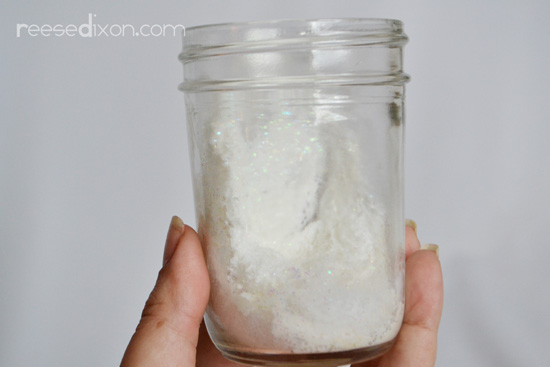
Paint a glitter decoupage glue all over the quilt batting, being sure to use the glue to stick the batting to the sides and back of the jar and along the bottom to make a firm foundation for your figurines.
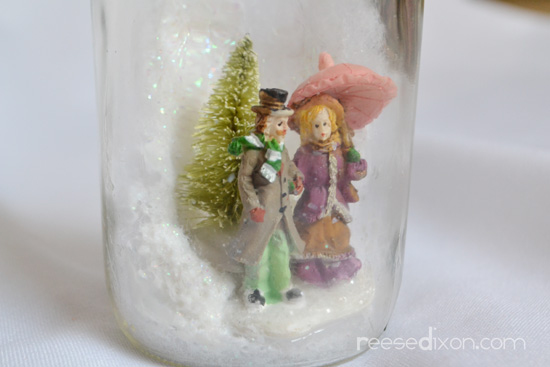
When the decoupage glue is dry, add the rest of the elements of your scene with some hot glue.
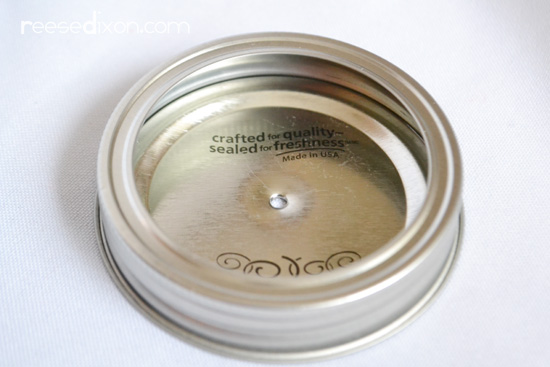
Get the band and lid to top off your jar, and drill a hole through the lid.
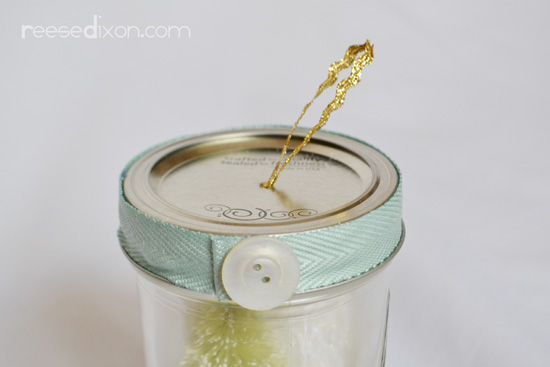
Thread a loop of ribbon through the hole you made, screw on the lid and band, and then decorate the band with some grosgrain ribbon and a button.
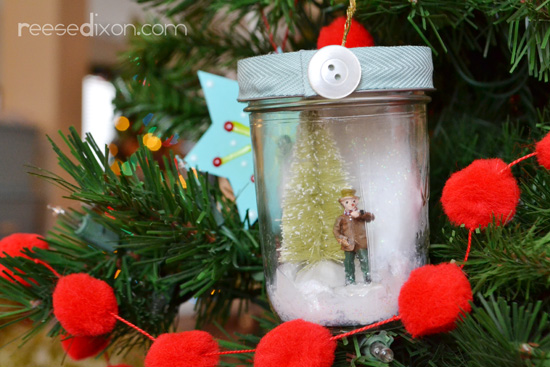
Without the sparkly paper and the elegant dome of the original inspiration ornament these definitely aren’t as fancy. But I think they are a whole lot more homey, and certainly more appropriate for a vintage tree. Plus, kind of the perfect marriage between two decor trends. What’s more pinterest-nip than the cloche ornament?? A MASON JAR CLOCHE ORNAMENT!



I can only say that besides being great to be able to do something so beautiful, the end result is fantastic. It is a spectacle of imagination Verdera. Congratulations and thank you very much for sharing it with us.
Hello admin,
How are you? Hope you are well. You blog is full of informative.Thanks for sharing.You must have a decent pair of fabric scissors. These need to be sharp and have long blades but you may have some household scissors that fit that description. That's fine. Just keep them separate and don't let anyone use them for cutting paper or anything else that will blunt them too quickly.For more tips visit-quilting equipment
Thanks
Shamim