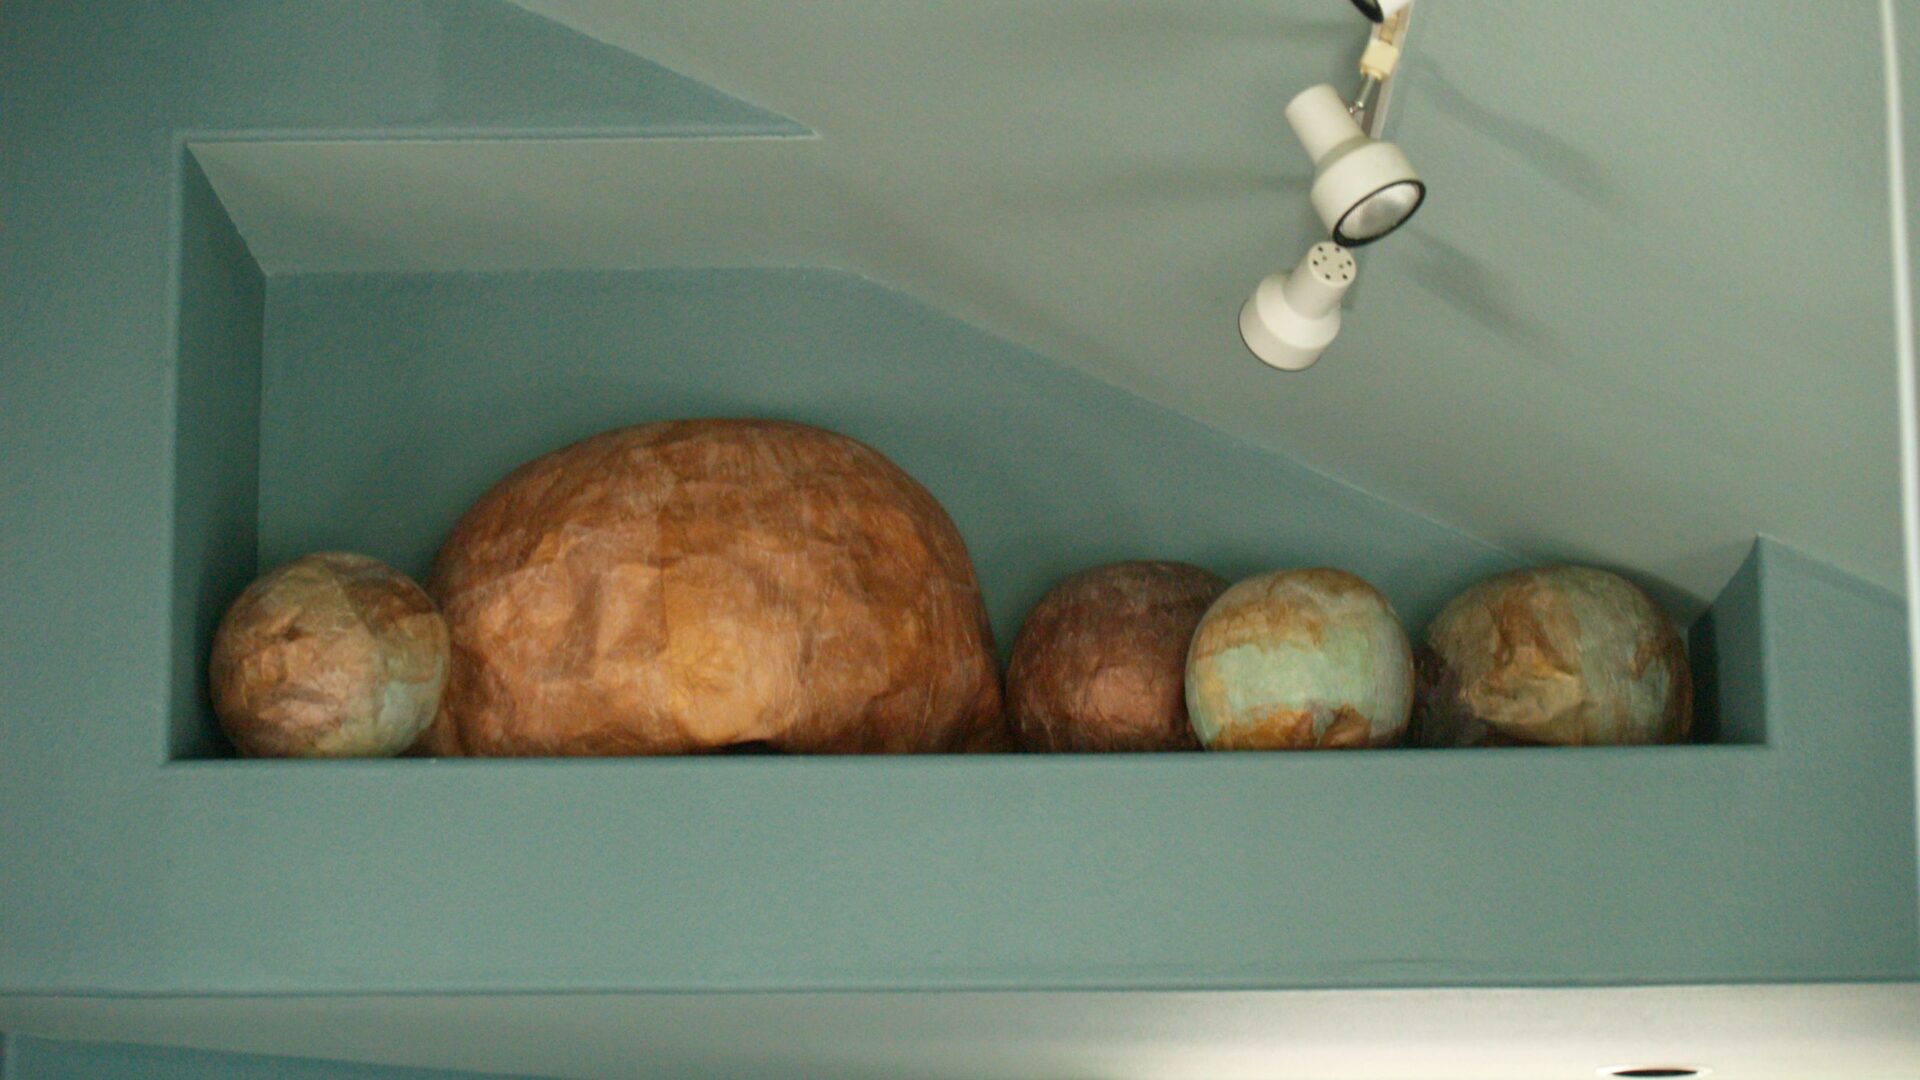
Like most homes in the west built past 1980, my house is filled with all kinds of random niches. These thing just plague homes I’ve seen through California and Utah, I don’t have too much experience with new homes outside those two states, but within my experience I can’t tell you how many people I know struggling to find something to fill the big random hole cut into their wall.
For the past two years I’ve been looking at a collection of vases and other tchotchkes, but my problem was always scale. At it’s tallest point this niche is four feet high. A vase that big is going to run me $100 easy, and that’s just for one. Since this isn’t the house we plan on staying in forever, the thought of moving in a few years and being stuck with $500 worth of 4 ft tall vases was really unappealing to me. But so was a big fat empty cubby hole in my wall.
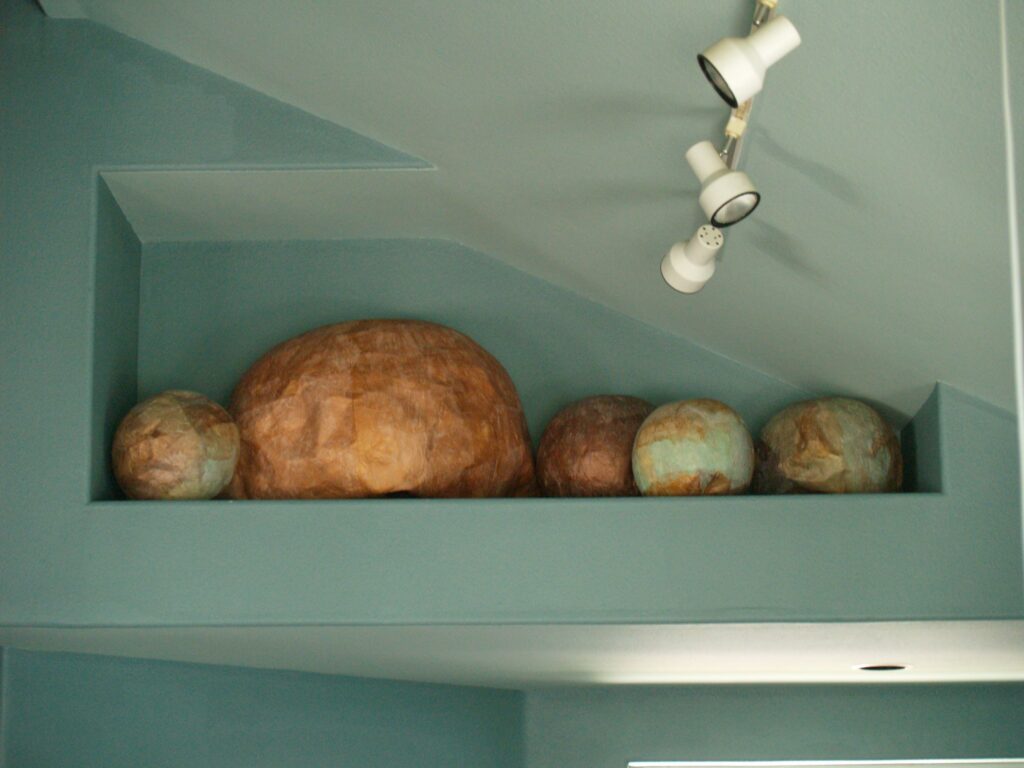
I’m always inspired by solving a problem, but I have no idea where the impetus for this project began. I hadn’t seen anything that looked like this, it just seemed to pop into my head randomly one day as a way I could fill a huge space for pennies, and then throw it away in a few years without losing sleep.
Here’s what I did.
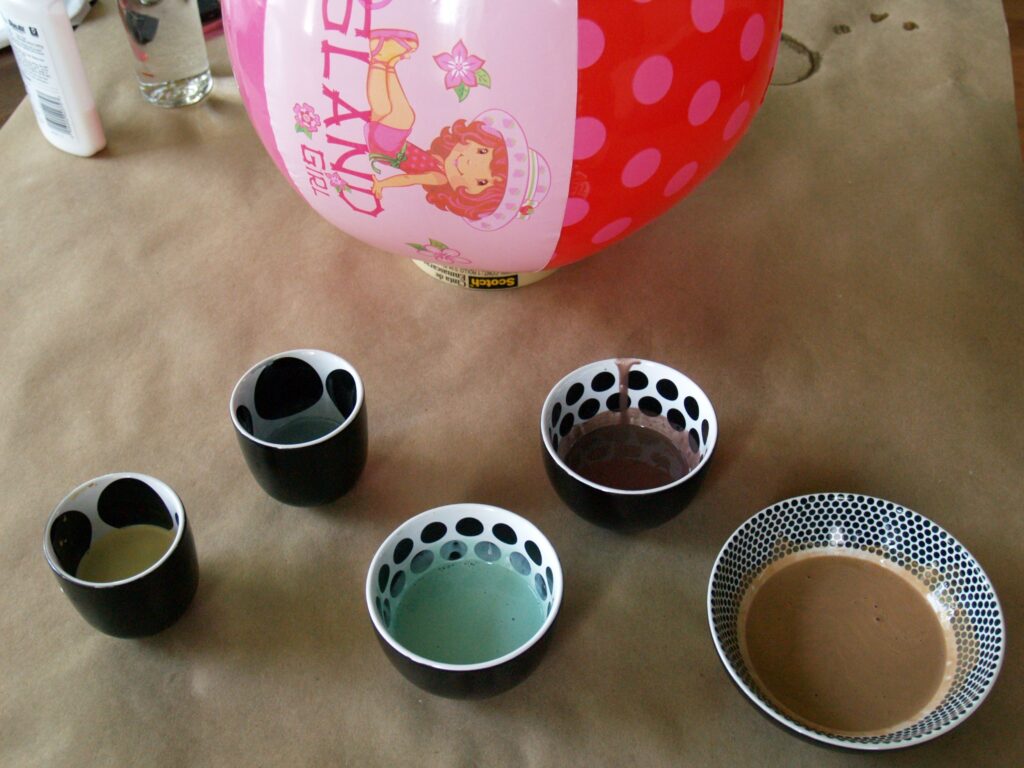
You’ll need to get a mold. You could use a balloon, but I was going for big here, so I used beach balls. For my paste I mixed together 1 part acrylic paint, 2 parts glue, and 3 parts water. You can add more paint to get the color you want, but don’t water the mix down too much. You want the whole mix to be about the consistency of acrylic craft paint.
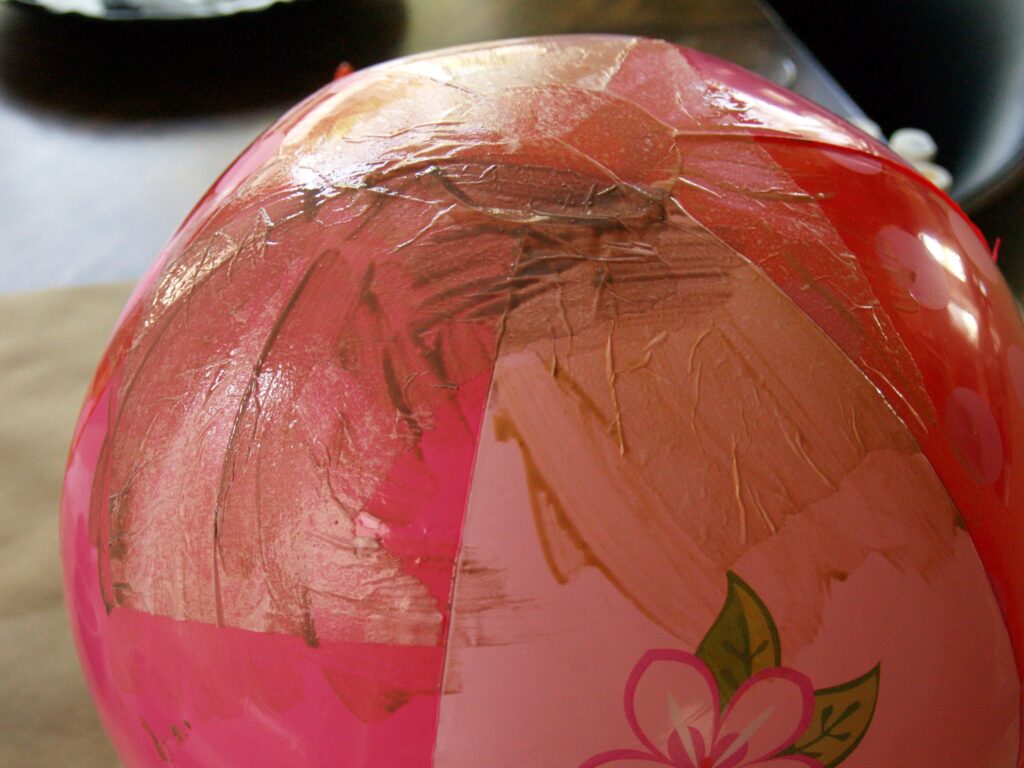
Rip white tissue paper into chunks, and then paint the chunks onto the ball with your paste mixture. The bigger the chunks you use, the more crinkles you’ll end up with, so if you’re going for smooth then use tiny pieces.
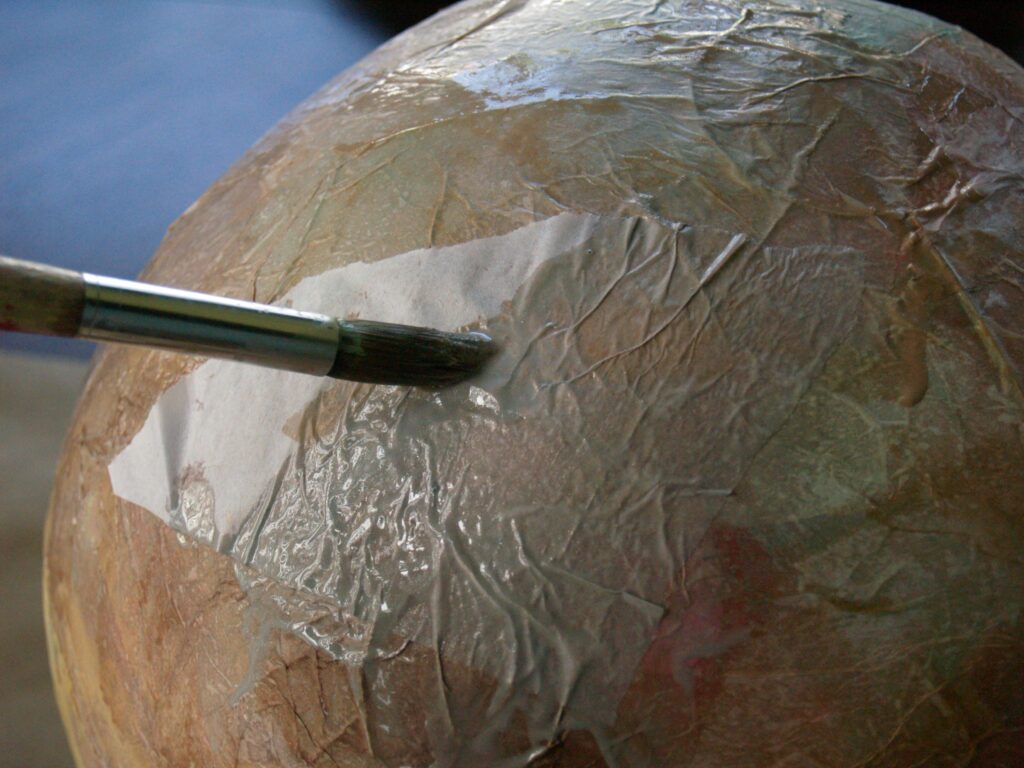
To get that aged mottled look, I painted each piece of tissue paper on with a different color of paste mixture. I used all metallic colors, and then a green to add a little of that copper like patina effect. Let each layer dry before applying the next one. You’ll need at least four layers for it to be strong, but you could also do as many as six.
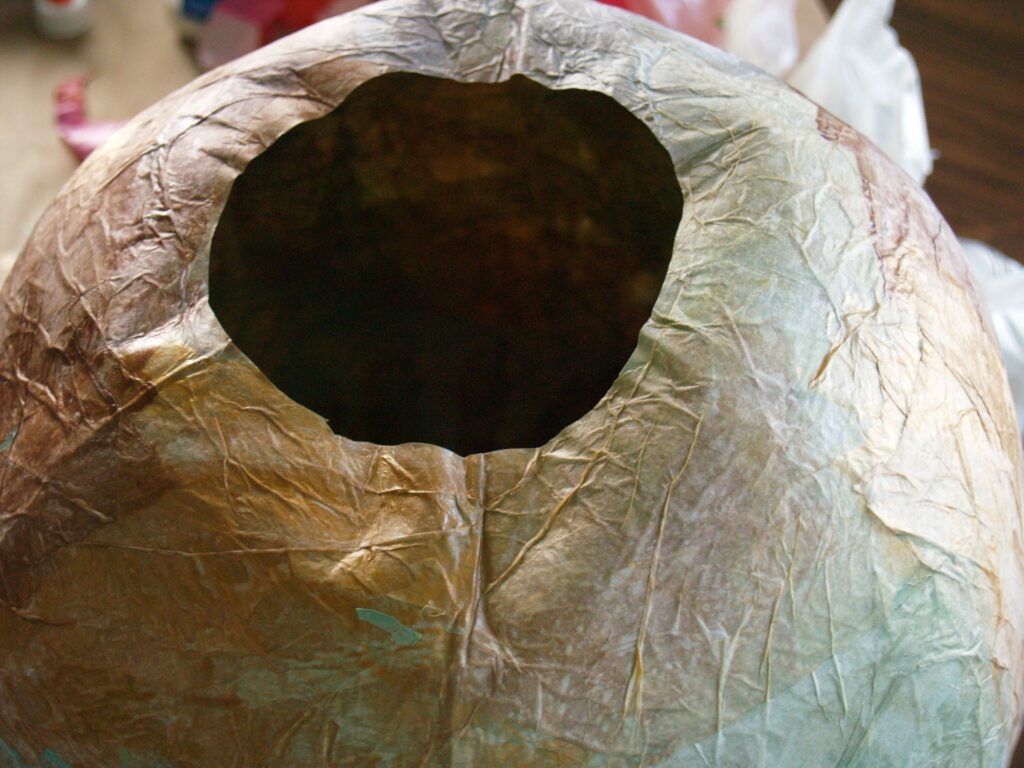
After you’ve applied your last layer, let the ball dry overnight. You could try just letting the air out of your beachball, but I ended up having to cut it out each time. Then trim up your opening so it’s nice and neat.
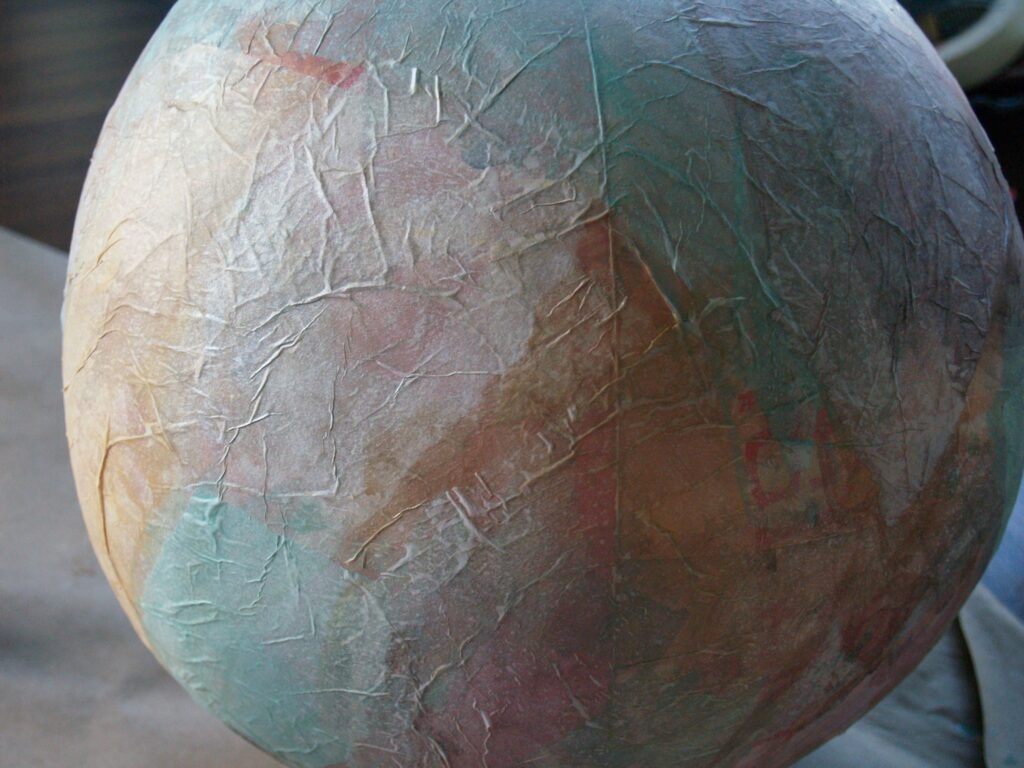
I have to admit, I took some shortcuts that cost me a ton of grief. Don’t skimp out on those layers, especially the bigger you go. After doing so many of these and having my whole dining room table covered for weeks, I just reached a point where I couldn’t take it anymore and called it done. I think I was able to rig it together enough to satisfy me, and I ended up digging those dents (I think it makes it look more like metal than paper mache, since these things are never seen closer than 15 feet away), but I think I would have been happier if I’d just done it right the first time.
If you don’t happen to have random holes to fill around your house, you could use this technique for making pinatas, lampshades, or for the really really cool project I’ll show you on Monday. It’s a doozy, and perfect for summer.

Very creative…and cool looking!
Oh my gosh!!! I just found your blog and love the idea of the paper mache balls to fill your niche.
Gotta love a decorating idea that we all can afford! Thanks for sharing!