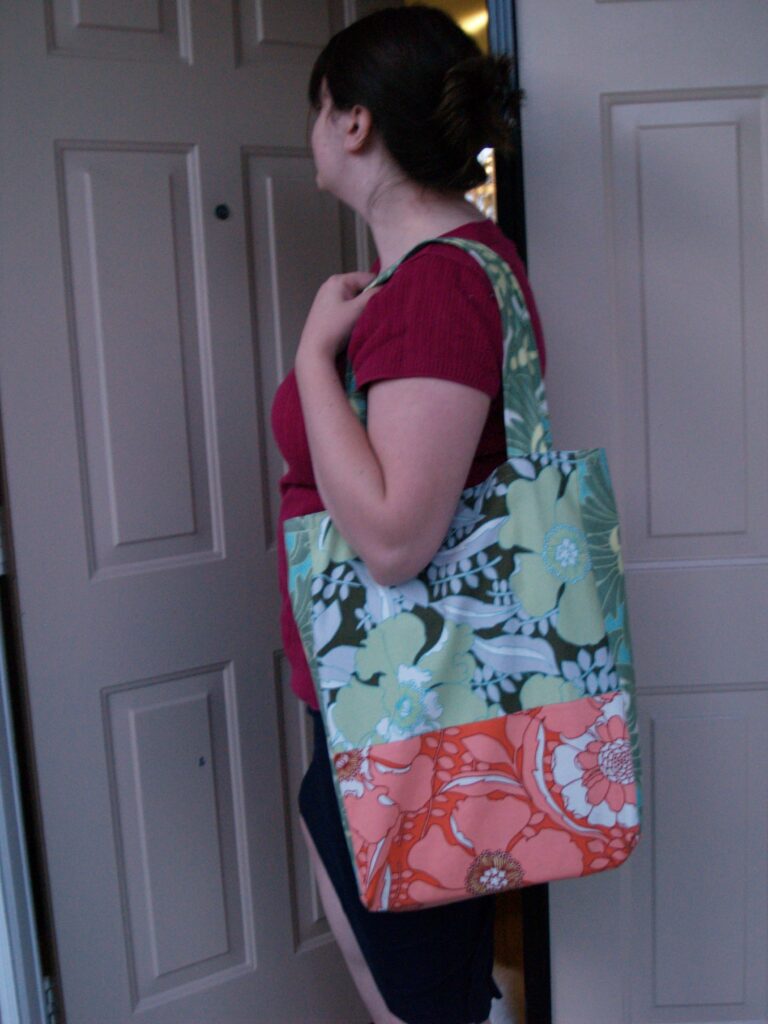
I have to carry a ton of stuff back and forth to all my Young Women meetings. Along with my regular set of scriptures, I carry a big binder with all my planning information in it, plus my own set of keys because Bear and I usually have to drive separately now, my cell phone I can suddenly never be without, and then before I leave I often have clipboards with new assignments, handouts, all manner of stuff that’s way too much for a set of arms that are already holding a toddler and diaper bag.
But trying to gather stuff together every time I had a meeting was no good either, so I decided I needed to have a designated church bag.
This bag started with the pattern for tote bags that’s in Last Minute Patchwork and Quilted Gifts [amazon associates link], but ventured off when I needed to use measurements that went with the fabric leftovers I had on hand, and when I decided that I needed a really deep bag, so I had to make it box shaped. So I guess all it really has in common is the contrasting top and bottom fabrics. Anyhoo, here’s how I did it.
For the bag exterior:
2 pieces for the top – 13.5″ x 11″
2 pieces for the bottom – 13.5″ x 9″
2 pieces for the sides – 4″ x 17″
2 pieces for the handles – 3″ x 24″
For the lining:
2 pieces for the front and back – 13.5″ x 19
2 pieces for the sides – 4″ x 17″
Sew each of the top pieces to one of the bottom pieces. Then sew the two bottom pieces together. Line the side piece up with the top of the top piece and sew down to the bottom. Repeat with the other three side seams, starting each one from the top.
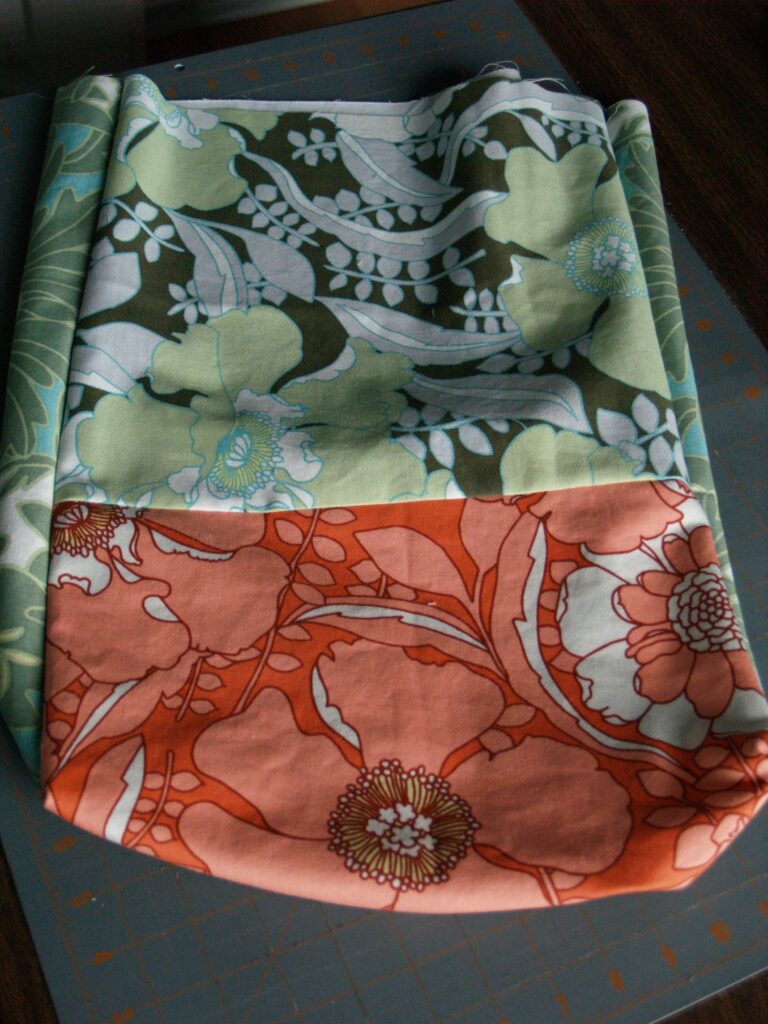
This will leave you with an open section at the bottom of each side. Flatten the bottom piece to line up with the side piece, and sew across.
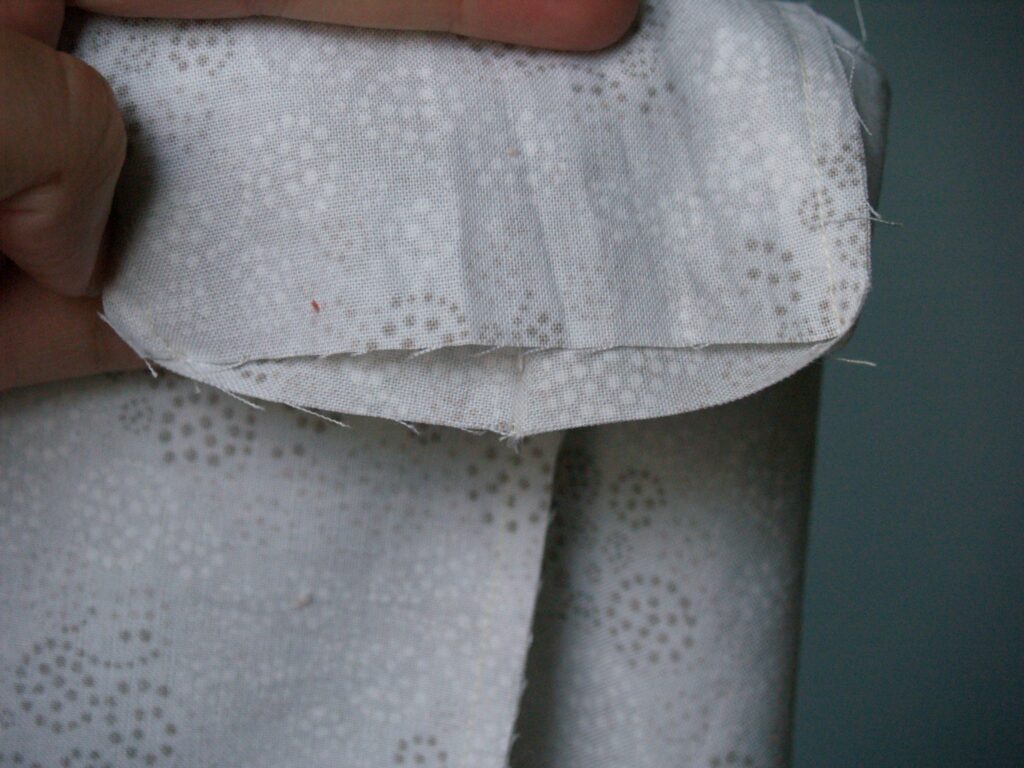
I like to reinforce those corners by going back over them from the top of the side seam to the bottom. This also makes the corners lay nicely.
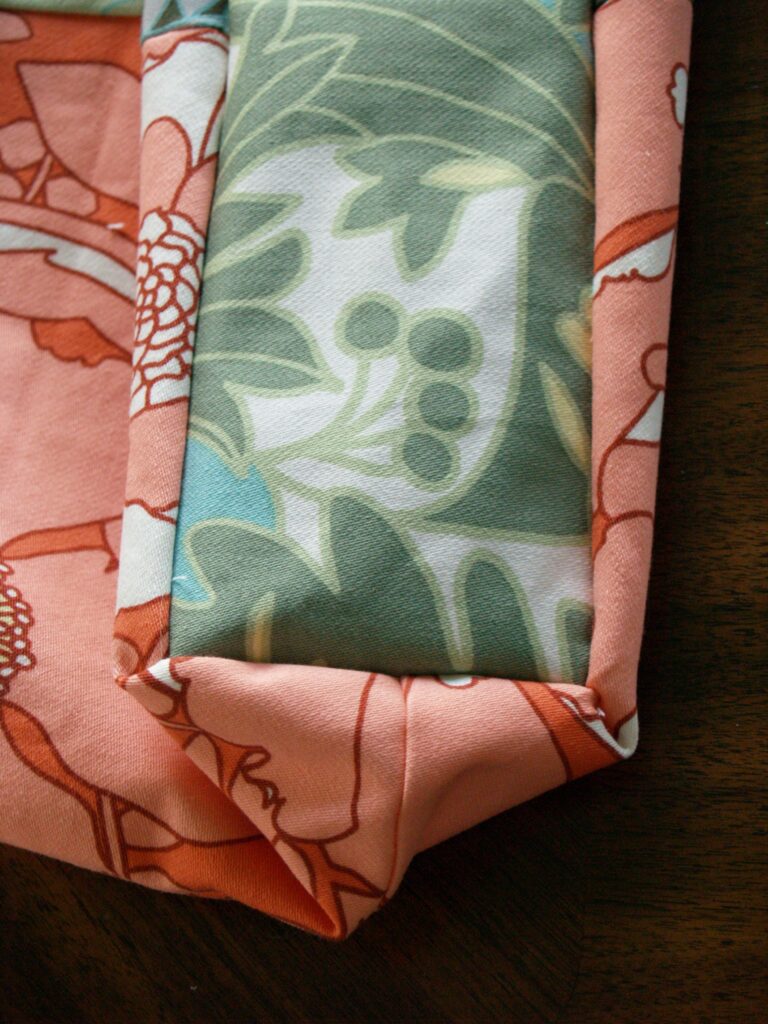
Repeat from the beginning with the lining fabric.
Iron the top of the bag exterior, and the lining, over, wrong sides together, about an inch. Fit the lining inside the bag exterior and pin around.

To make the handles, fold the handle pieces in half and sew down the long side, making a tube. Turn right side out and iron flat. Pin the handles in between the layers of bag exterior and lining, making sure to line up the front and back handle so they’re positioned the same on the bag.
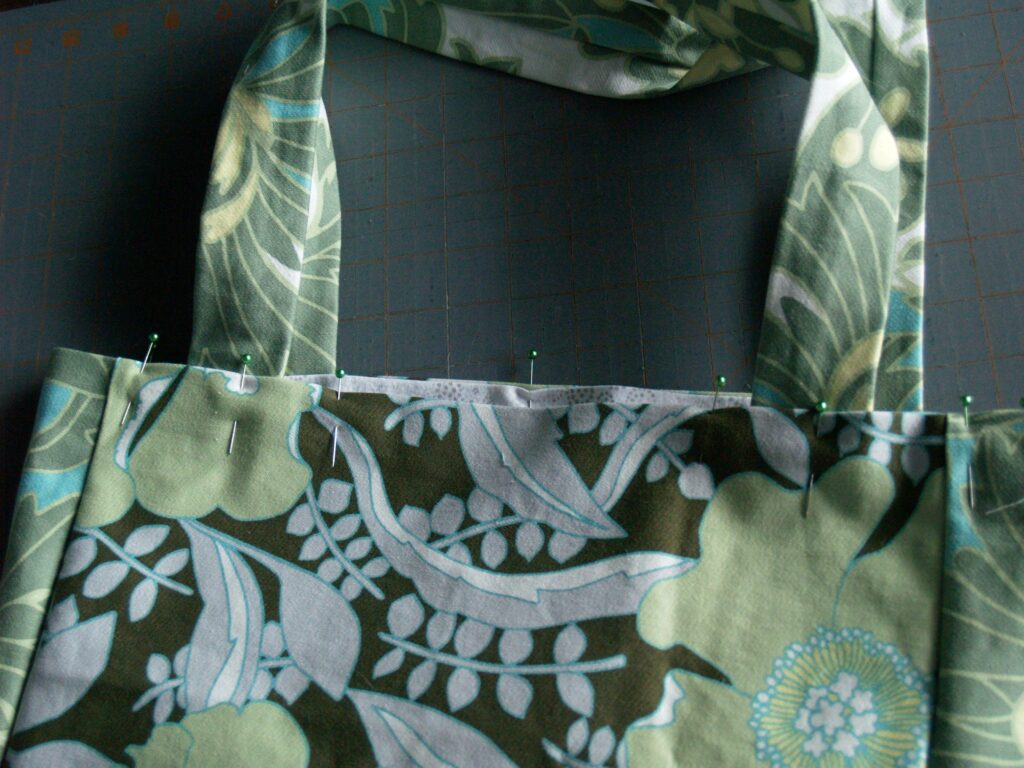
Sew a couple of lines of topstitching around the mouth of the bag, one right up near the edge to keep the lining in place, and another about a 1/2″ down to reinforce the handles.
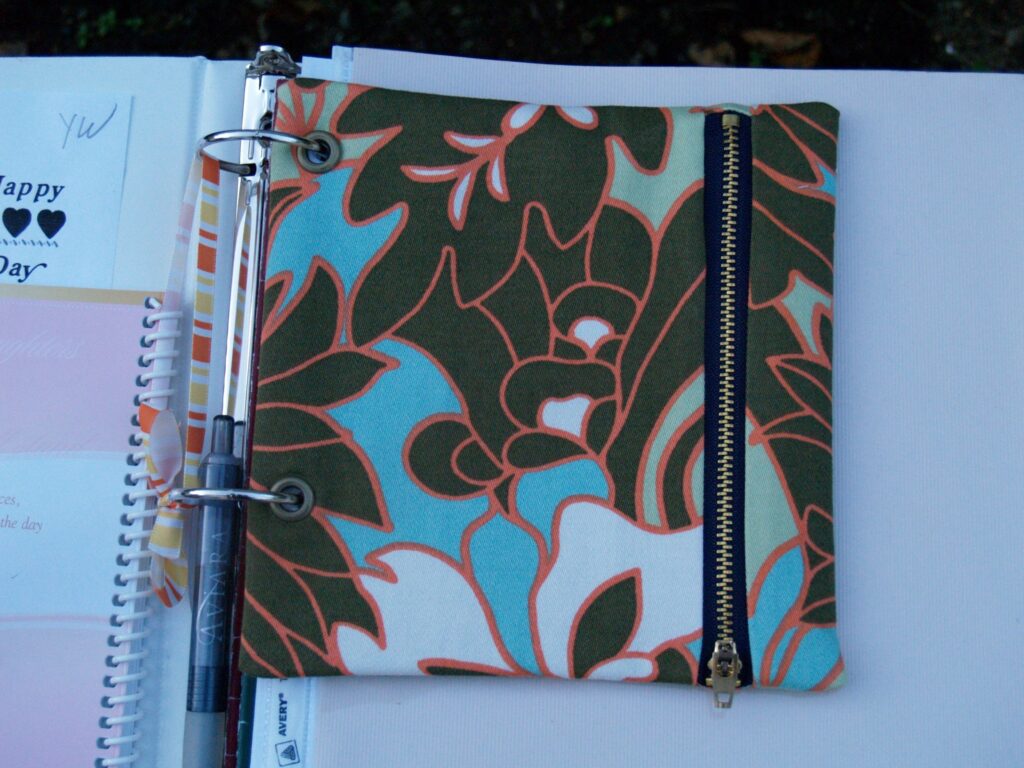
Because I am also super anal retentive, I needed to have a special pouch just to put things like receipts that I must not must not lose. I didn’t make a tutorial for it because I was completely winging it as I went, but I really love how it turned out.
Isn’t it funny how just having a special place where things go make you feel so on top of things?
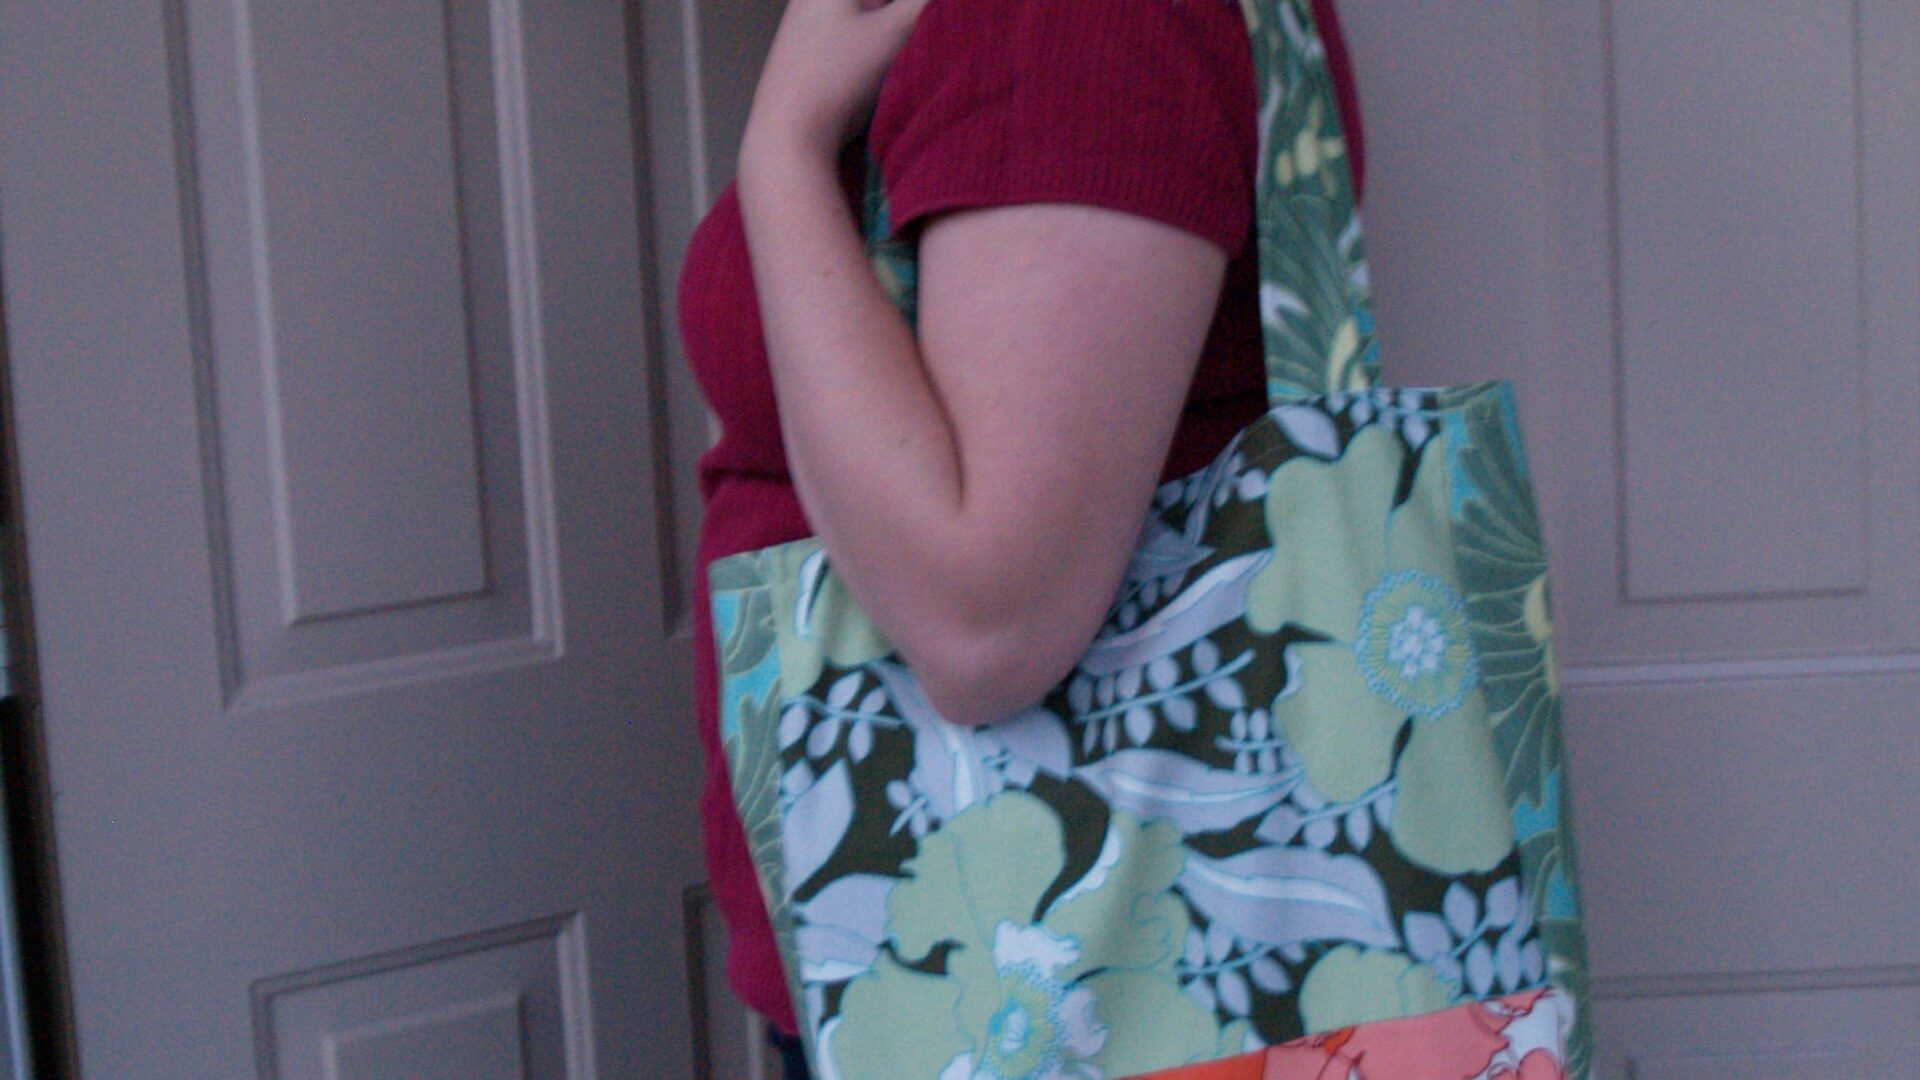



Beuuuutiful! Wish I would make the time to do that. But I won't. Lovely blog 🙂
Thanks for this-love it!
Lovely!! 🙂
I'm guessing you like Amy Butler :o)I have a yard of the dream poppies in forest (the green/grey/brown one) that I'm planning to upholster a bench with but I'm still trying to rack my brain on what color to paint the bench to complement the fabric. I kind of want to do green but there's an awful lot of green in that fabric…
Is it that obvious chacha? Hee! I adore Amy Butler, and I hoard any leftovers from other projects, so that worked out perfect for this one.I love that fabric!If it were me I'd either go with the brown or a totally different complementary color. Like something in the salmon realm.