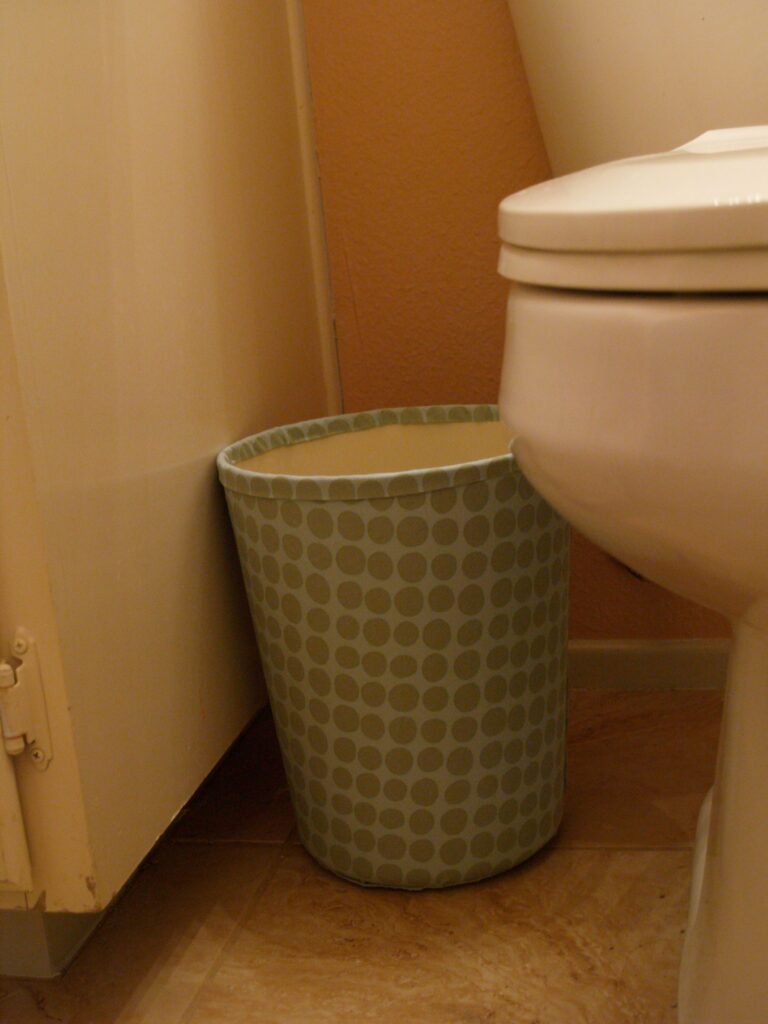
Sometimes I can be so dang cheap about the silliest things. Since we moved into this house three years ago I’ve needed to get wastebaskets in all the bathrooms, but I could not bring myself to spend $25 on something that no one will notice except when they need somewhere to put a used kleenex.
I’ve searched and searched for a cheaper option. All the usual places – Ross, Marshals, etc. – cost just as much as Target for a lamer selection. I stalked Linen’s and Things when it was going out of business and they never got cheaper than $20. I even looked for something at the dollar store and didn’t find anything that wasn’t disposable. For all the money I’ve spent on gas while on the quest, I probably could’ve just bought the dang pricey trashcans three times.
Finally I found these cheap black plastic trashcans at a discount store, and bought them out of desperation, figuring I could do something to make them work.
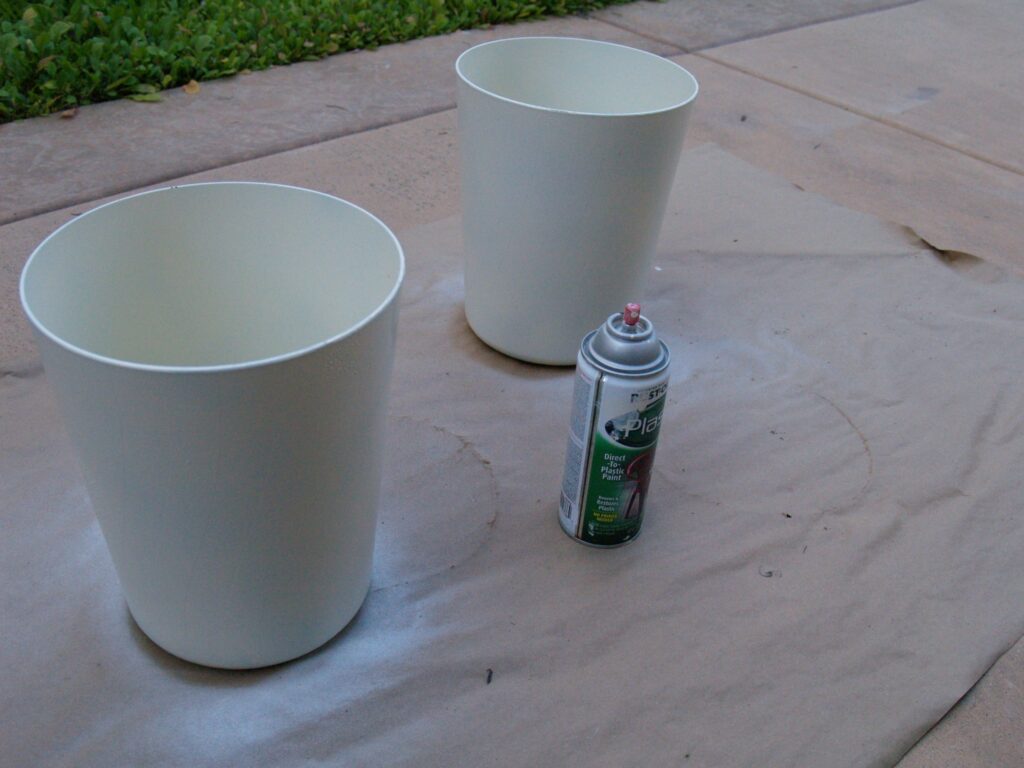
I used a special spray paint for plastic to turn the awful black plastic into a color that would fit in in the bathroom. I planned to only cover the outside so the inside could still be wiped clean when necessary.
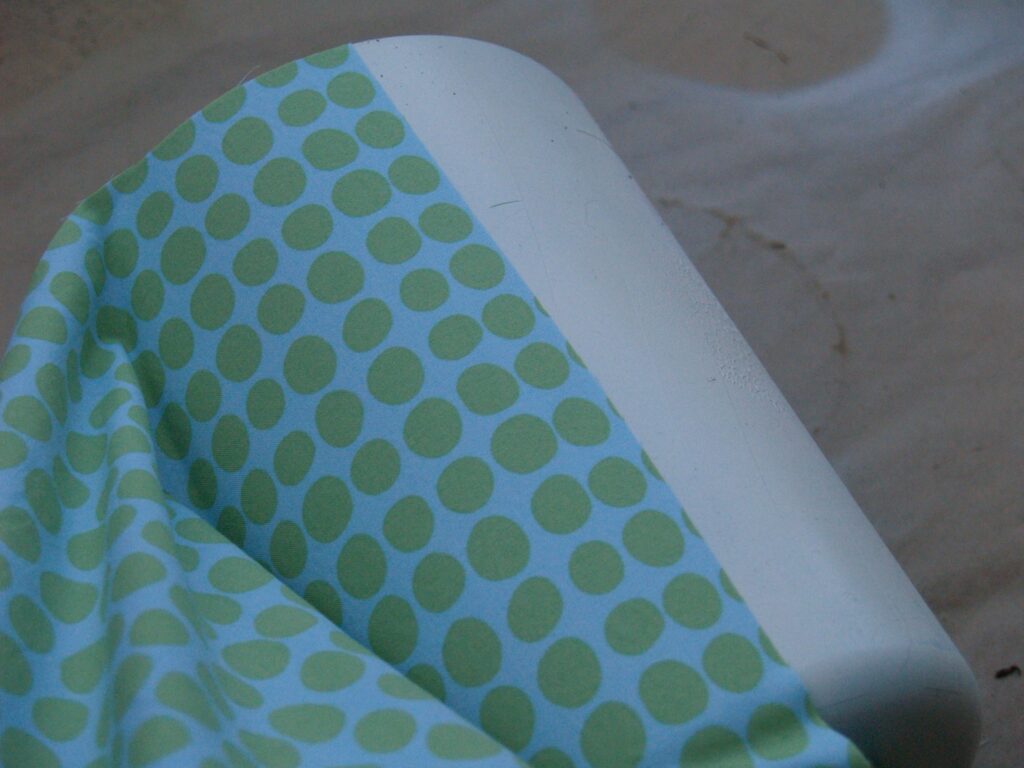
I cut a piece of fabric to fit the outside of the trash can. If your trash can is shaped like mine, you need to allow for it to be wider at the top than the bottom. A 1/2 yard of fabric was plenty for this project, so I just cut the fabric several extra inches taller than the trashcan and that was enough to account for that curve. Spray a spray adhesive over the trashcan a few inches at a time and smooth the fabric over.
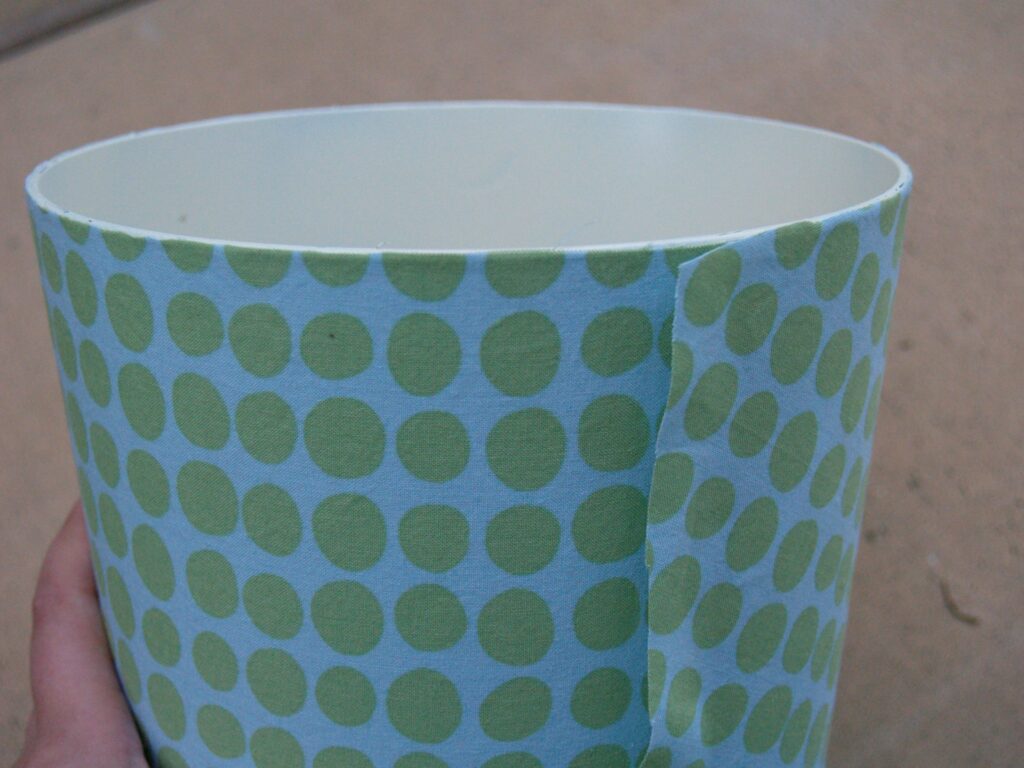
Cut the fabric flush with the top edge.
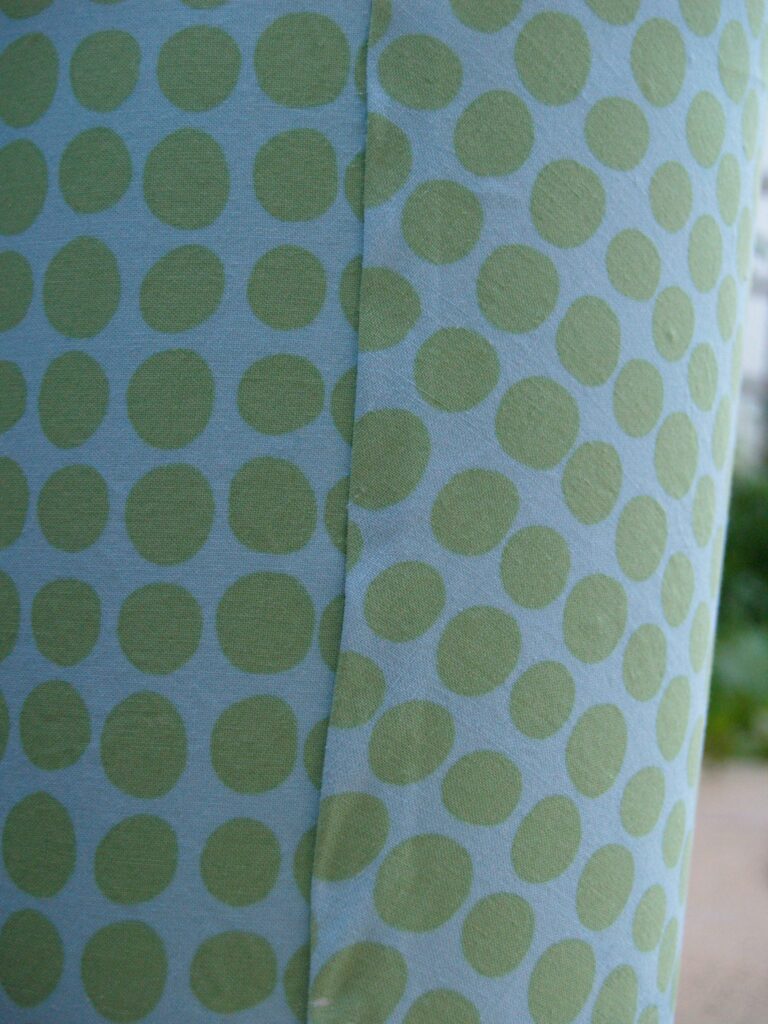
Fold the raw edge under and glue down using a fabric glue.
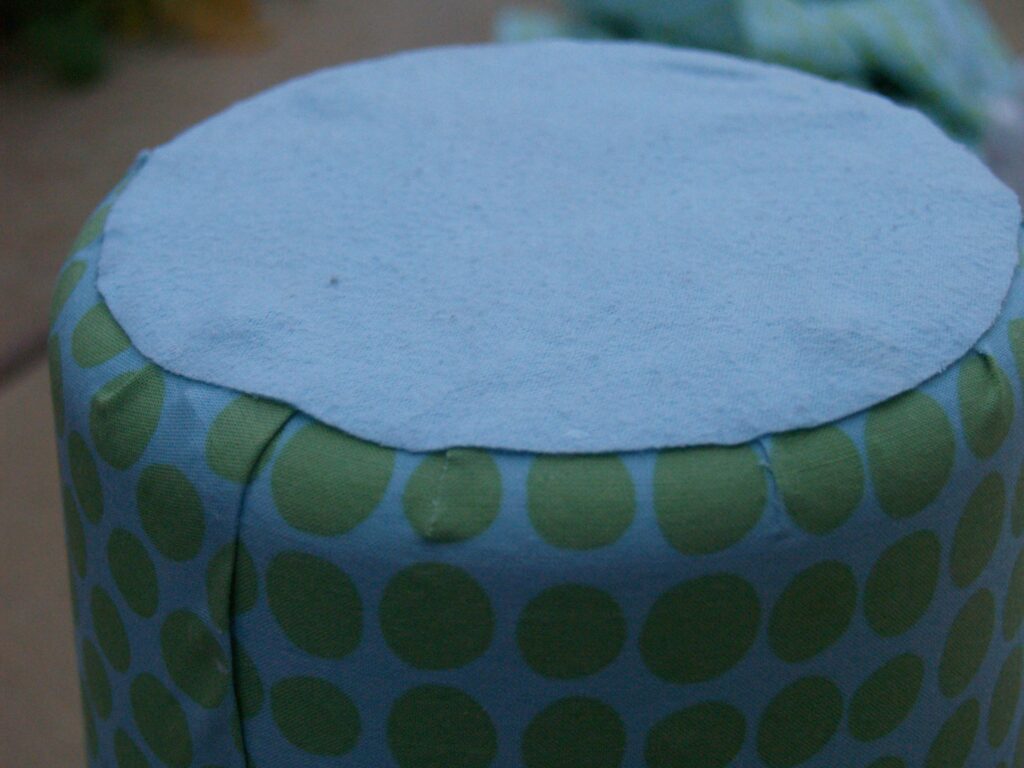
Fold the fabric onto the bottom of the trashcan and glue in place. This is easiest if you cut slits into the fabric and then fold those pieces on top of each other. Then I covered the whole mess with a circle of flannel.
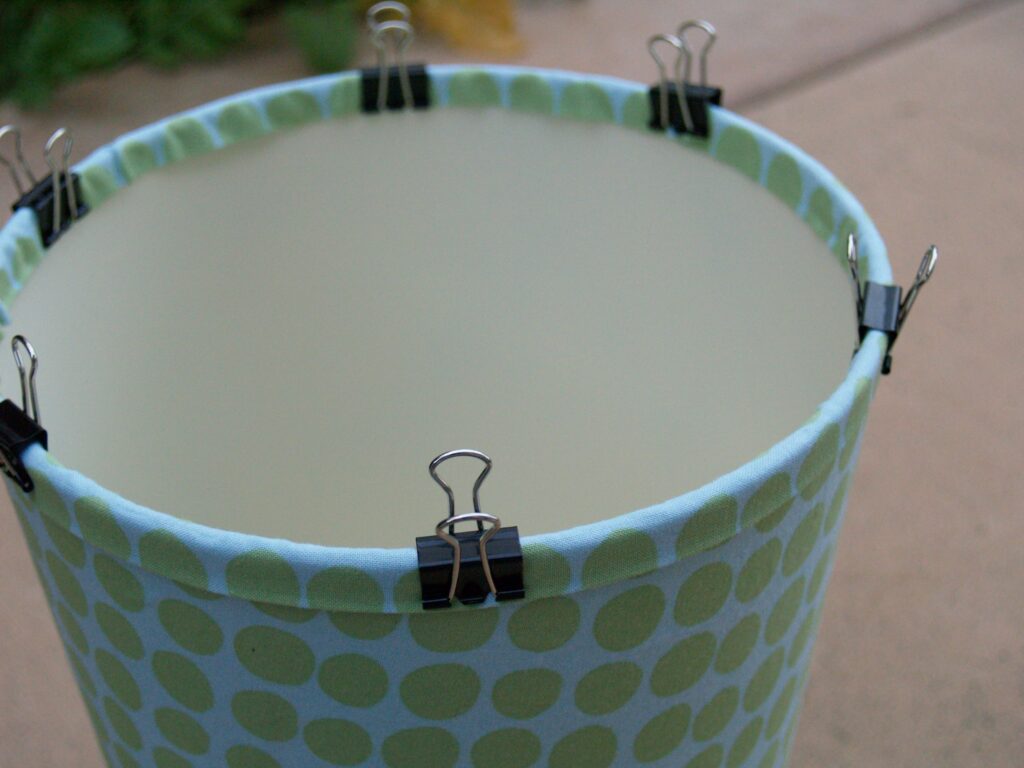
I cut a strip of fabric 2 inches wide and made some bias tape out of it by ironing the raw edges in towards the center. A bias tape maker makes this job a breeze. Then I just glued it onto the rim of the wastebasket with fabric glue and used binder clips to hold it in place until it dried.
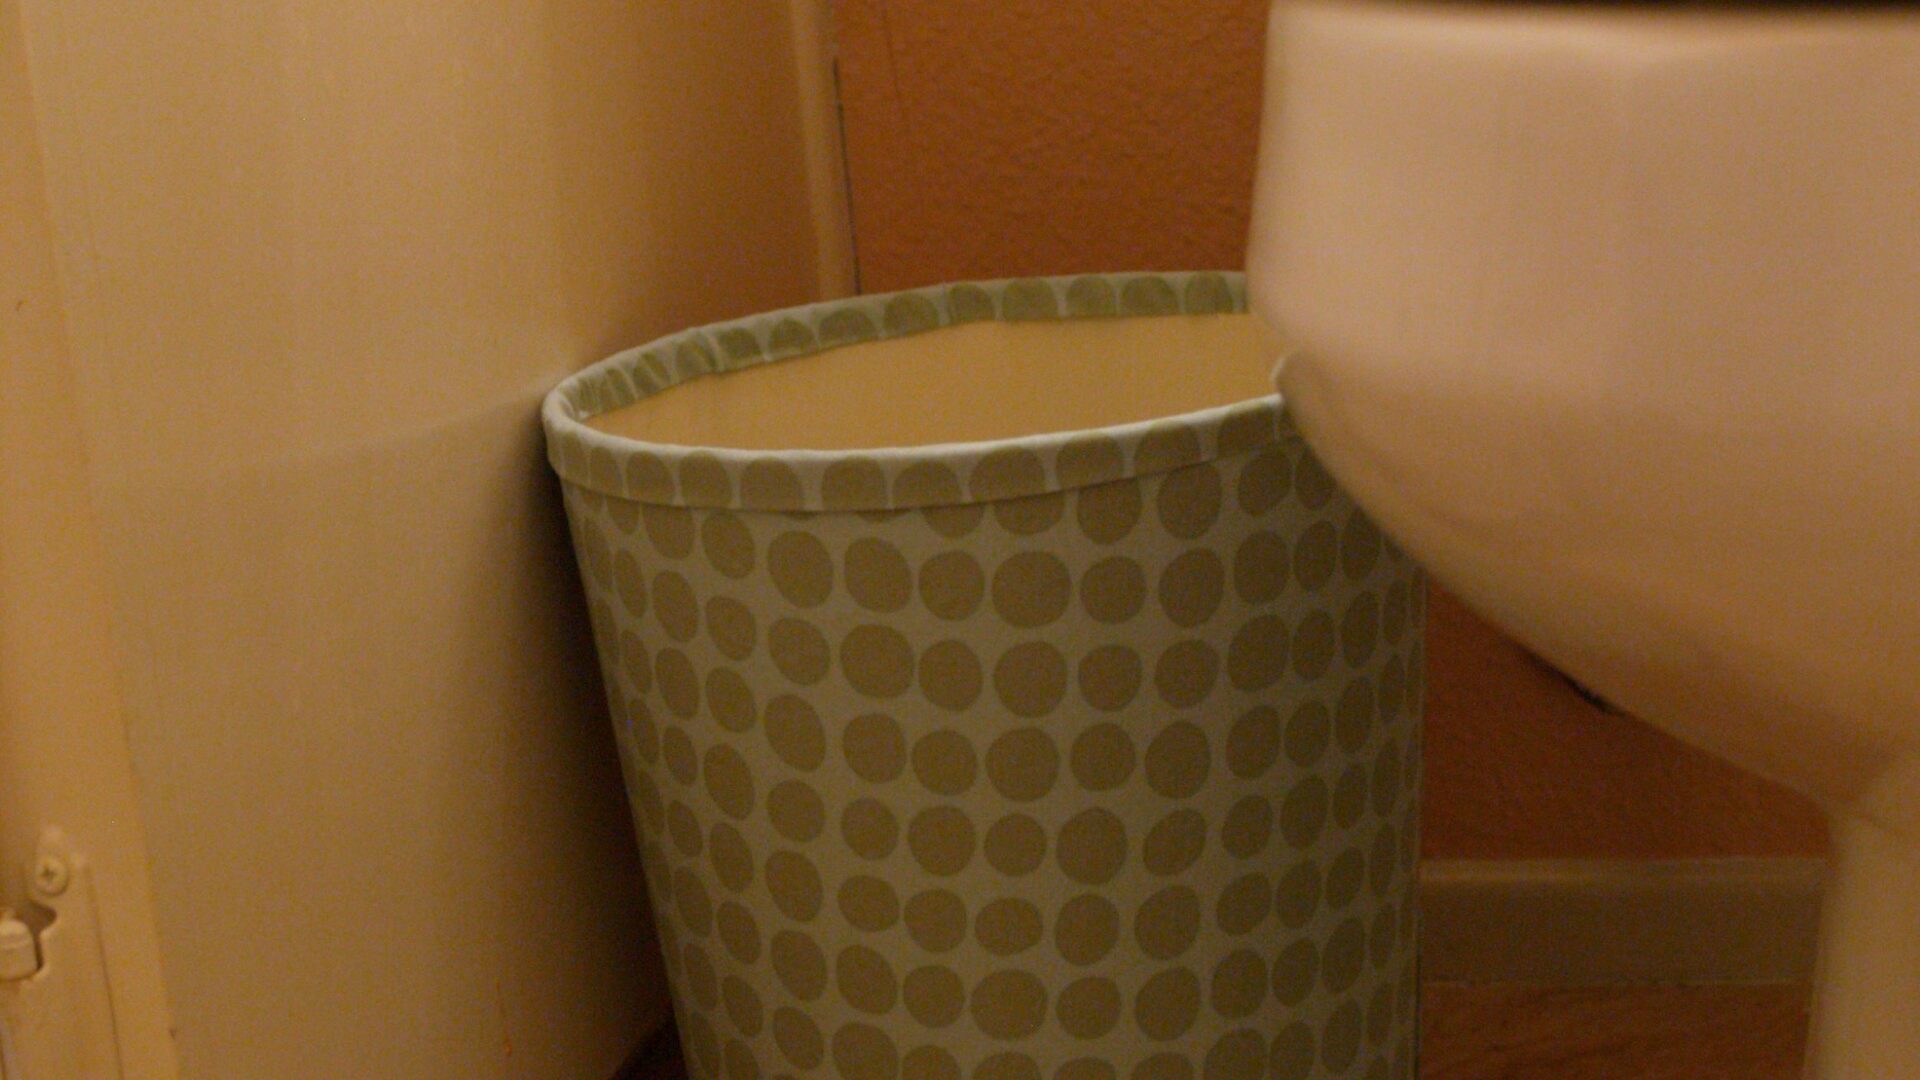
Each wastebasket took about 1/2 a yard of fabric, but for one of the trashcans I used fabric I had left over from another project in that room. So at $3 for each can, $4 for the spray paint, and $4.50 for the half yard of fabric, I made two wastebaskets for the grand total of $14.50. That’s a whole lot better than the $50 everyplace else was charging.



words escape me… I think this is on a par with ironing dishcloths and dusters… but they do look soooo pretty…. Was just browsing your to do list… how can a bedroom be only 5% painted??
This is so awesome! I think you just solved a similar problem I was having. Thanks! I love that fabric BTW.
Ah Noonie! You got me!But I stand beside the 5%. Prep work counts for something!
I love your solution! It looks fantastic! I'll be linking to this. And looking for my own cans!
Do you think this would work on an ugly wire mesh type trash bin ?
You ought to take part in a contest for one of the most useful websites online.
I’m going to recommend this site!
Soy wax is environmentally friendly and soy wax is a renewable wax made of natural ingredients that is more permanent than paraffin. We are increasing the quality of many products, including our small batch handcrafted soy wax candles, to reflect our new, more efficient crafts.