
This new place has this big cut out in the main downstairs wall, and I never know quite what to do with it. Most of the year I’ve just been leaving it empty because nothing I have seems to work in that spot and I really don’t want to buy a bunch of knick knacks for a temporary residence. But now that we’re in holiday season? I thought I could just use it like a mantle. Which means I could make a banner for halloween.
I was inspired by all the beautiful Victorian inspired decorations that pop up in the stores and on blogs. Normally that’s not my flavor of antique, but it just goes so well with Halloween that I can expand my horizons. Plus, it was a chance to play with glitter, which I am always up for.
You’ll need a whole bunch of thin cardboard for this project. I get all mine at scrapbook stores – as I’ve mentioned before, a lot of it is used in shipping paper, so many stores will give it to you for free – but you can also use cut up cereal boxes or leftover shipping material. Anything thick enough to hold up to paint.
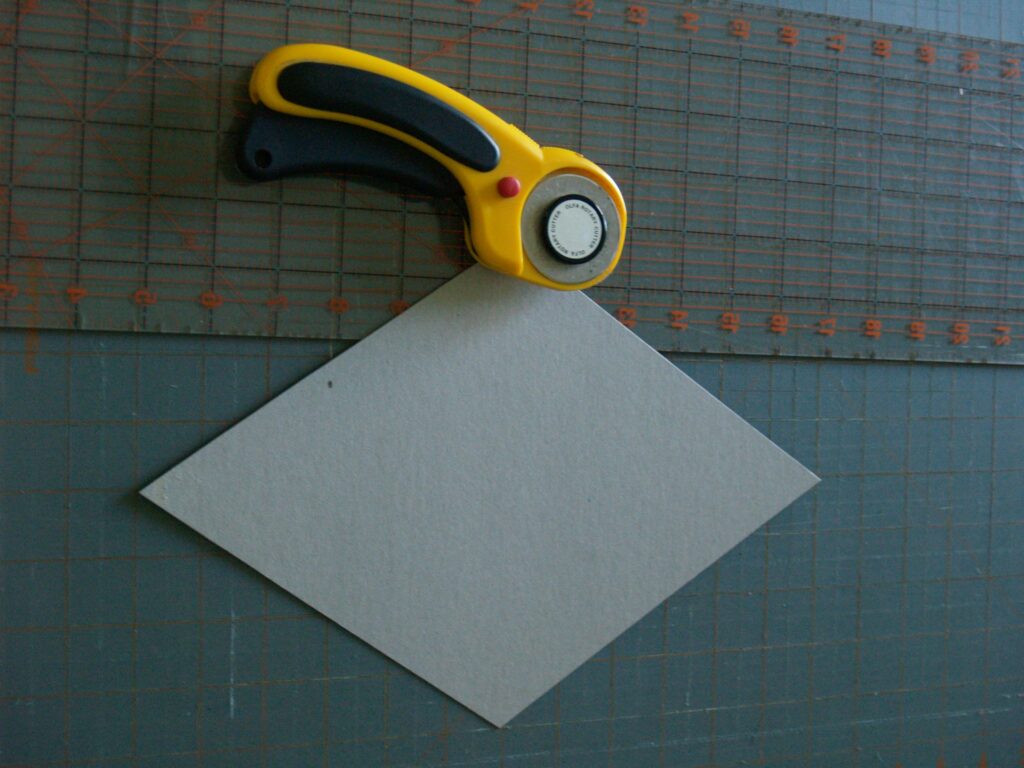
Cut your cardboard into a diamond shape. The easiest way to do this is with a quilting ruler and mat. I cut the cardboard piece into a rectangle measuring the height I wanted (12″ in my case) by the width I wanted (8″ in my case). Then I marked the middle of all the sides, and, using my ruler, cut a diagonal from the middle of one side to the middle of another. I did this for each side and what was left was the diamond shape I wanted.
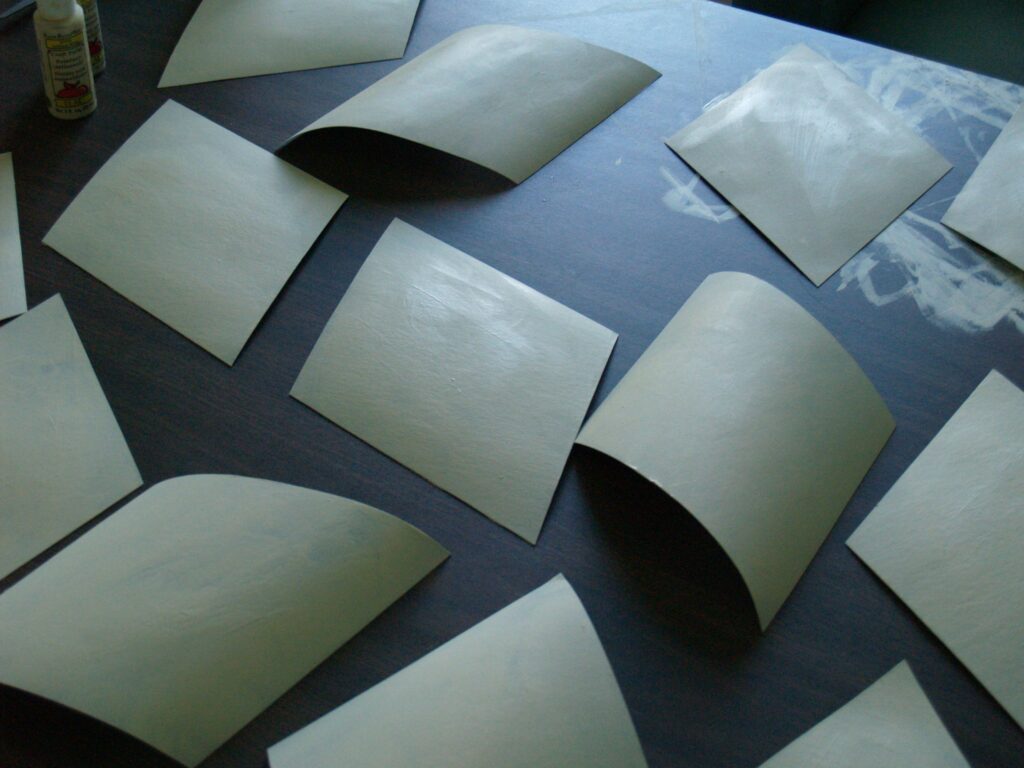
Paint all your large diamonds in a creamy color with acrylic paint. You may need to use a couple of coats to get good coverage.
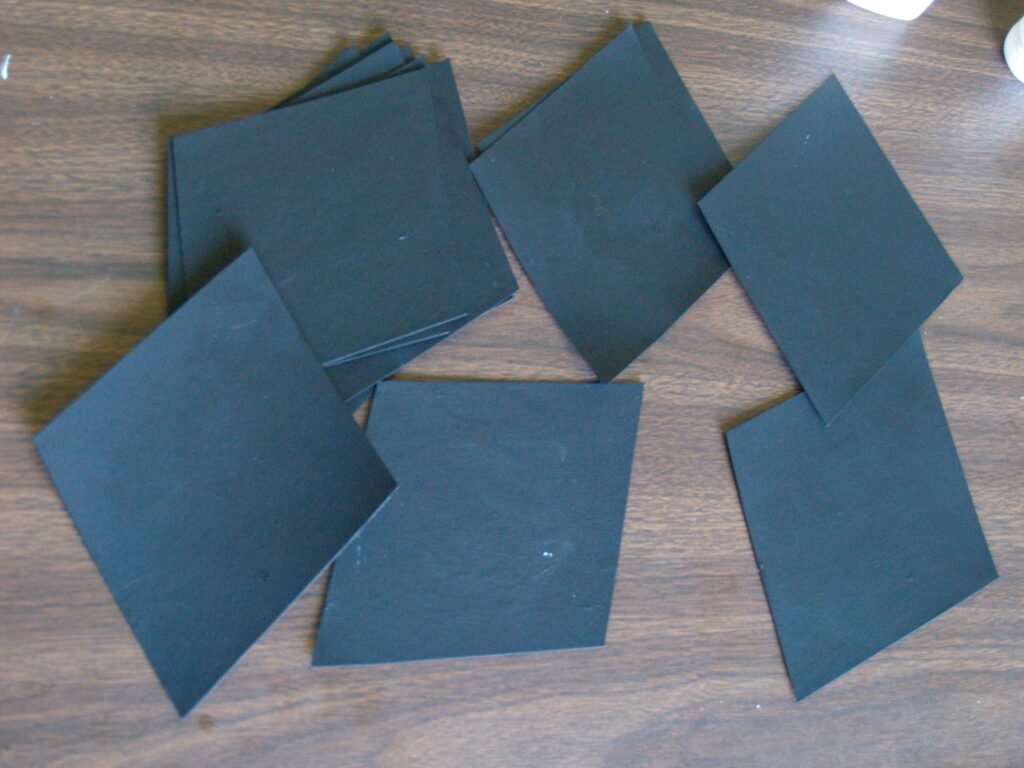
Cut more diamonds for the inner pieces, and paint them black. I made these diamonds measure 6″ wide by 8″ high.

To glitter the edges, you could just brush some glue on and sprinkle glitter on top. But I wanted to experiment with a masking technique, so I cut some masking tape with a pair of decorative scissors, and used that to control where I put the glue. This was time consuming, but as precise as you can get with glitter.
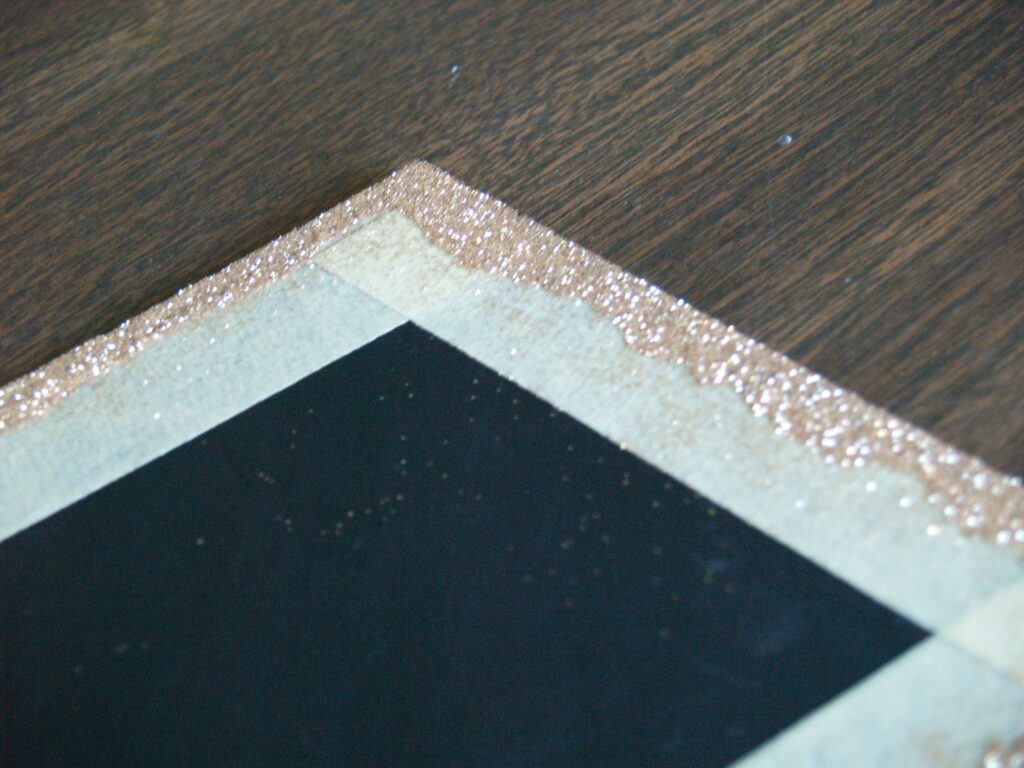
I brushed glitter on the exposed edges, and covered it with a gold glitter. My personal favorite is the Martha Stewart glitter. I don’t know how we got by without it for so long.
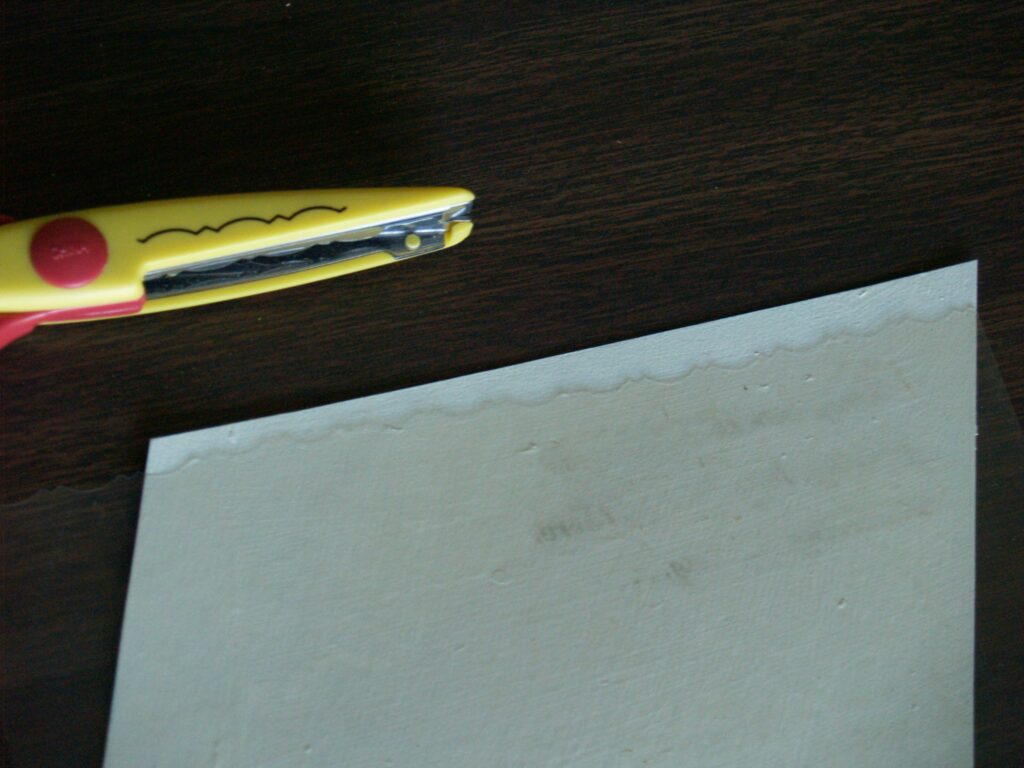
Since the masking tape technique was a bit of a pain, I wanted to try a different option for glittering the large diamonds. I took a transparency I had lying around, but you could use any thin plastic, and cut that with a pair of decorative scissors. I held that in place as I brushed the glue on the edges, and then I sprinkled orange glitter on top.
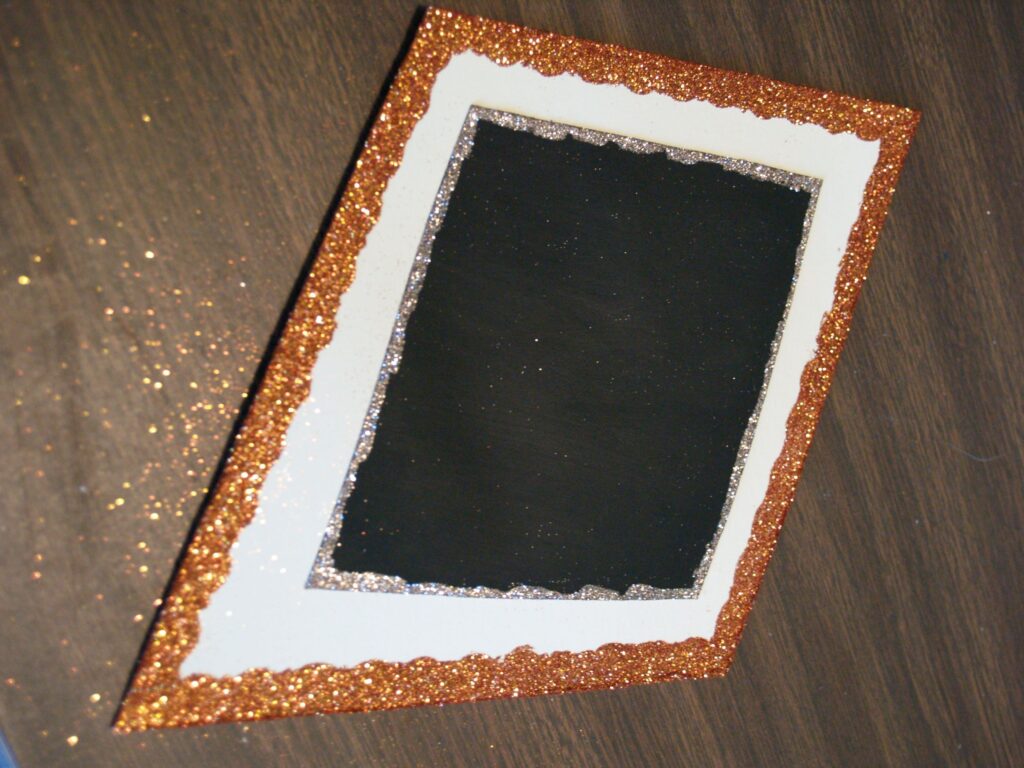
This technique was way easier, but it was also sloppier. My pattern didn’t come out precise, but it was close enough that it was worth it to me.
Spread a white glue on the back of the black diamond, and glue it to the center of the cream diamond. If your cardboard starts to curl, flatten it under something heavy for a bit.
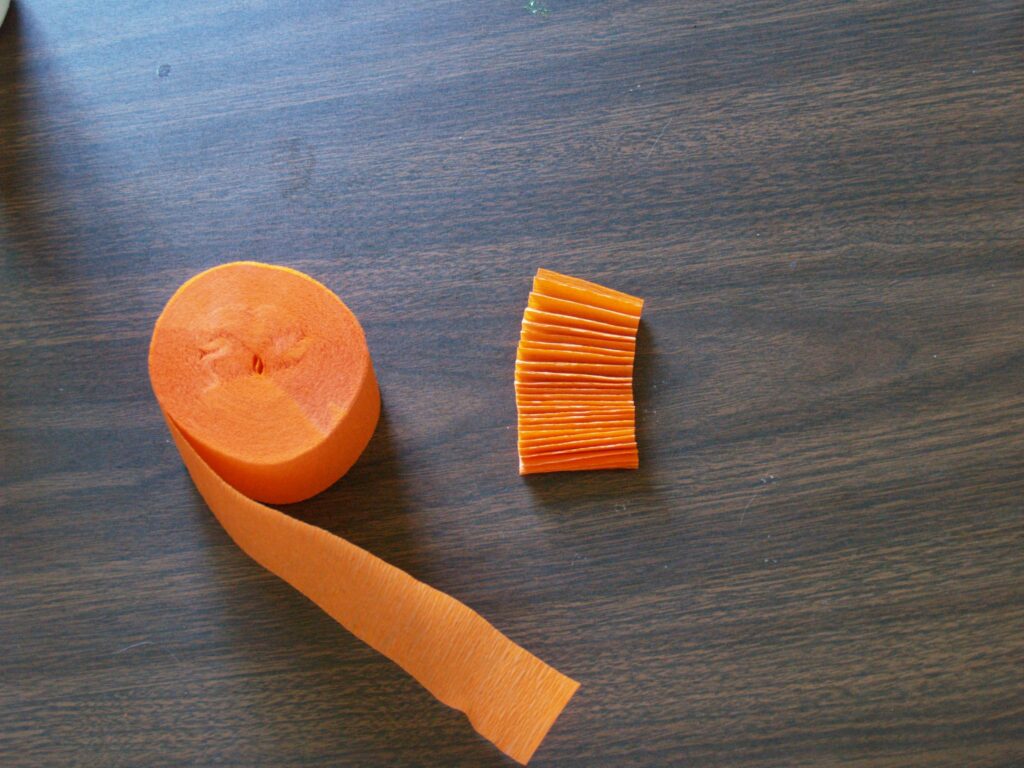
Next you need to make the rosette. I got a roll of crepe paper streamers and cut it to 14″ long, and then accordion folded it about every 1/4″. I did not worry about precision for a single minute, so don’t even think about grabbing a ruler. Just aim for smallish consistent folds and you’ll be just fine.
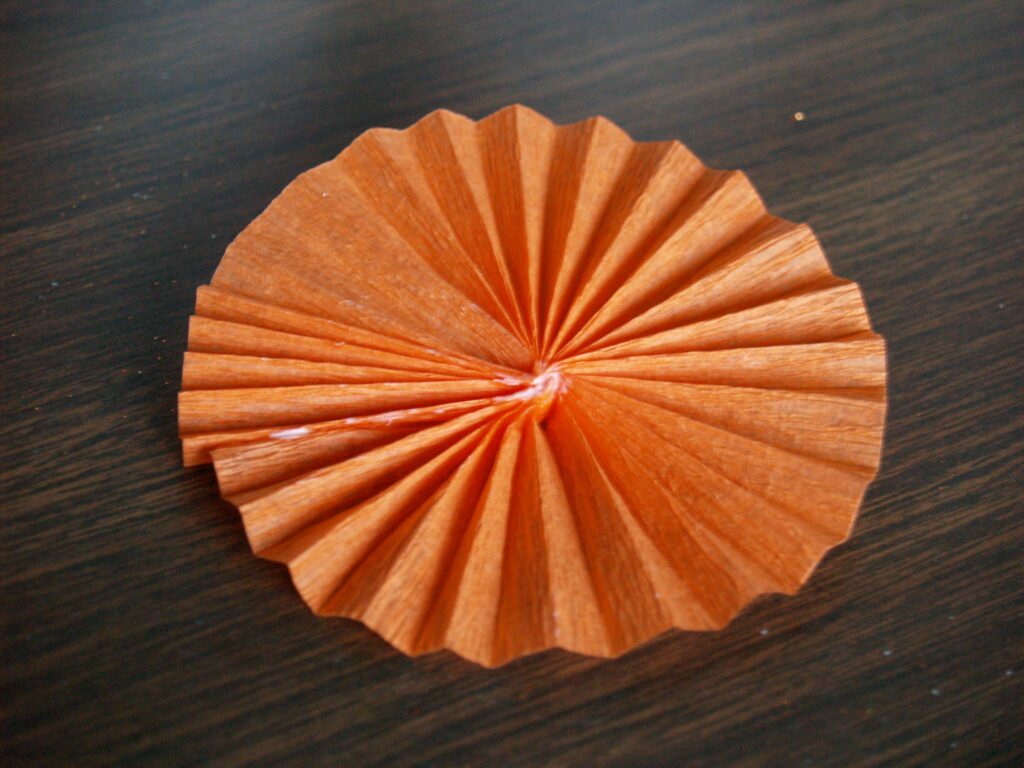
Spread a SMALL amount of white glue on one end of the streamer and bend it around to meet the other side. Spread another SMALL amount of white glue in the center and push it together. I emphasize small amount of glue because water is crepe paper’s kryptonite, so if you use too much then all your folds will dissolve into a crumpled pile. You don’t need much to do the job anyway.
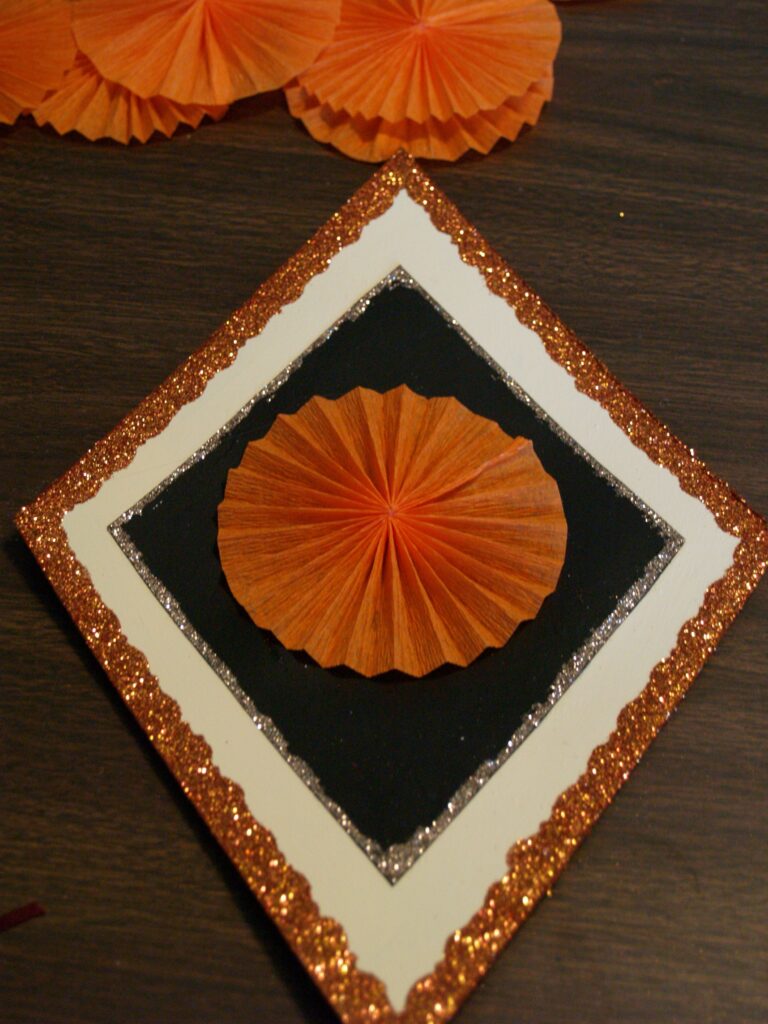
Glue the rosette to the center of the black diamond with hot glue. Hot glue works better with crepe paper because you don’t have to worry about it losing it’s shape, but if you tried to use it before, you stood a good chance of walking away with a few blisters.
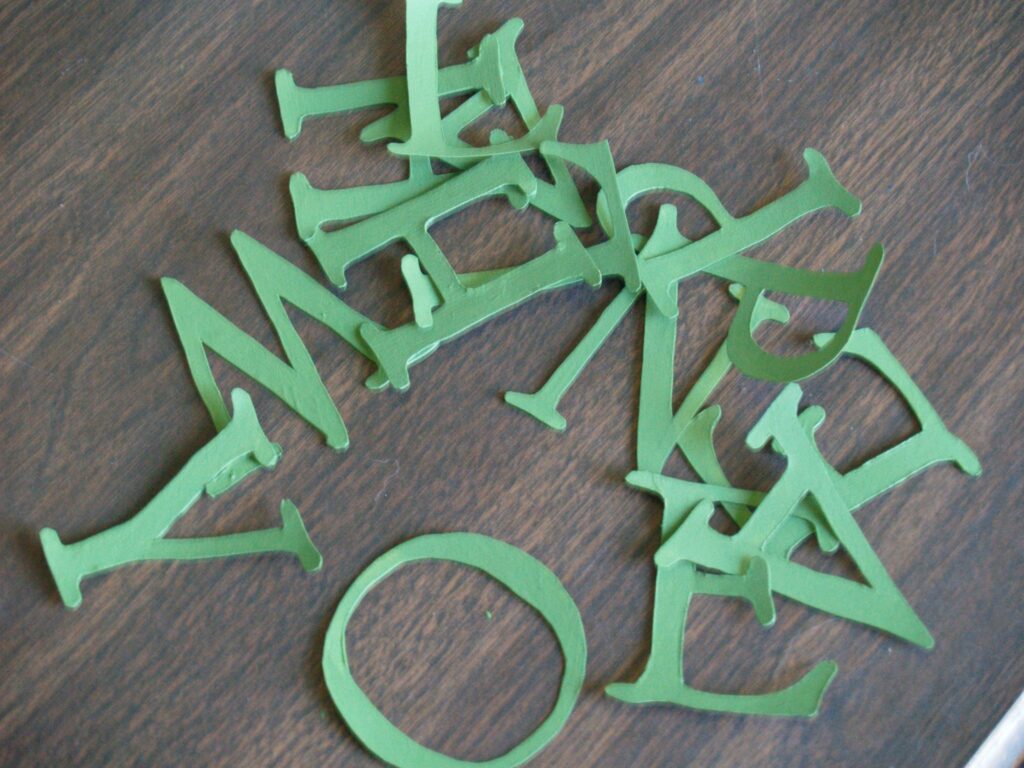
The last step is to prepare your letters. I cut mine out of more chipboard using a font I printed off my computer. I use this technique so often I must have shared it over and over again, but just in case – I print the letters off in the size I want, on normal copy paper. Then I stick the copy paper to the chipboard and cut them both out at the same time.
Paint them green, cover with glue and then green glitter, and when dry, glue on top of the rosette with hot glue.
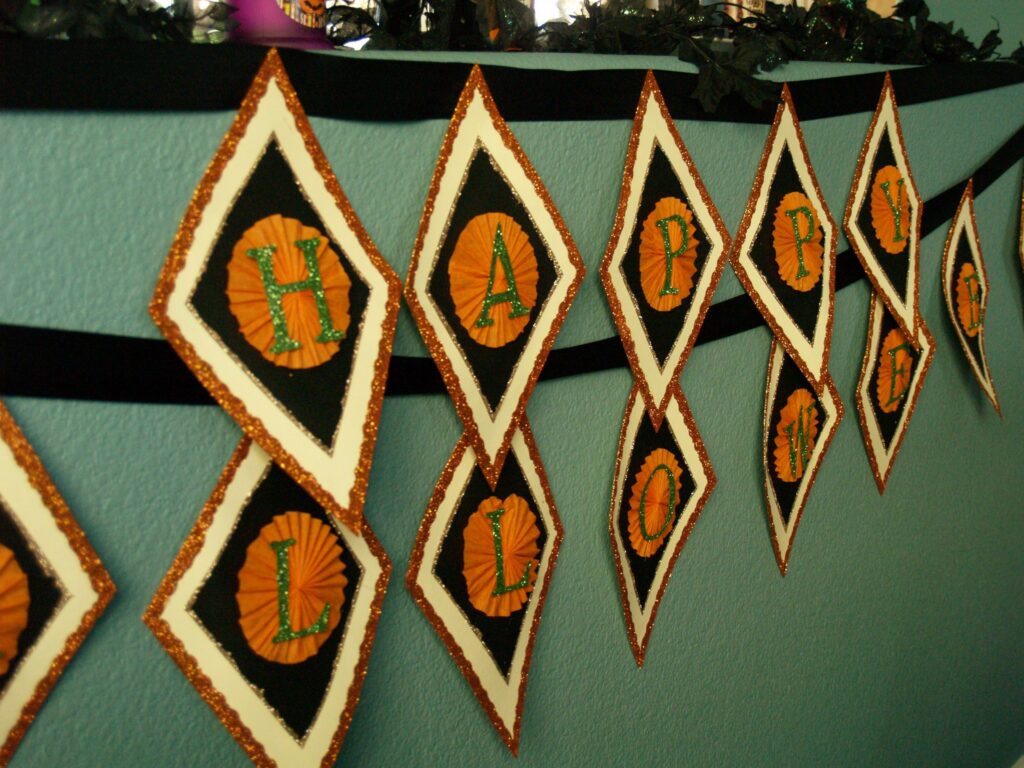
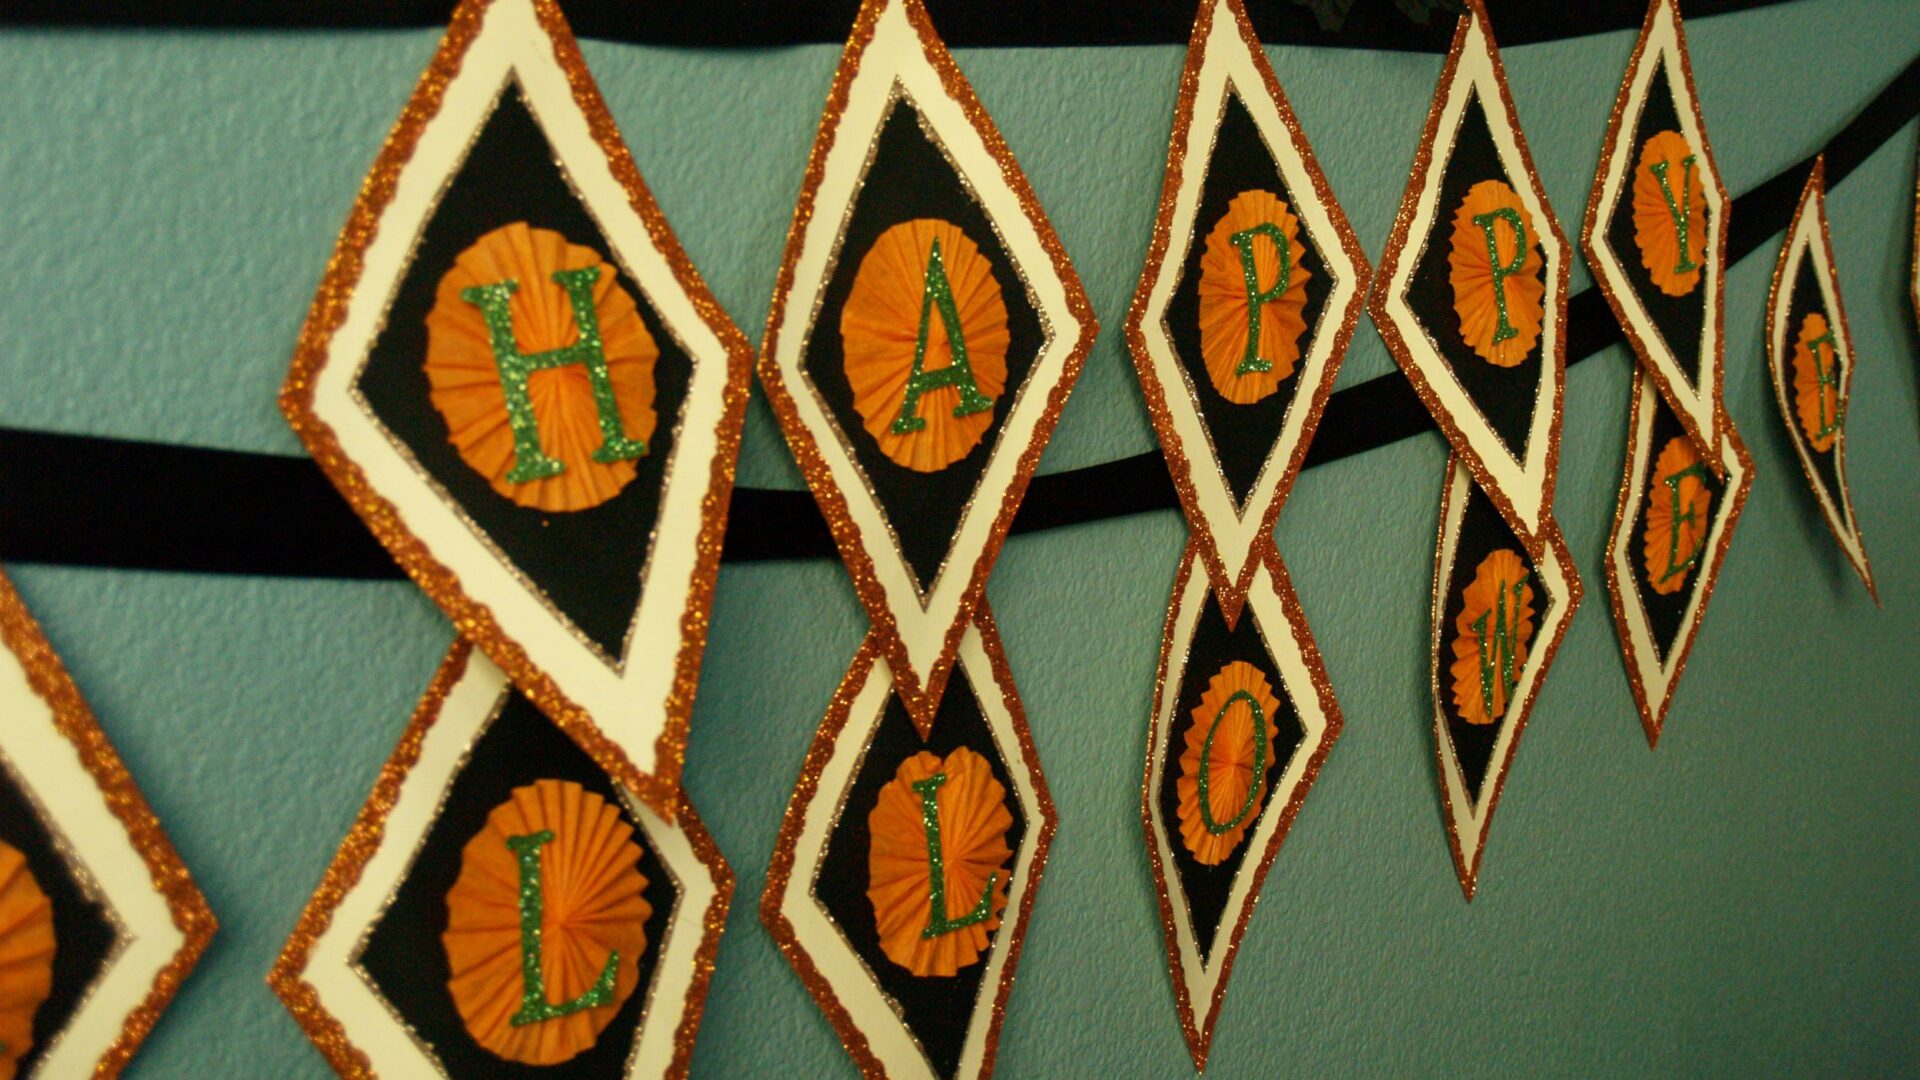
While my hot glue gun was handy, I hot glued the tops of each diamond onto a black ribbon. Since I was making this banner for a specific spot, I actually hung the ribbons in place and then glued the diamonds on so I could get everything positioned just right. The diamonds can be fairly heavy, so I had to readjust the ribbons afterward, but it was a really handy way to get everything spaced evenly.
I had a big space to fill, so I went big, but you could make this way smaller by just changing the dimensions of the diamonds. Or you could choose a different saying to make it shorter. I think this could also be really fun to hang on a staircase as a Halloween answer to a traditional garland.

1 thought on “Halloween Banner”
Comments are closed.