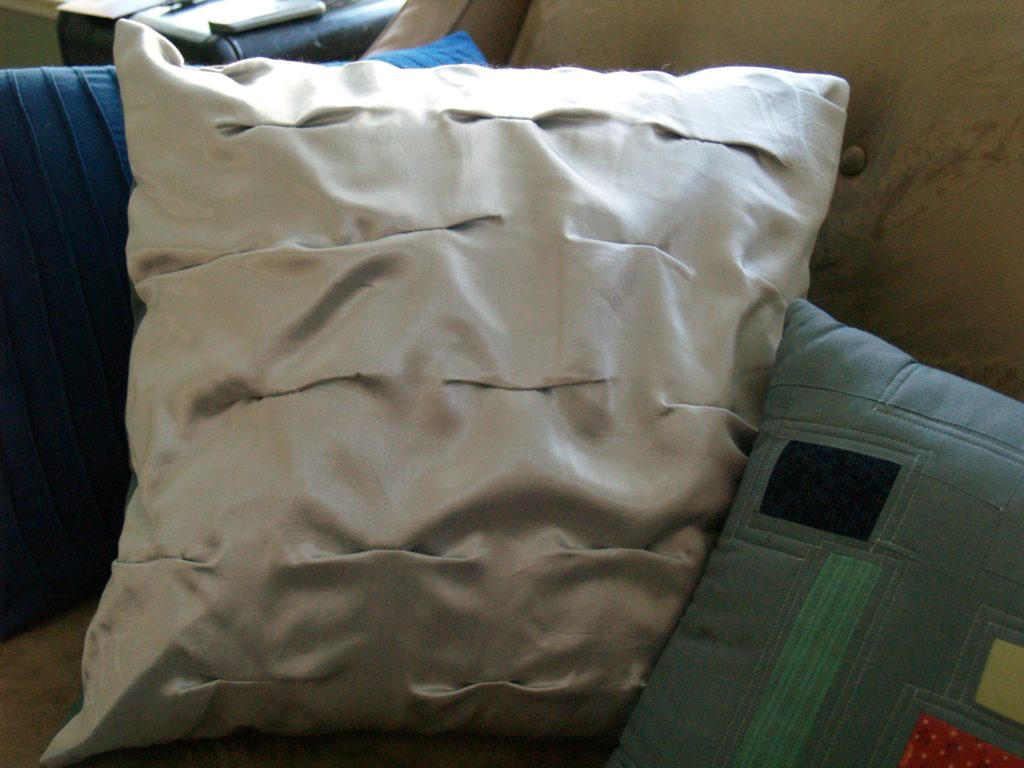
I finally got around to adding the last set of new pillows on my living room couch, and since I was having such trouble coming up with what color to do them in, I decided to make them a neutral metallic. I had some of this silk chiffon left over from another project, so I decided this would be a good opportunity to bring in a little bit of luxe.
Since I was going with a solid color fabric, I wanted to do something to make it interesting, and I loved the results of the pleated pillows so much, that I thought it could be fun to do another textured treatment. And this is what I came up with.
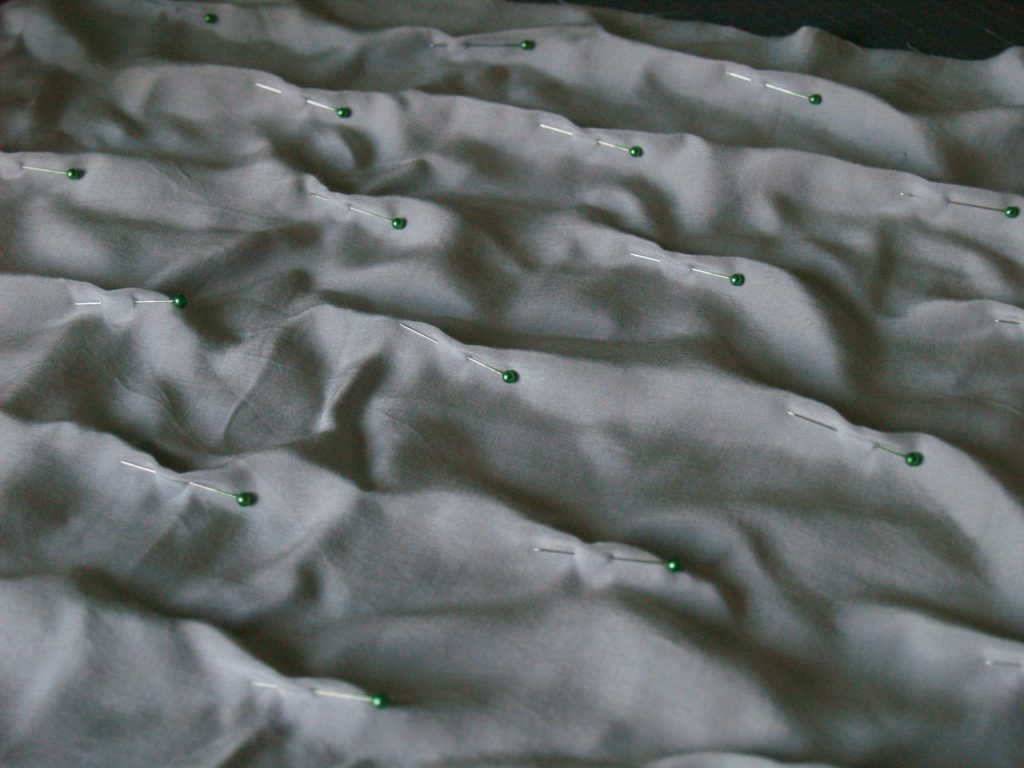
To start, I cut the fabric about five inches bigger than I wanted the finished pillow to be. This gave me plenty of space to work with. Then I measured where I wanted the puckers, which ended up being 5″ apart, and then each row was 3″ apart. I offset the pins in each row to make the little pattern.
To make the pucker, I just pinched the fabric together, and stuck a pin to hold it in place. I didn’t find measuring to matter much, I just tried to be consistent. If pressed for a measurement I’d guess that it was about a 1/2″ of fabric pinched together, but really I just grabbed enough to get a decent grip.
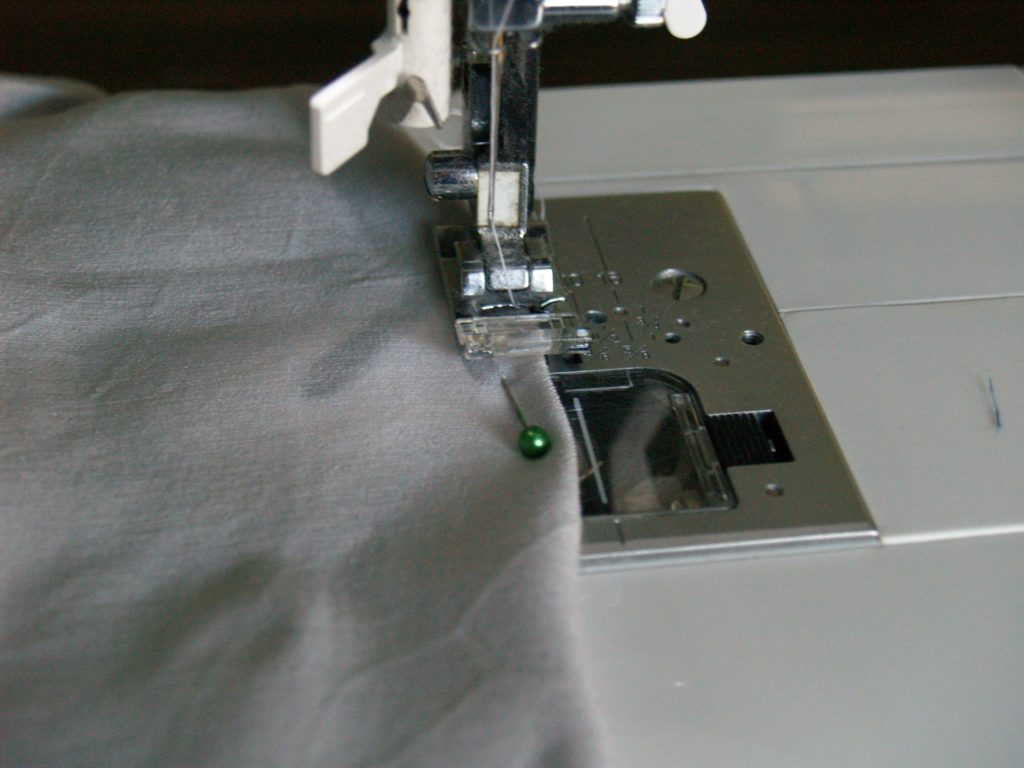
In each little spot with a pin, I sewed about an inch worth of zig zag stitch, and then went back over it with a straight stitch. The zig zag helps to keep all that extra fabric in place and adds to the stability and the appearance of the pucker, but it could pull out if left on it’s own. The straight stitch secures it so that you can’t see any threads straining through.
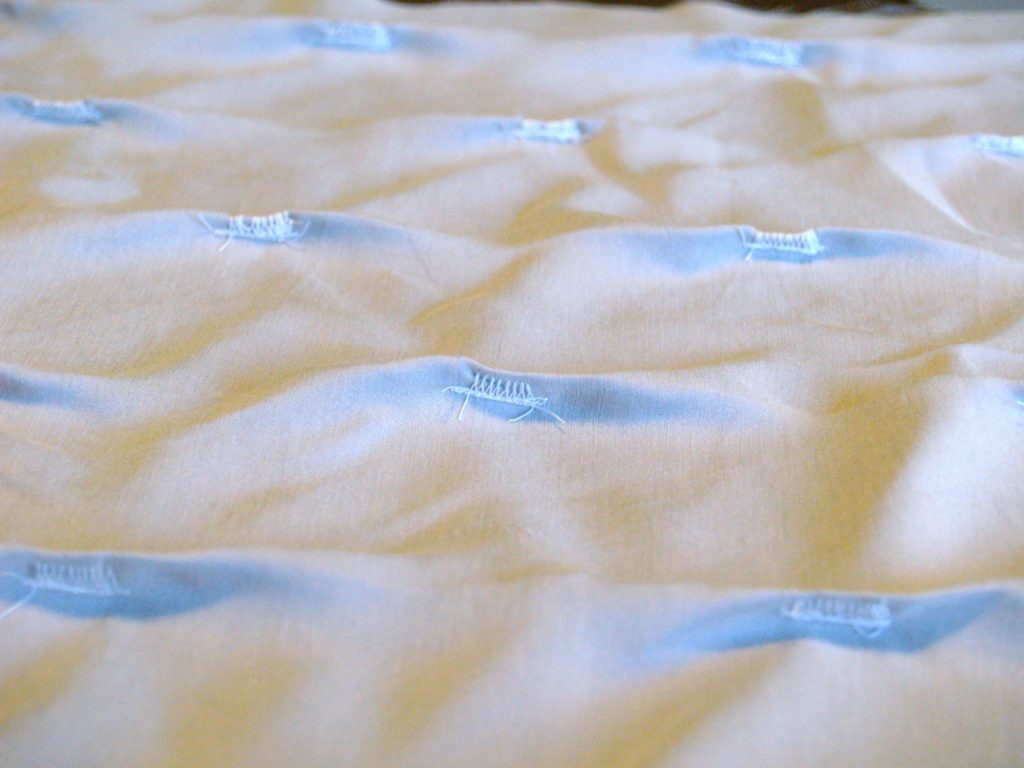
With all the puckers sewn in, I spread it out on my cutting mat and cut it to the size needed for my pillow. I used an 18″ pillow form, so I cut the fabric to 20″ x 20″. You need to allow for a lot of give in this pillow, otherwise those puckers will just press into place instead of looking drapey.
I backed this with another piece of fabric that would be taut against the pillow form, so that the pillow could still feel firm while allowing the pucker fabric to be loose. To do that I cut two slightly smaller pieces of fabric – I used a simple cotton – and arranged the pieces as follows: Back piece (which I stuck a zipper into), right side up, Pucker piece, right side down, Front piece, right side down. Then I sewed around them and finished as you would any other pillow.
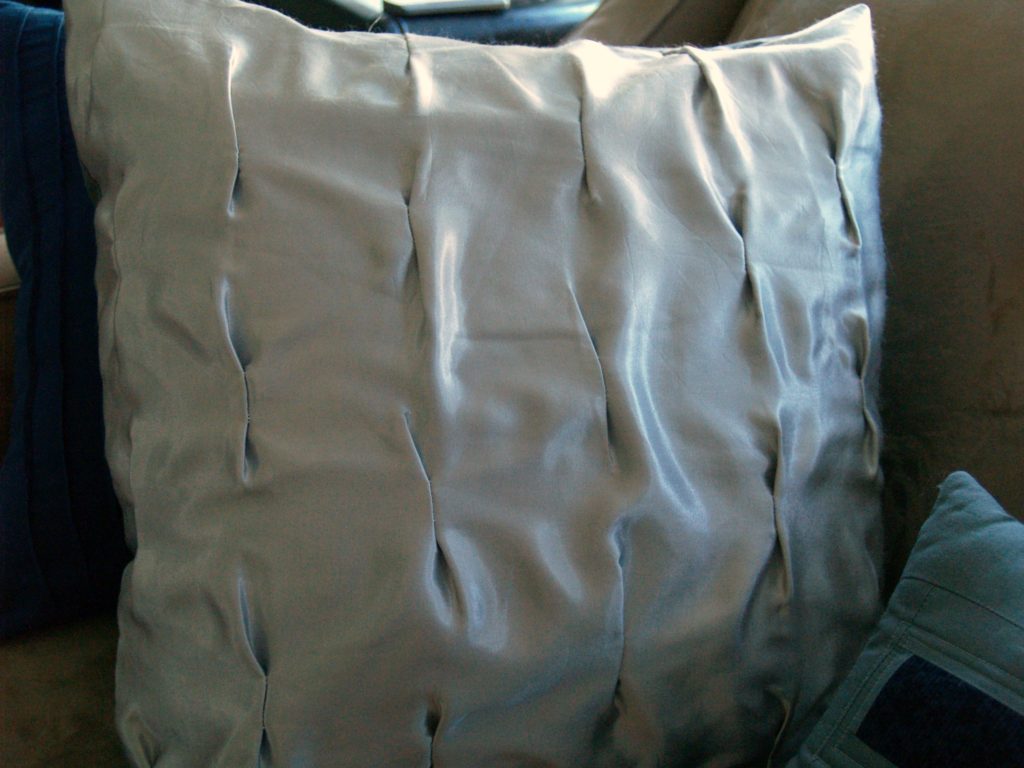
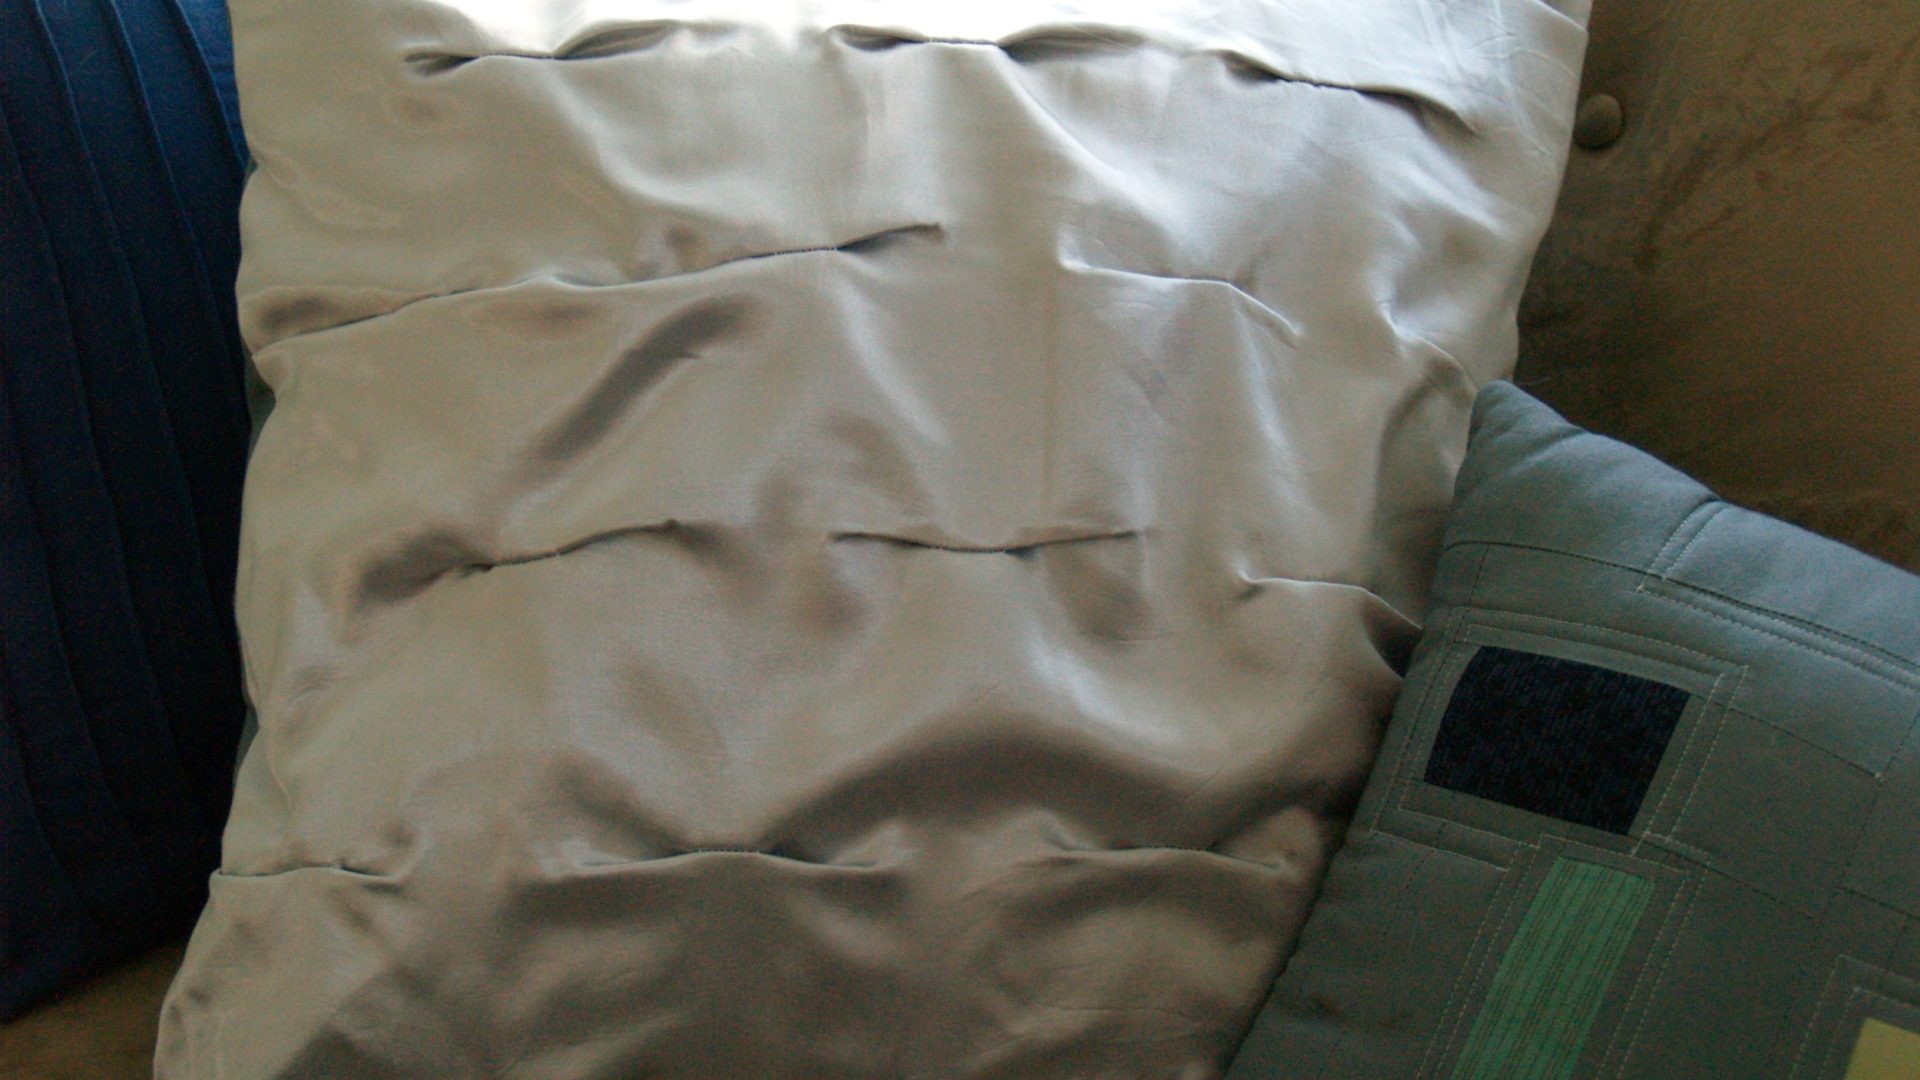
Adding that backing piece was a little more work than I initially felt like doing, but it was so totally the right call. Now the pillow still has a shape, while that lovely silk can slide around creating pretty little folds and puckers and preserving the look of the texture.


you forgot the most important instruction… and don't ask how I know… make sure you open the zipper before you sew the whole sandwich together….Loving it… and am imagining the cost of one of those if I went to a store to buy it.. shudder
amazing !!!
so what if you want the opposite pucker?
nice
This little pillow is so amusing to make and just takes a few fat quarters. The Twist Pillow is a shrewd little pad that looks troublesome yet is simple and enjoyable to make. It functions admirably with both tradtional and cutting edge stylistic theme contingent upon the fabrics that you utilize.
Amazing Pillow