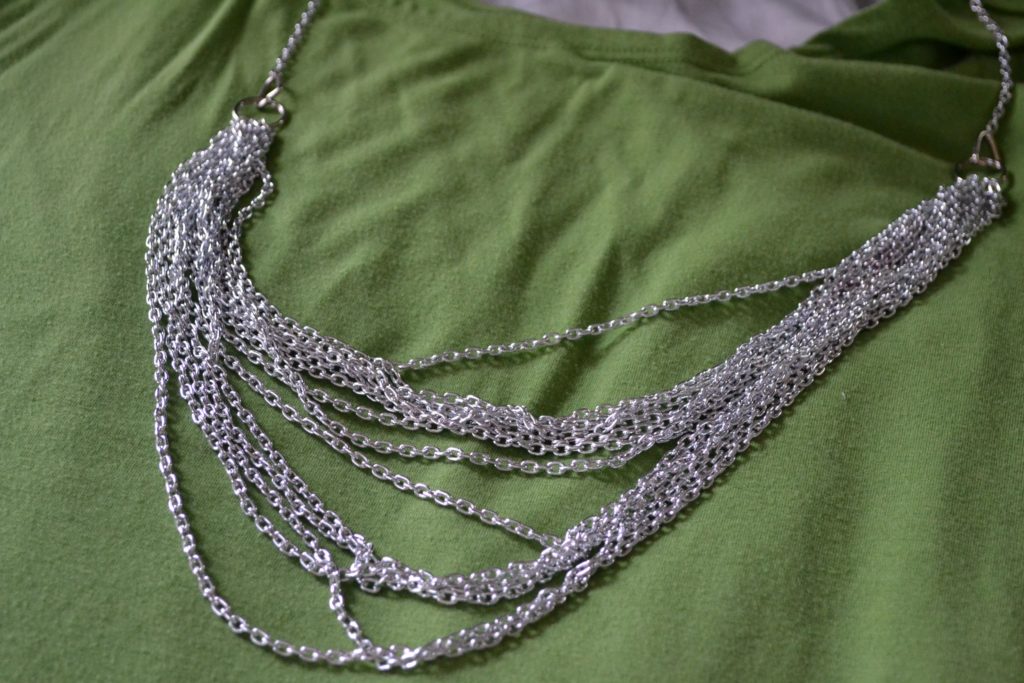
I bought a big spool of chain with a coupon at the craft store so I could make a simple necklace I could wear with anything. It’s just a whole mess of chains attached to one chain that goes around my neck, all thanks to jump rings.
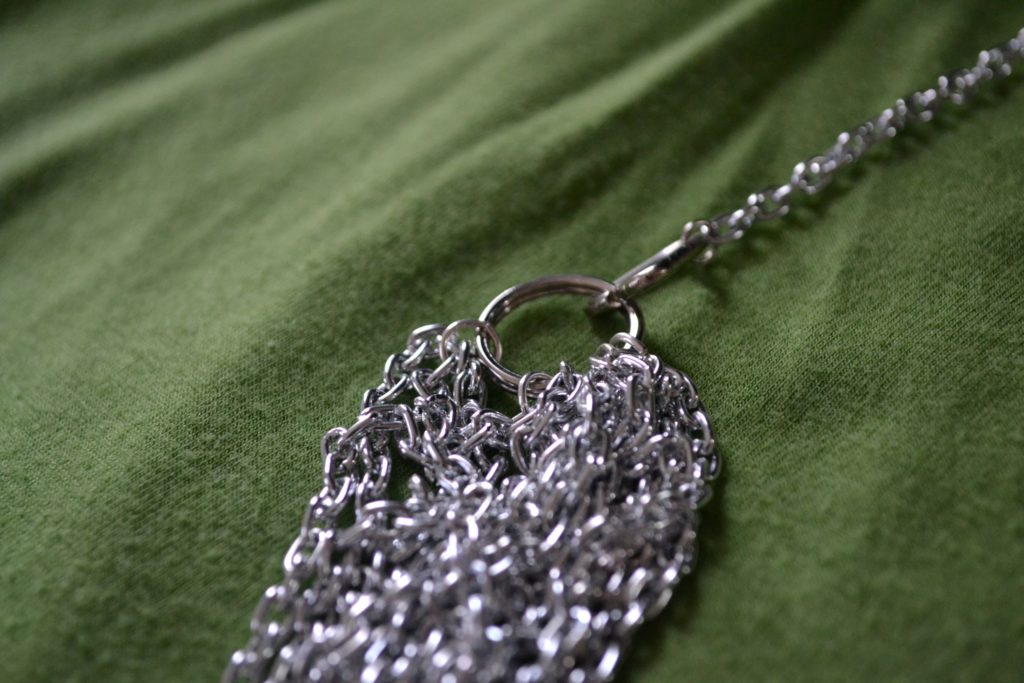
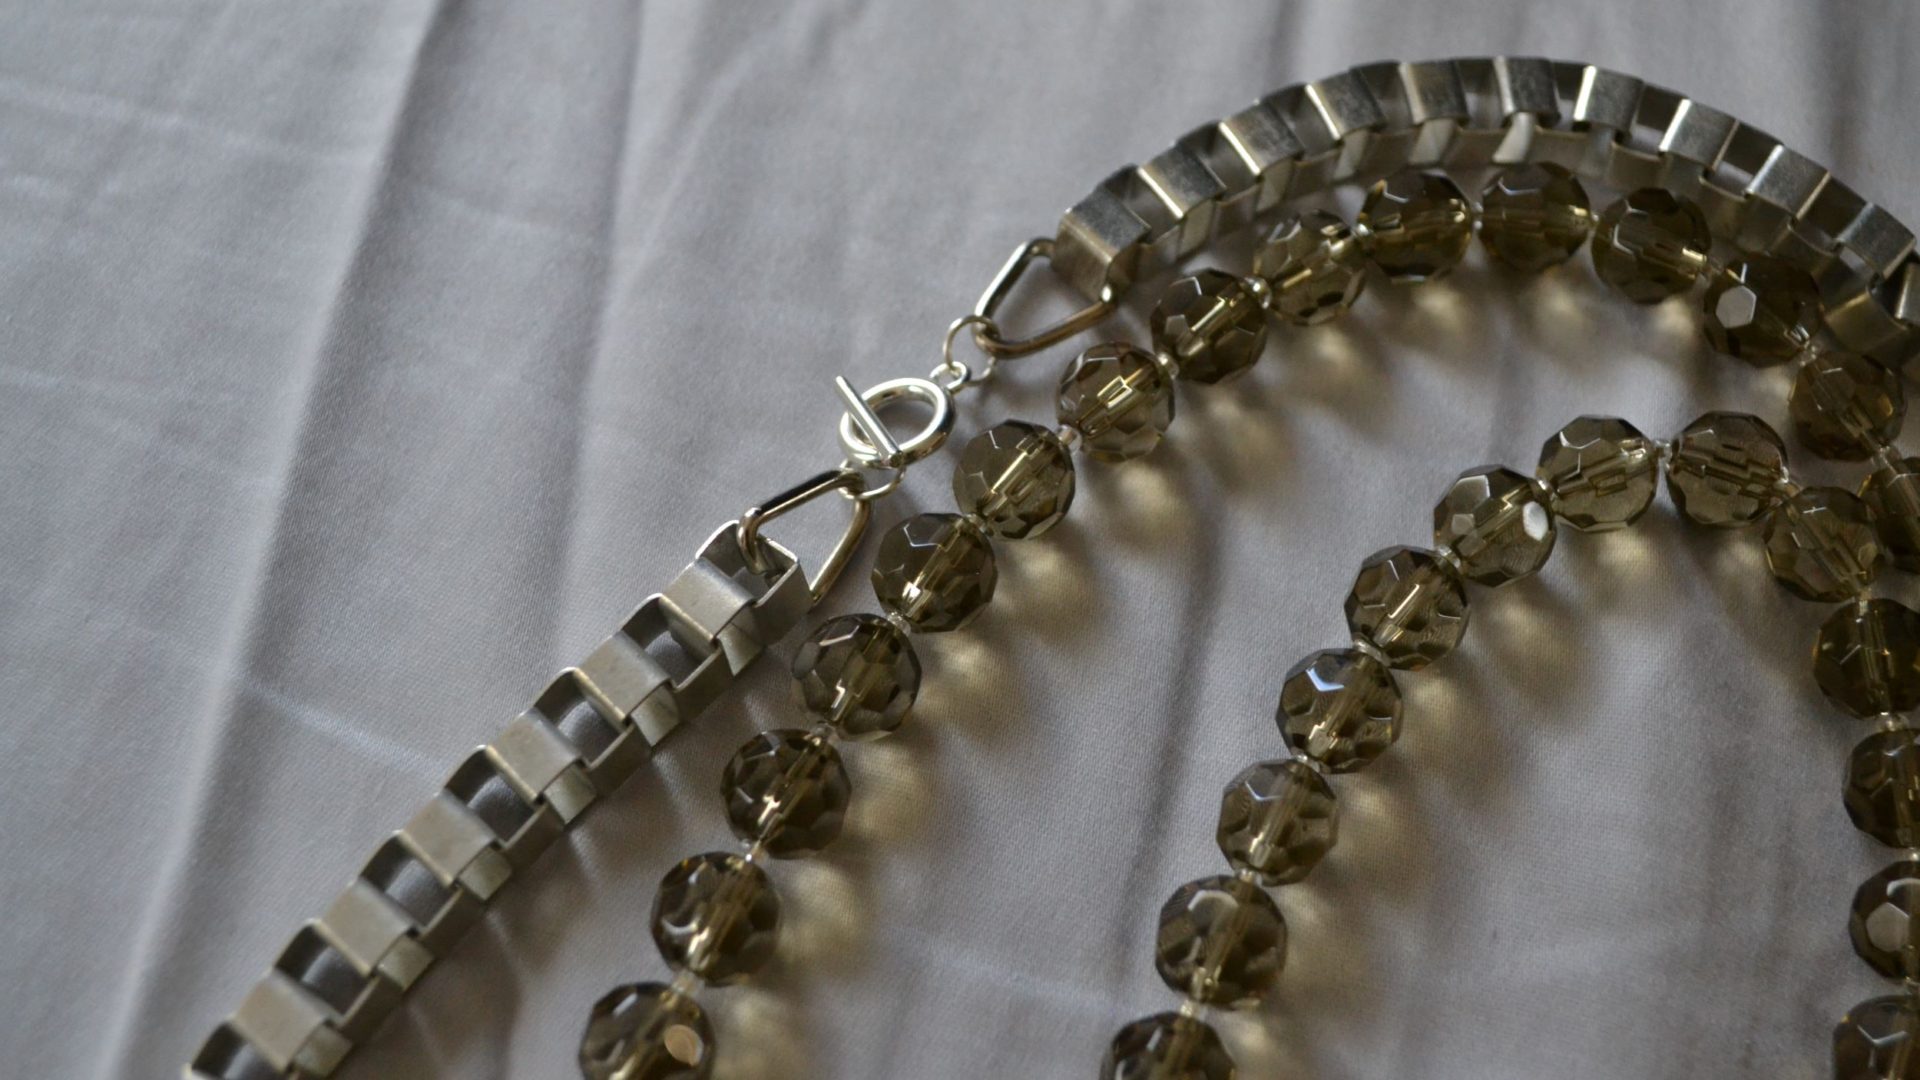
Here you can see that it’s chains attached to little rings, onto a bigger ring. Doing it this way saves cash by putting all the chain just where you can see it, and also saves the skin on the back of your neck from being rubbed off by a huge rope of chains.
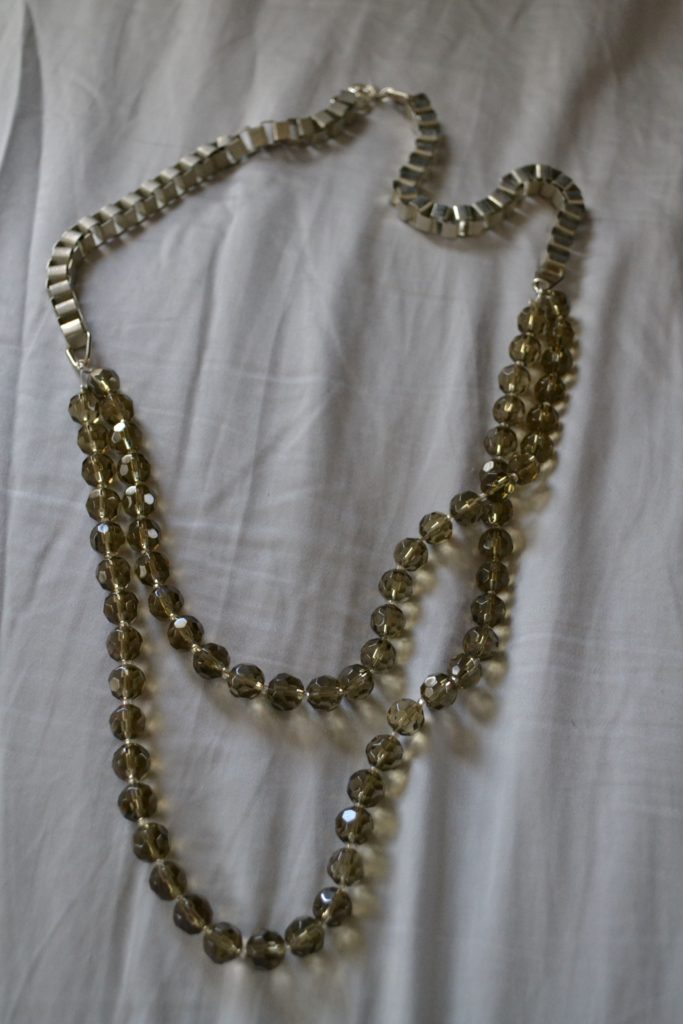
I just went nuts over this heavy chain I got at Michael’s, but I had no idea how to work with it. I also loved those gray brown faceted glass beads, so I just bought them because I loved them. That’s part of what’s so fun about jewelry to me, you buy stuff you love and then just mash it up together.
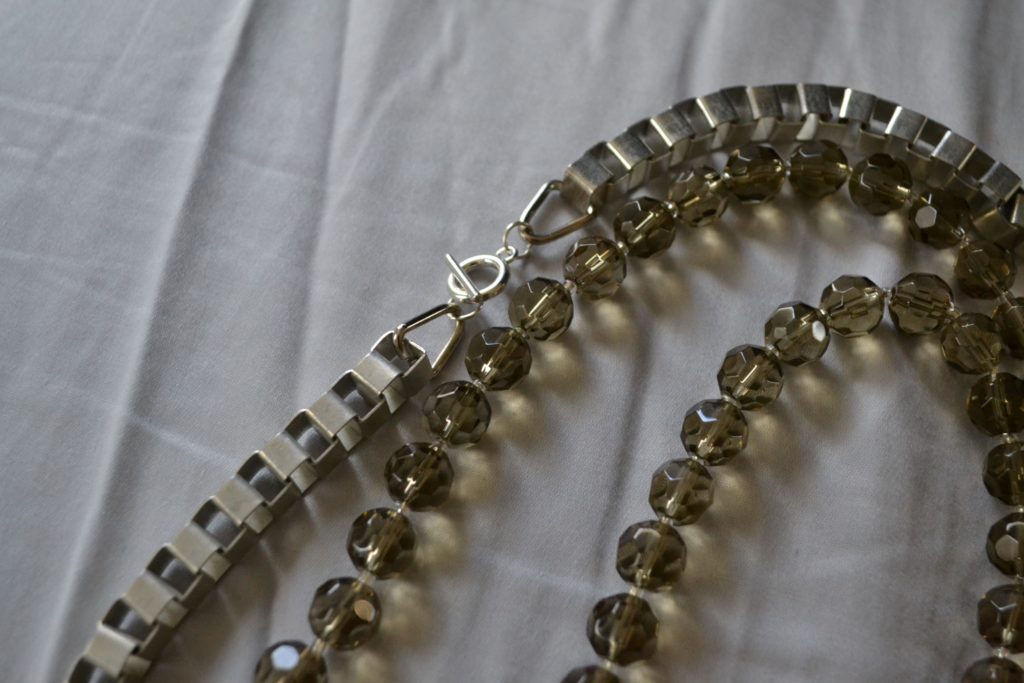
This chain is so thick that a circle big enough to get around it would be way huge. This was a perfect application for those triangle jump rings. I used these to attach the toggle closure to the chain, as well as the beads to the chain on the other end.
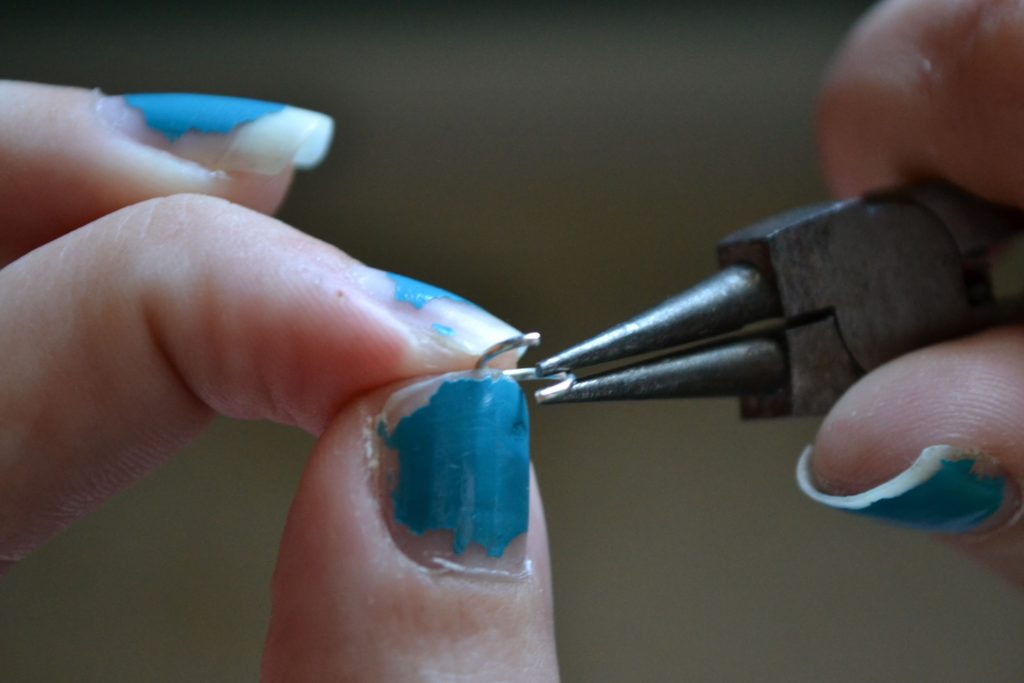
Jump rings are super simple to use, and incredibly versatile. All you have to do is twist the two ends open with a pair of pliers. Don’t pull them straight apart, you want to twist or you’ll never get it back in to proper position.
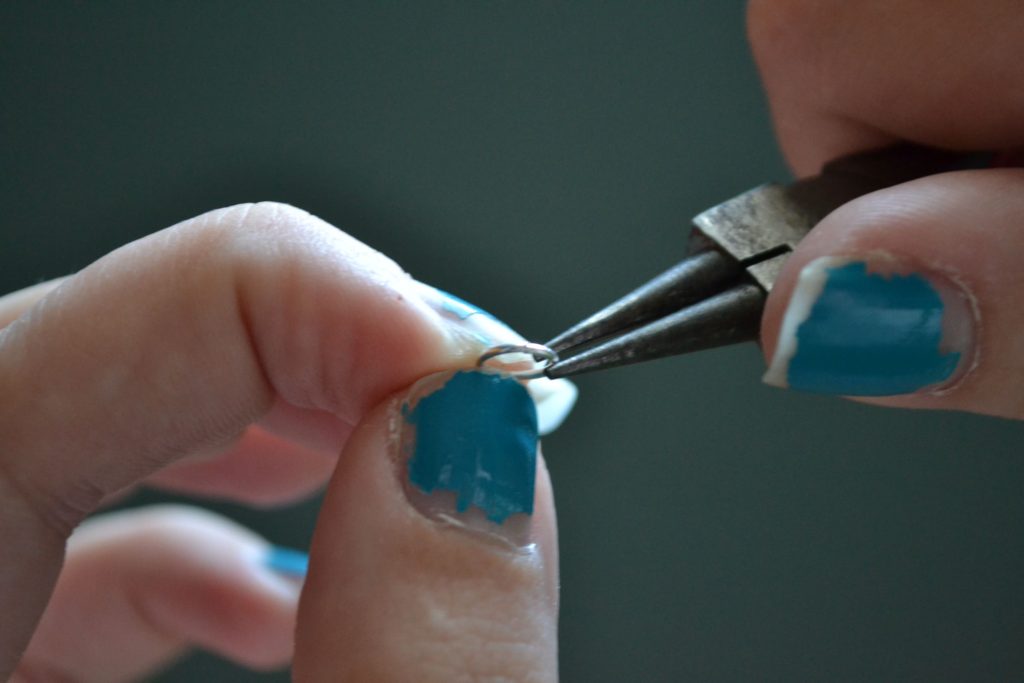
Then you just thread on your chain, your clasp, your charm, whatever you’re joining together and twist those two ends back until they’re touching.
This is part of what’s so addicting to me about jewelry making. It really couldn’t be much easier, but just knowing how to twist these rings closed opens up worlds of creativity. And betcha $10, if you’ve got a broken necklace you now know how to fix it.



3 thoughts on “Chain Necklaces: Working with Jump Rings”
Comments are closed.