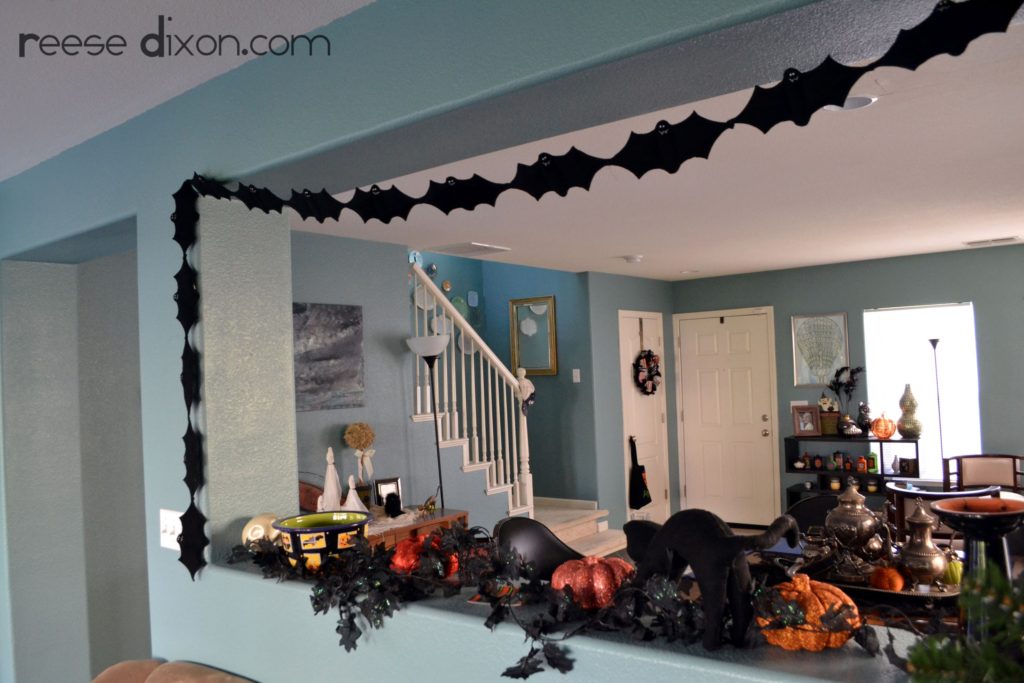
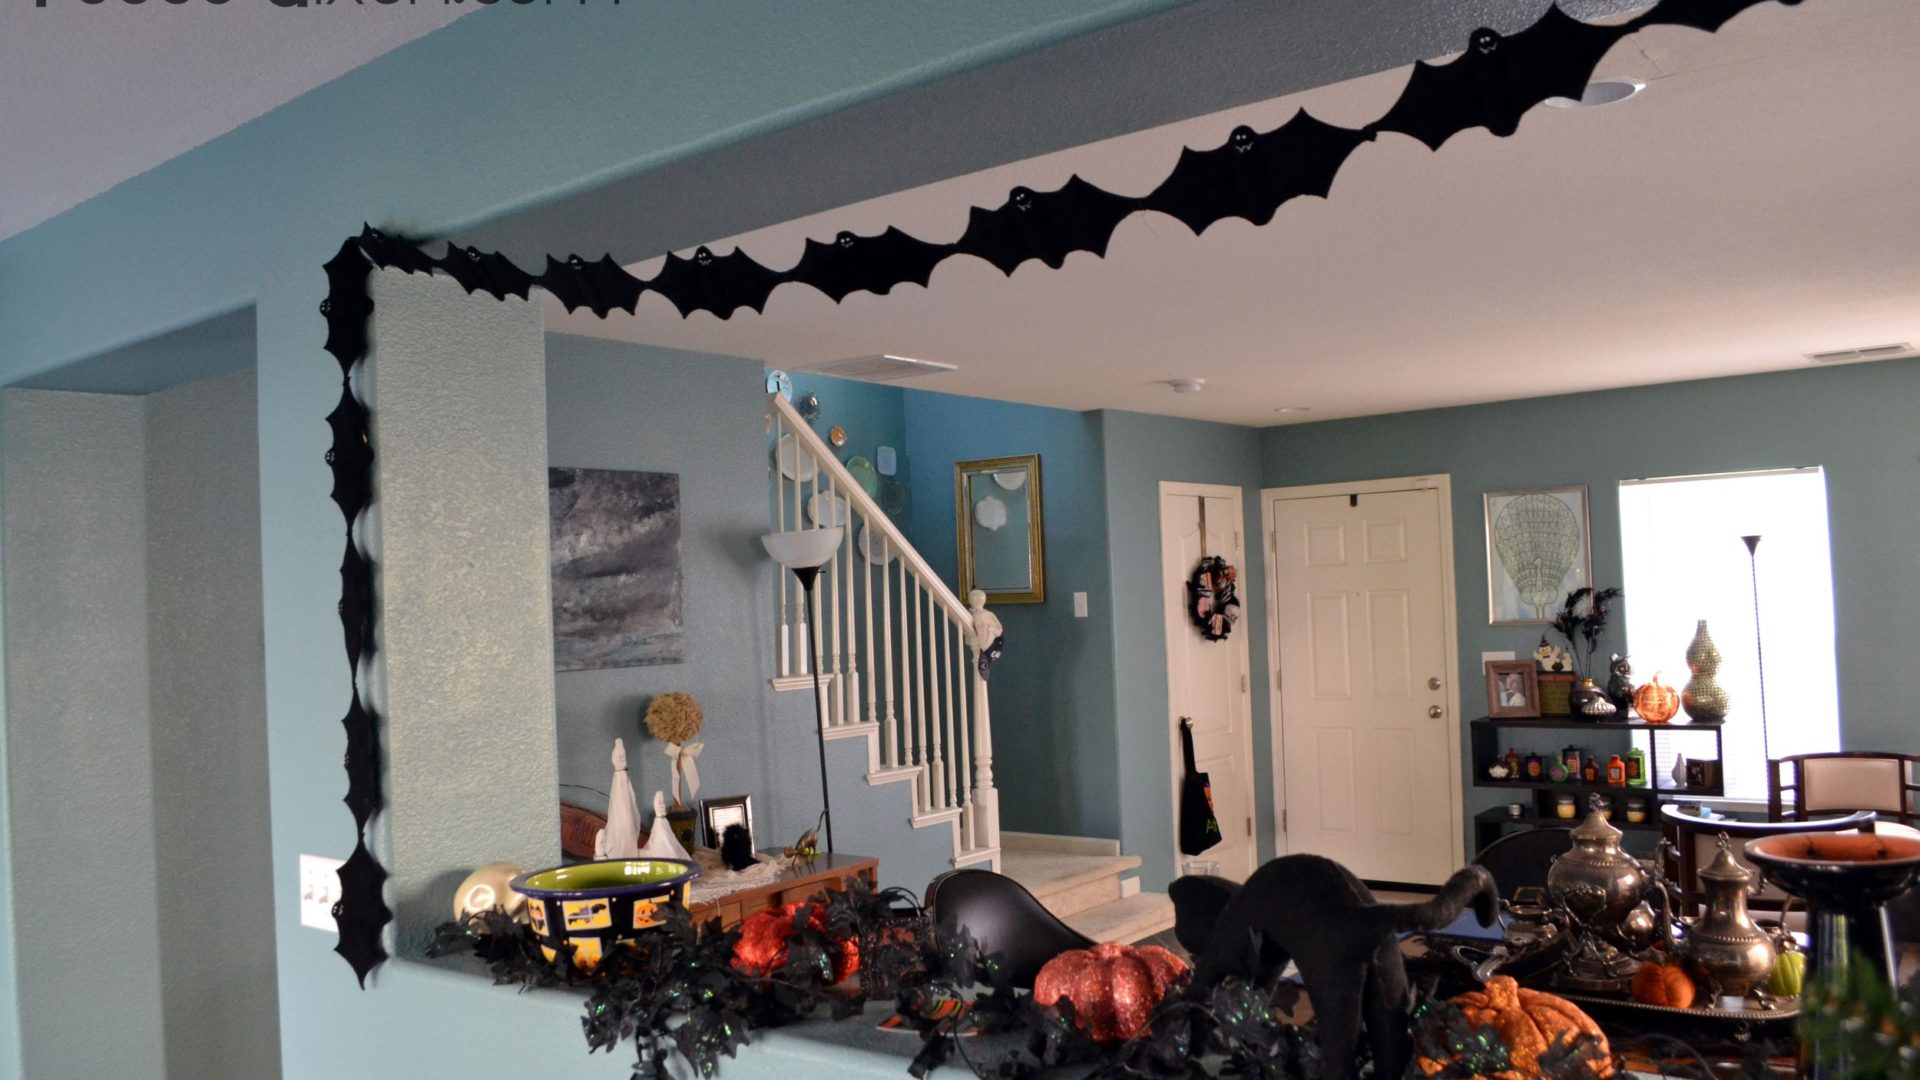
It took me a little longer this year, but I finally got all my Halloween decorations up. I’ve got quite a few new projects to show you, and next week will be stuffed with Halloween costume ideas, but I thought I’d start today with this bat garland I sewed up. Two years ago (!) I made two Halloween trees, and because I couldn’t make up my mind how I wanted to decorate, I ended up with one brightly colored and glittery whimsical tree, and one spooky cream and black vintage tree. In this house it just kind of worked out that all the decorations fit in the front part of the downstairs, which left our spooky cream and black tree in the living room all on it’s own. So I decided I needed to make a little something to bring some more festivity into this part of the house, fit with the spooky tree theme, and could be hung up since all the available surfaces were already taken. A garland was the perfect solution.
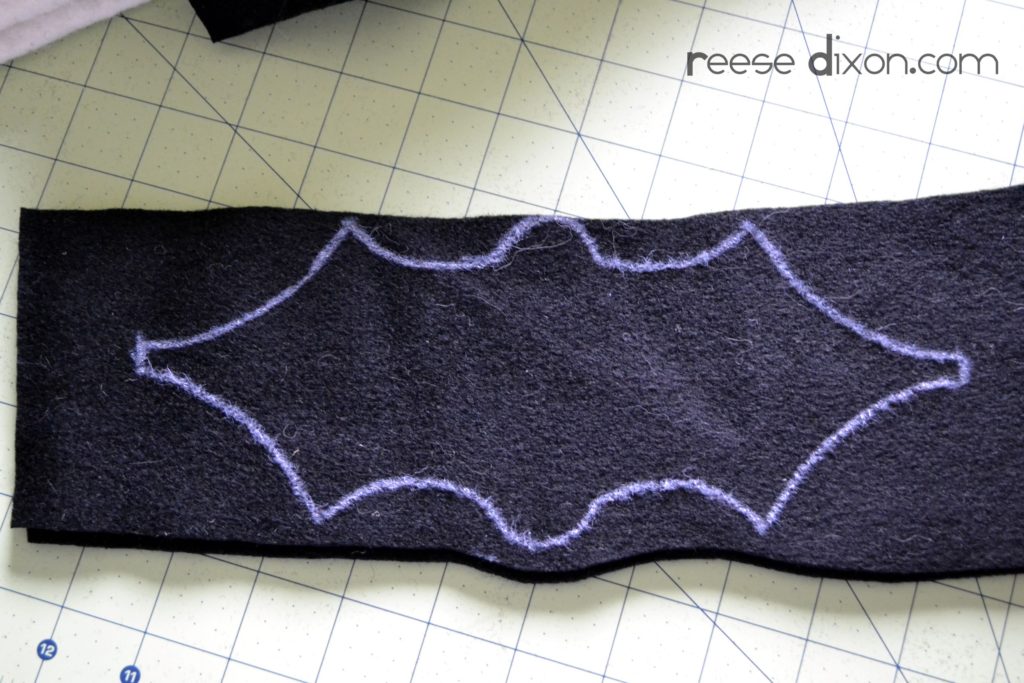
I had a bunch of black wool I’ve been trying to use up for years, but you can use any fabric that won’t fray too much, since we won’t be giving this a really secure hem. I also really like how it looks with a thicker fabric, so for that you could stick to felt, fleece, or maybe even velvet. You can draw a simple bat pattern, but if you’d like, you can use the one I made for you. Click here for a pdf.
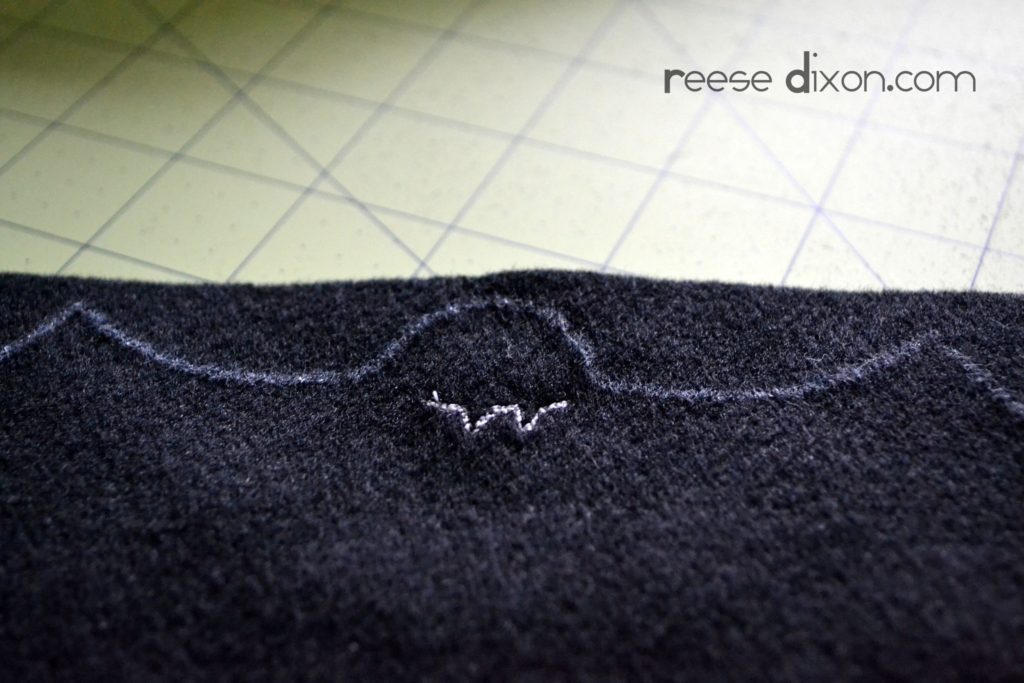
The bat needs a face, so to make the mouth I just did a little stitching with my sewing machine. You could do this part by hand too, but it went super fast on a machine. I just had to go over it a few times to get it to show up on the dark fabric.
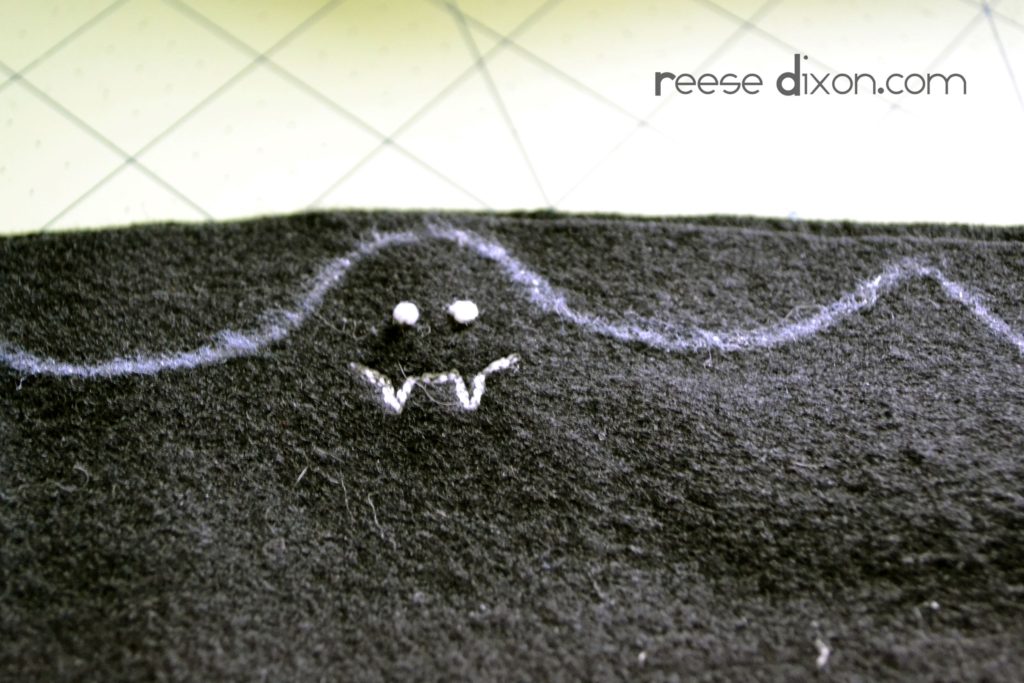
To make the eyes I just made a couple of french knots with a cotton crochet thread. A satin stitch, or even beads, would work too if you’re not a fan of french knots.
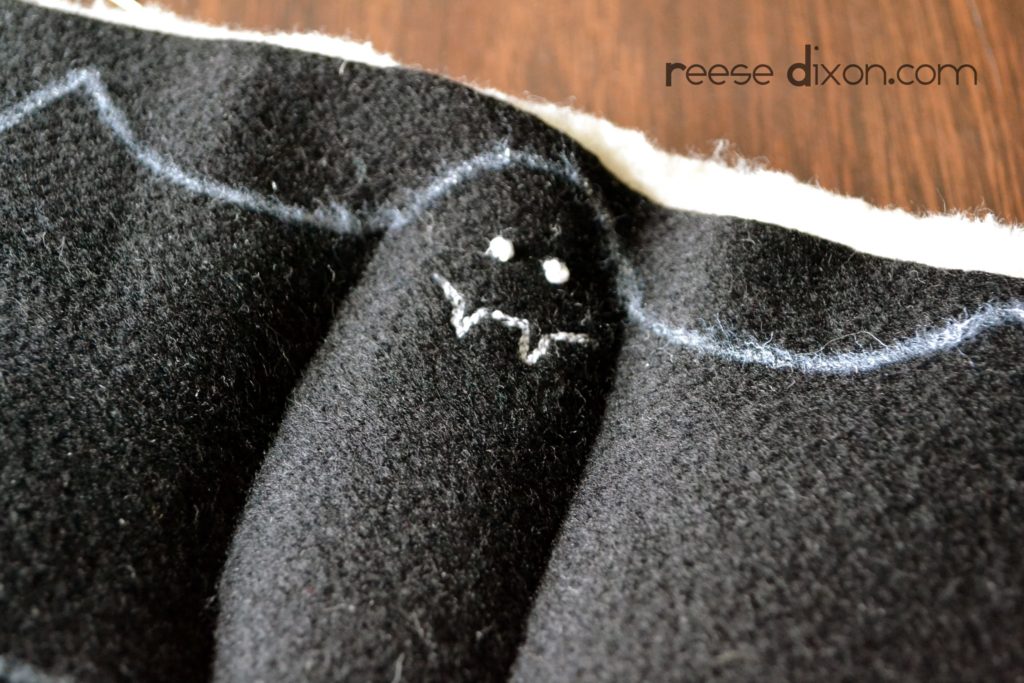
Put four layers of batting between the two layers of your fabric, and sew down from top to bottom to create some definition for the bat body. If you use a batting with a natural fiber you’ll save yourself a big fat headache in the next few steps, but it’s not strictly necessary.
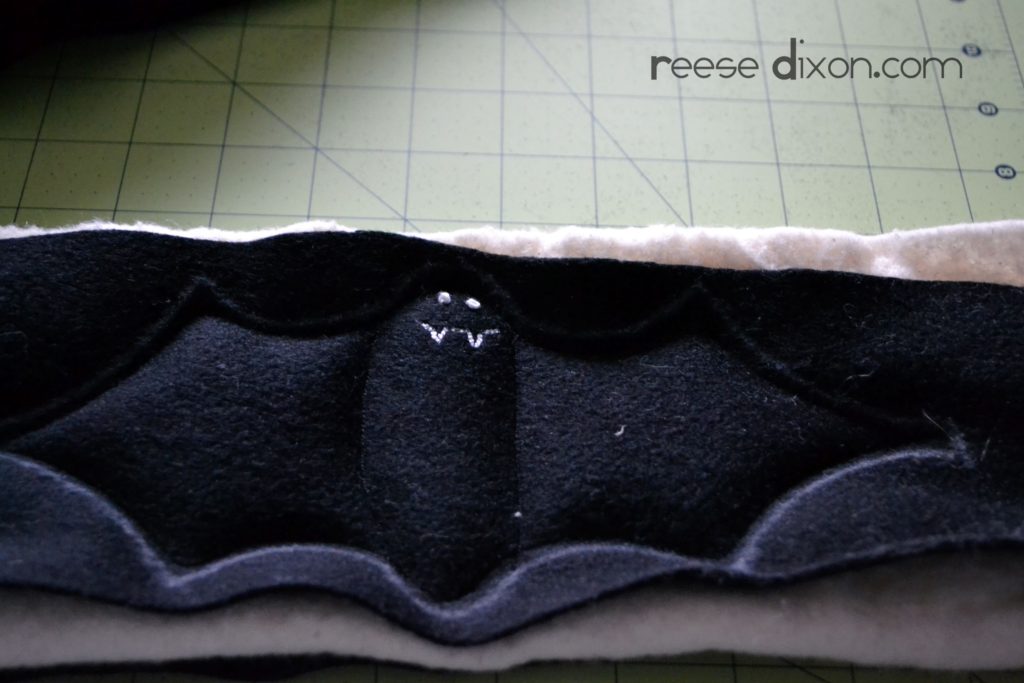
Sew all the way around the bat, a generous 1/4″ inside the line you plan on cutting. The further inside that line you go, the easier time you’ll have of removing the batting, and the cleaner the final product will look.
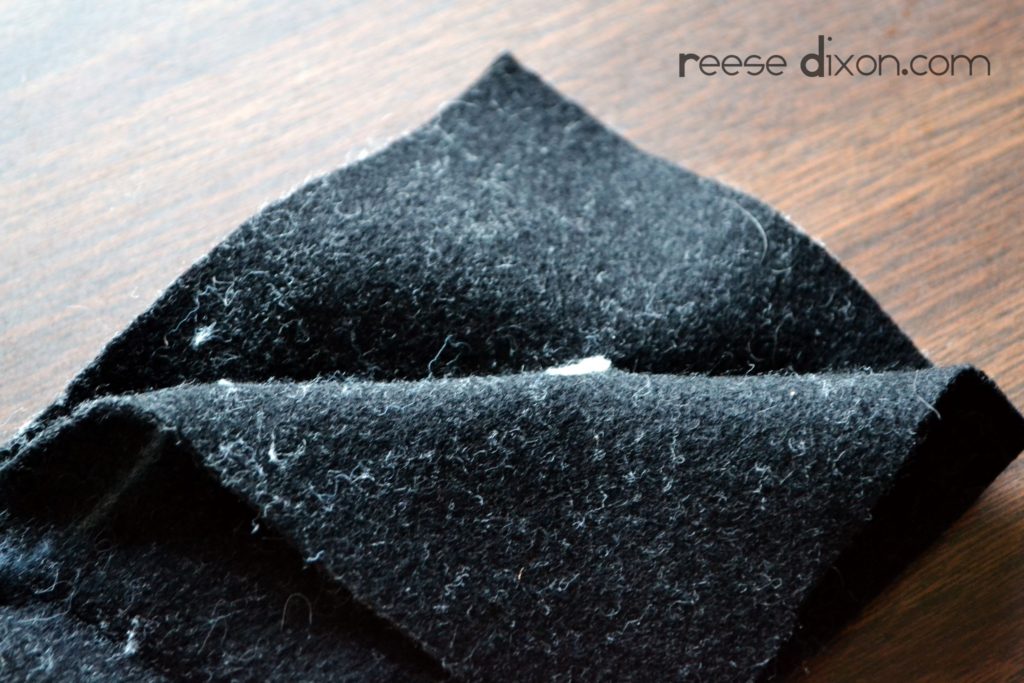
Now it’s time to get rid of the excess batting. After much experimentation, I found the best method was to just open the fabric, keep a good grip on the sewing line, and rip the batting away. Since I used a cotton batting it came apart way easy. I followed with a small pair of scissors to get things as clean as possible.
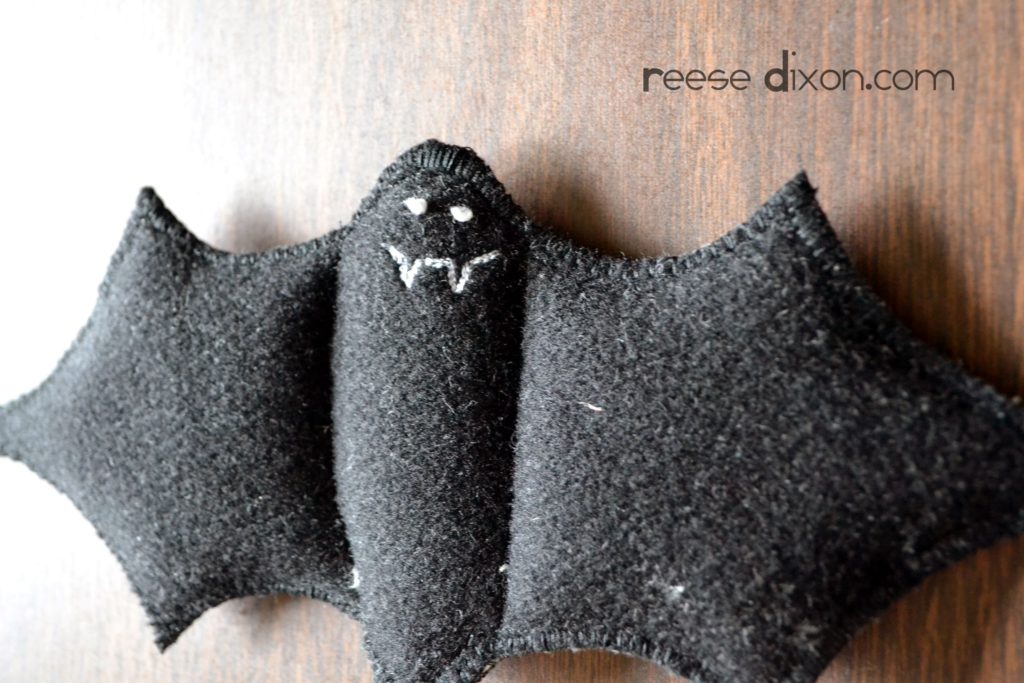
Use a zigzag stitch all the way around the bat to close those two layers around the batting and create a clean, finished look.
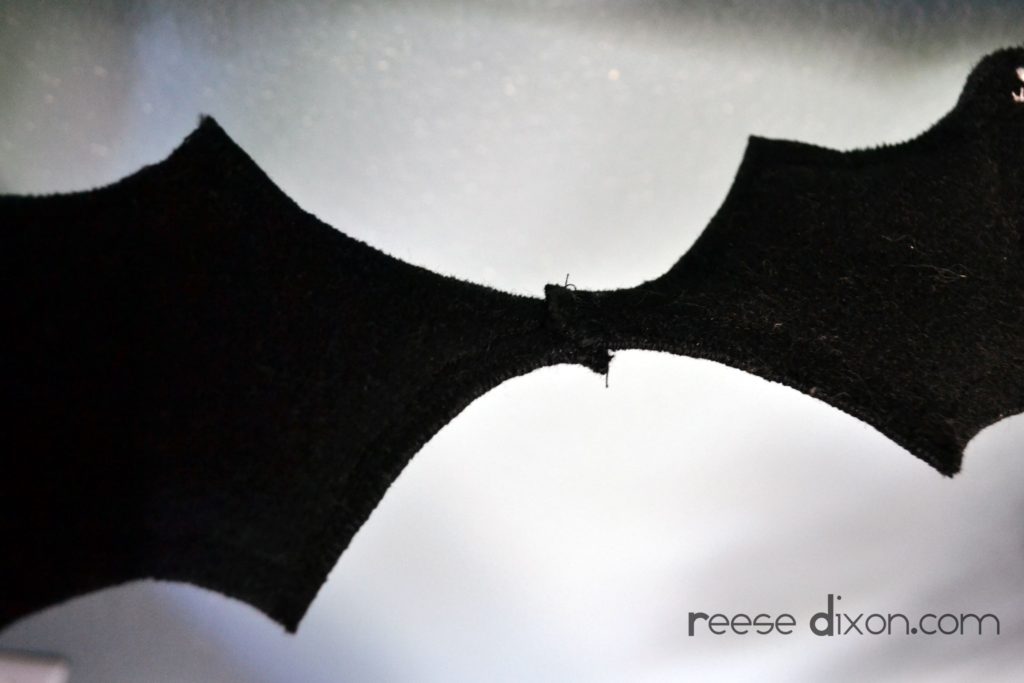
You could attach a hanger just before the zigzag if you wanted to use these separately, but to make a garland just layer the ends of their little bat wings and zigzag stitch them securely.
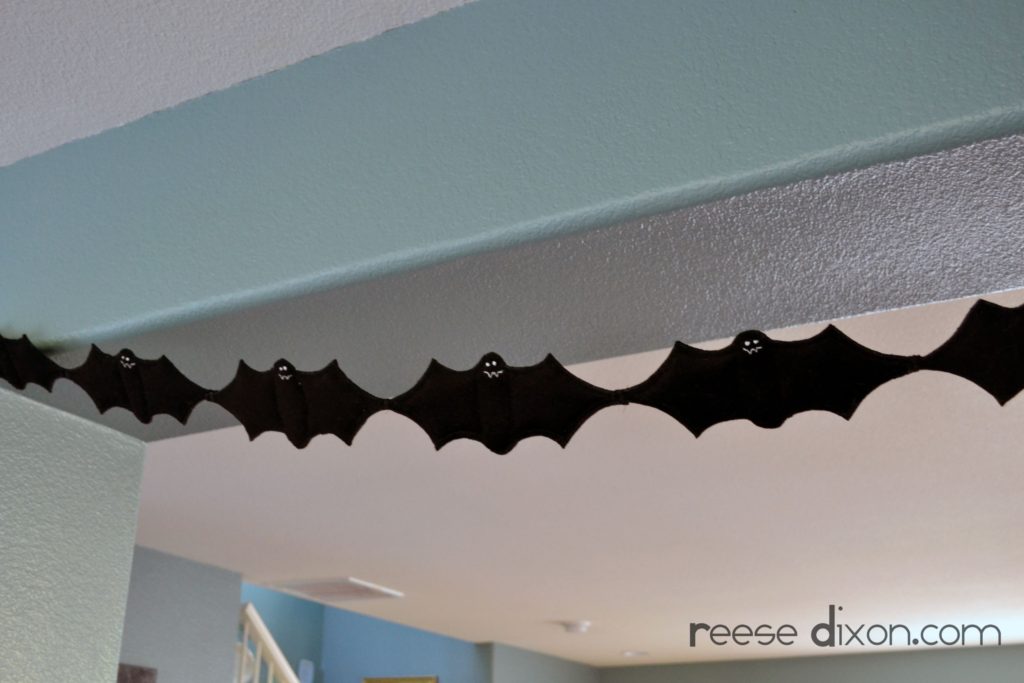
I love their cute little smiling faces staring down at me. It seems so perfect to have these little guys hanging from the ceiling, bringing a little more spook into a sadly neglected room.



I’m finally putting up our garland too! Yours is way cute.
Cute garland! And I love your other decor too!
I'd love for you to stop by and link up at my Friday Favorites party!