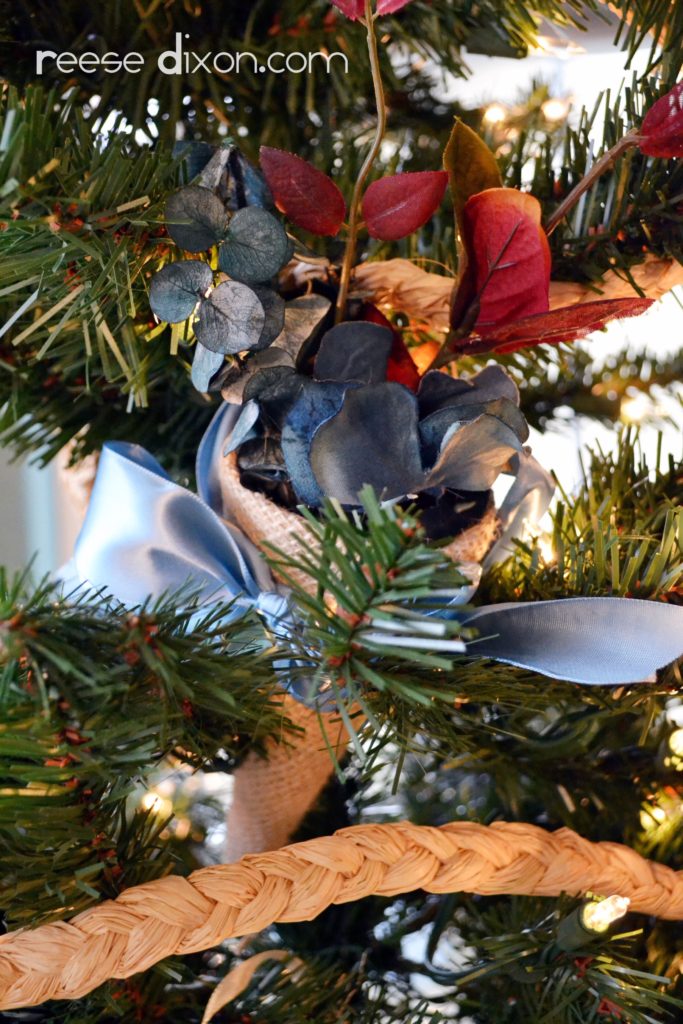
Didn’t I promise you that not everything would be about nativities? I really wracked my brain for a way to bring in some different colors and materials and a shape that wasn’t just another Mary doll, and I love how this turned out. Everything about this tree is a balance between high/low, luxury/simplicity, rich/poor, and I think that tension is reflected in this little nosegay. The burlap fabric of the cone couldn’t look more rough and tumble, while the satin ribbon and flowers looks sumptuous.
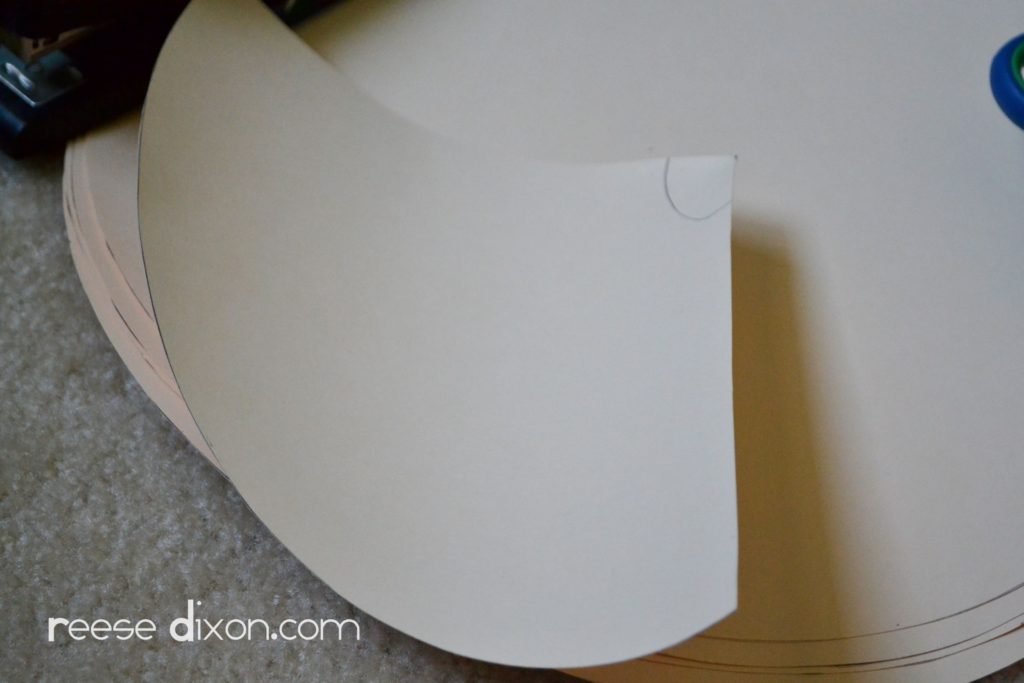
Start by tracing a large circle onto a thick paper. I used a manilla envelope and traced a plate. Then cut that circle into thirds.
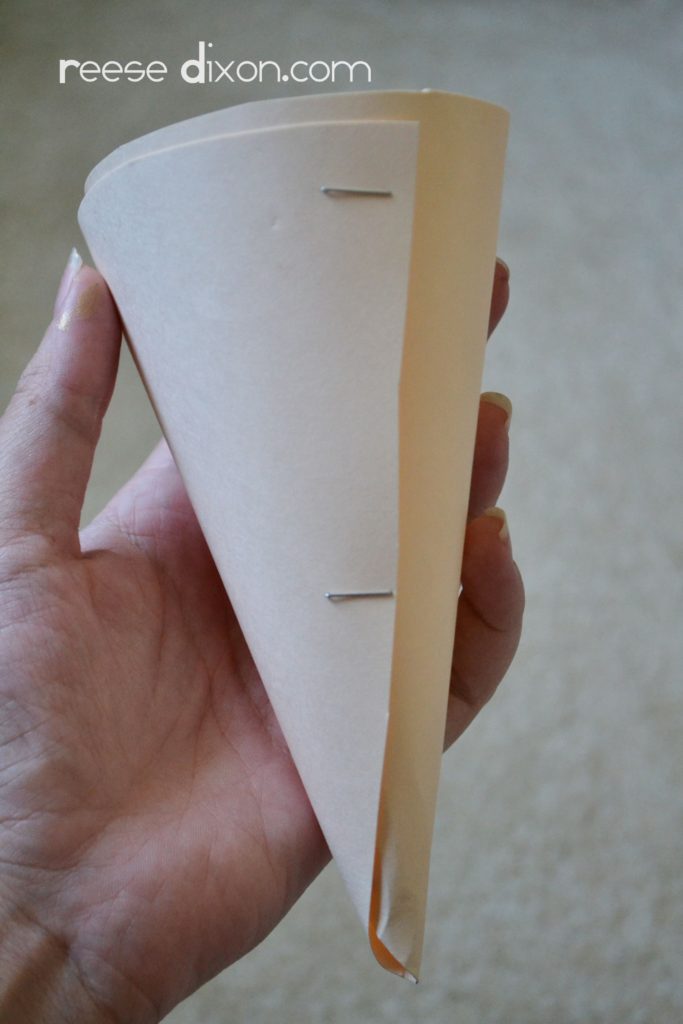
Roll the paper up, and secure it with a couple of staples.
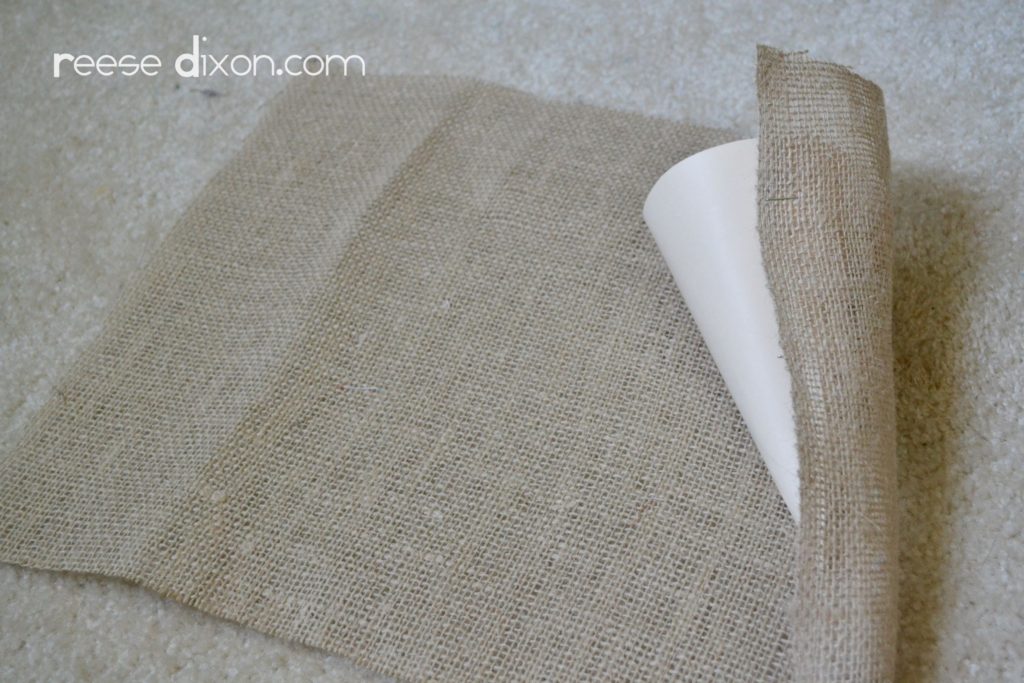
Cover the cone in burlap fabric by rolling it up and stapling it in place. I loved how it looked when the burlap was a little loose, so I didn’t worry too much about pulling really tight. You just want the bottom edge to be neat, and leave enough at the top to tuck under.
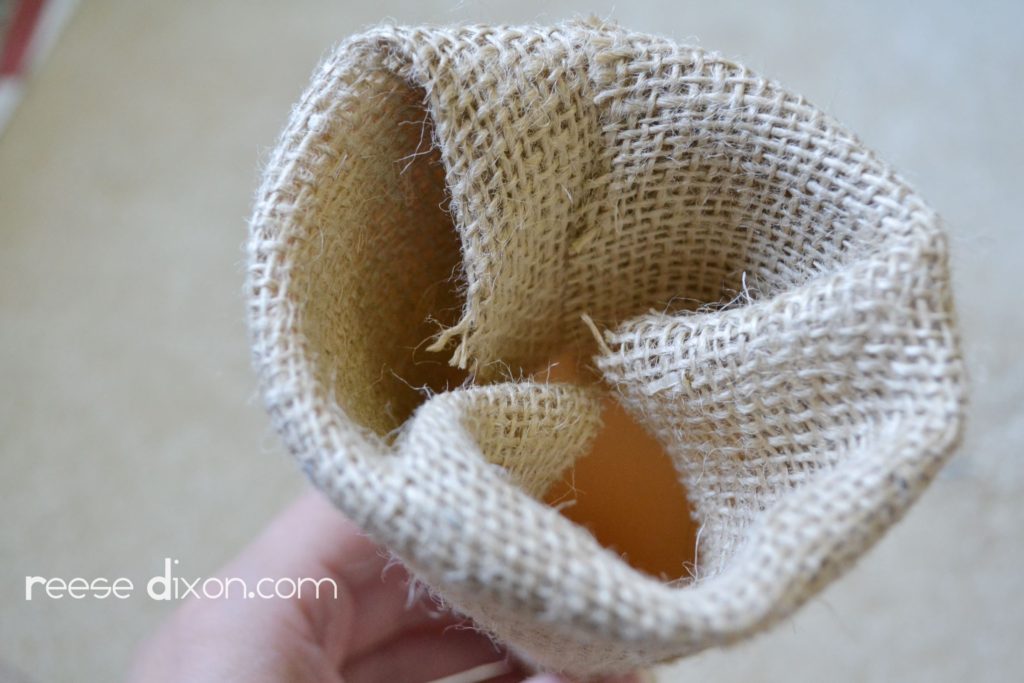
Tuck all the remaining burlap into the center of the cone and arrange. Glue the burlap in place.
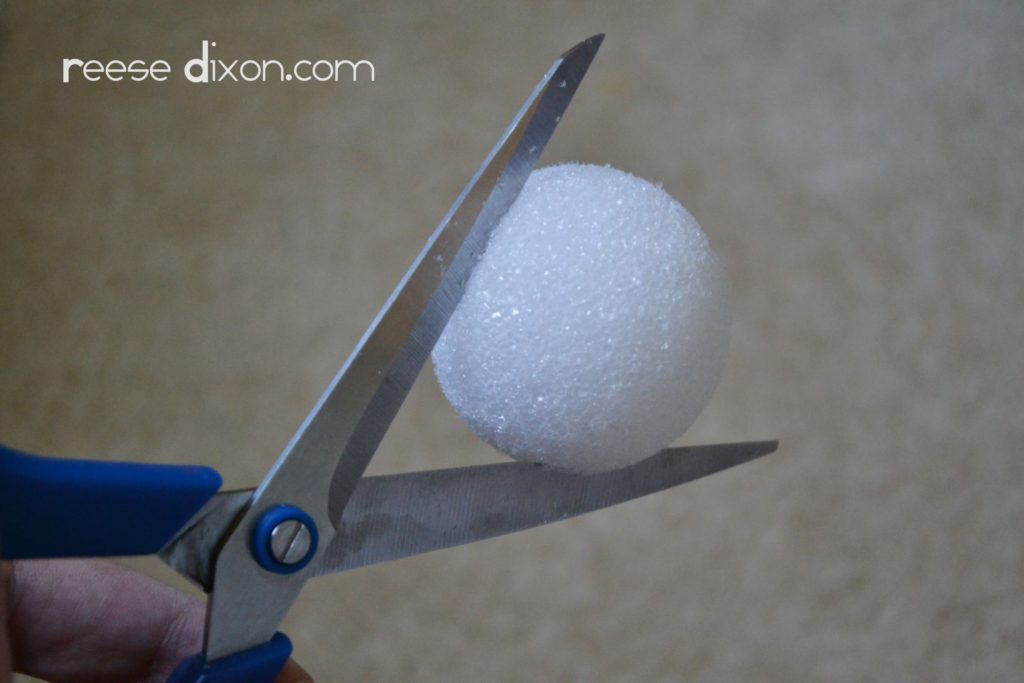
Cut a small styrofoam ball in half …
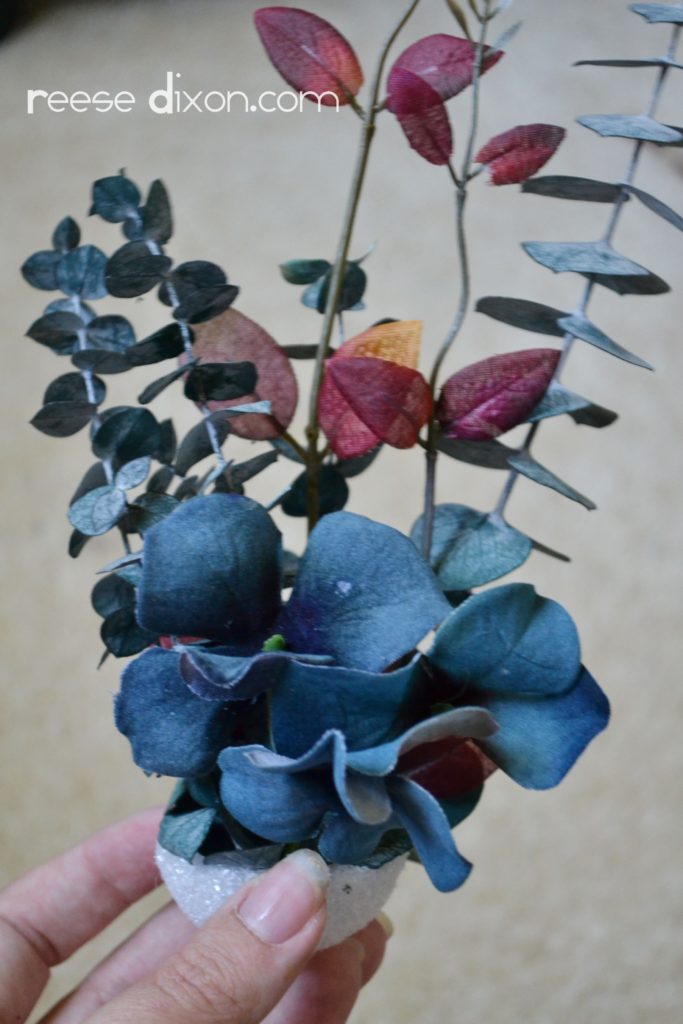
… and arrange your flowers inside it.
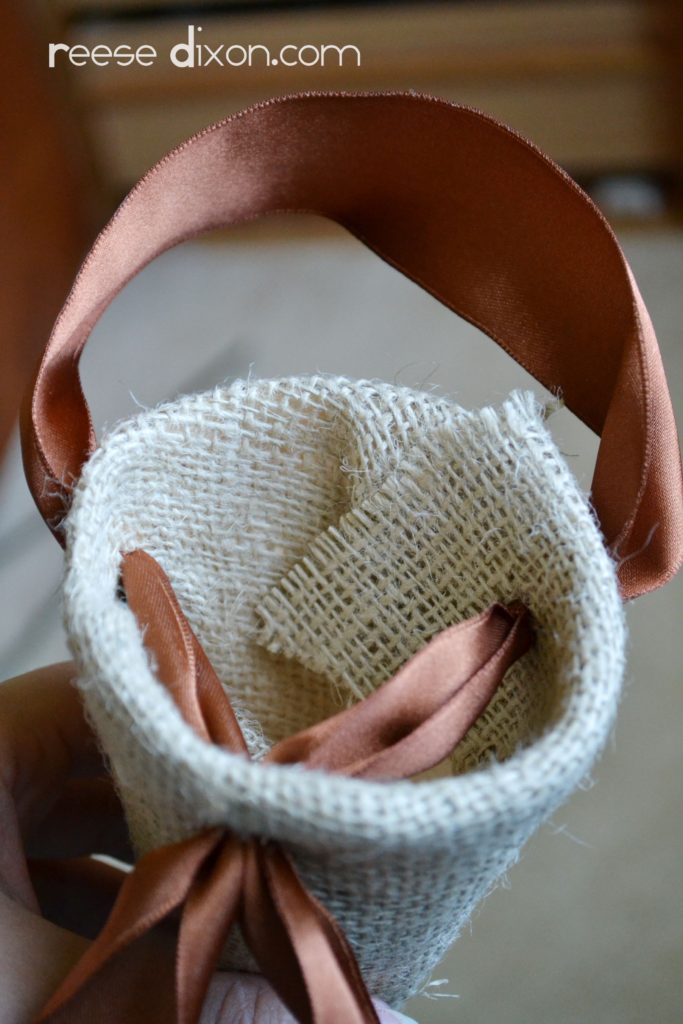
Before you place your flowers inside the cone, you need to arrange your ribbon. Punch two holes near the back, and a large hole right in front. Thread the ribbon through from the back to the front, leaving enough ribbon to hang the ornament.

Tie a big gorgeous bow with the ribbon threaded through the front of the cone, and notch the ends.
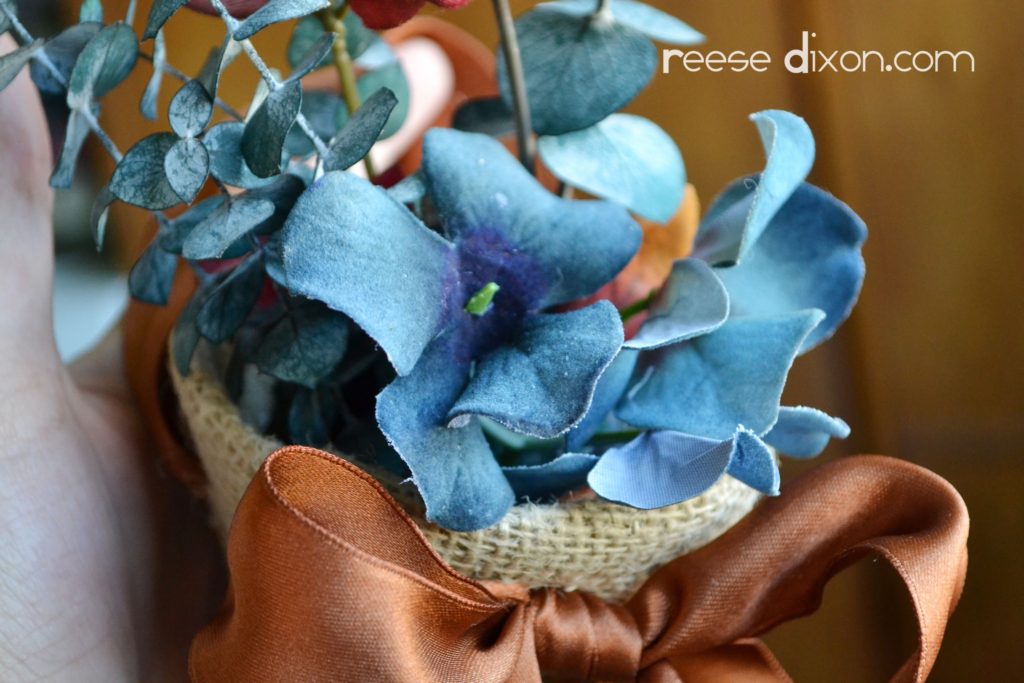
Tuck the flowers inside the cone with a healthy dose of glue to keep it all in place.
The nice thing about aiming for a rustic look is that you don’t have to worry too much about being neat. But if you took your time with this, this project could be used all year round for all kinds of things. Party favors, spring decor, covered with the right kind of fabric and ribbon, this floral cone could work for every season.



Great idea!. Lot of kisses from Spain.
I love this idea and the easy assembly instructions. Think I will use it and add fresh flowers in a water tube inside the cone, to honor the internment of my bother-in-law's ashes at his family crypt. Thanks!
what a great idea! Create a beautiful Burlap Floral Cones with a simple things..thanks for sharing..keep it up…
like
I loved how it looked when the burlap was a little loose, so I didn’t worry too much about pulling really tight. You just want the bottom edge to be neat, and leave enough at the top to tuck under.
Read more at kinh nghiem tim viec lam
Read more at kinh nghiem ban hang online