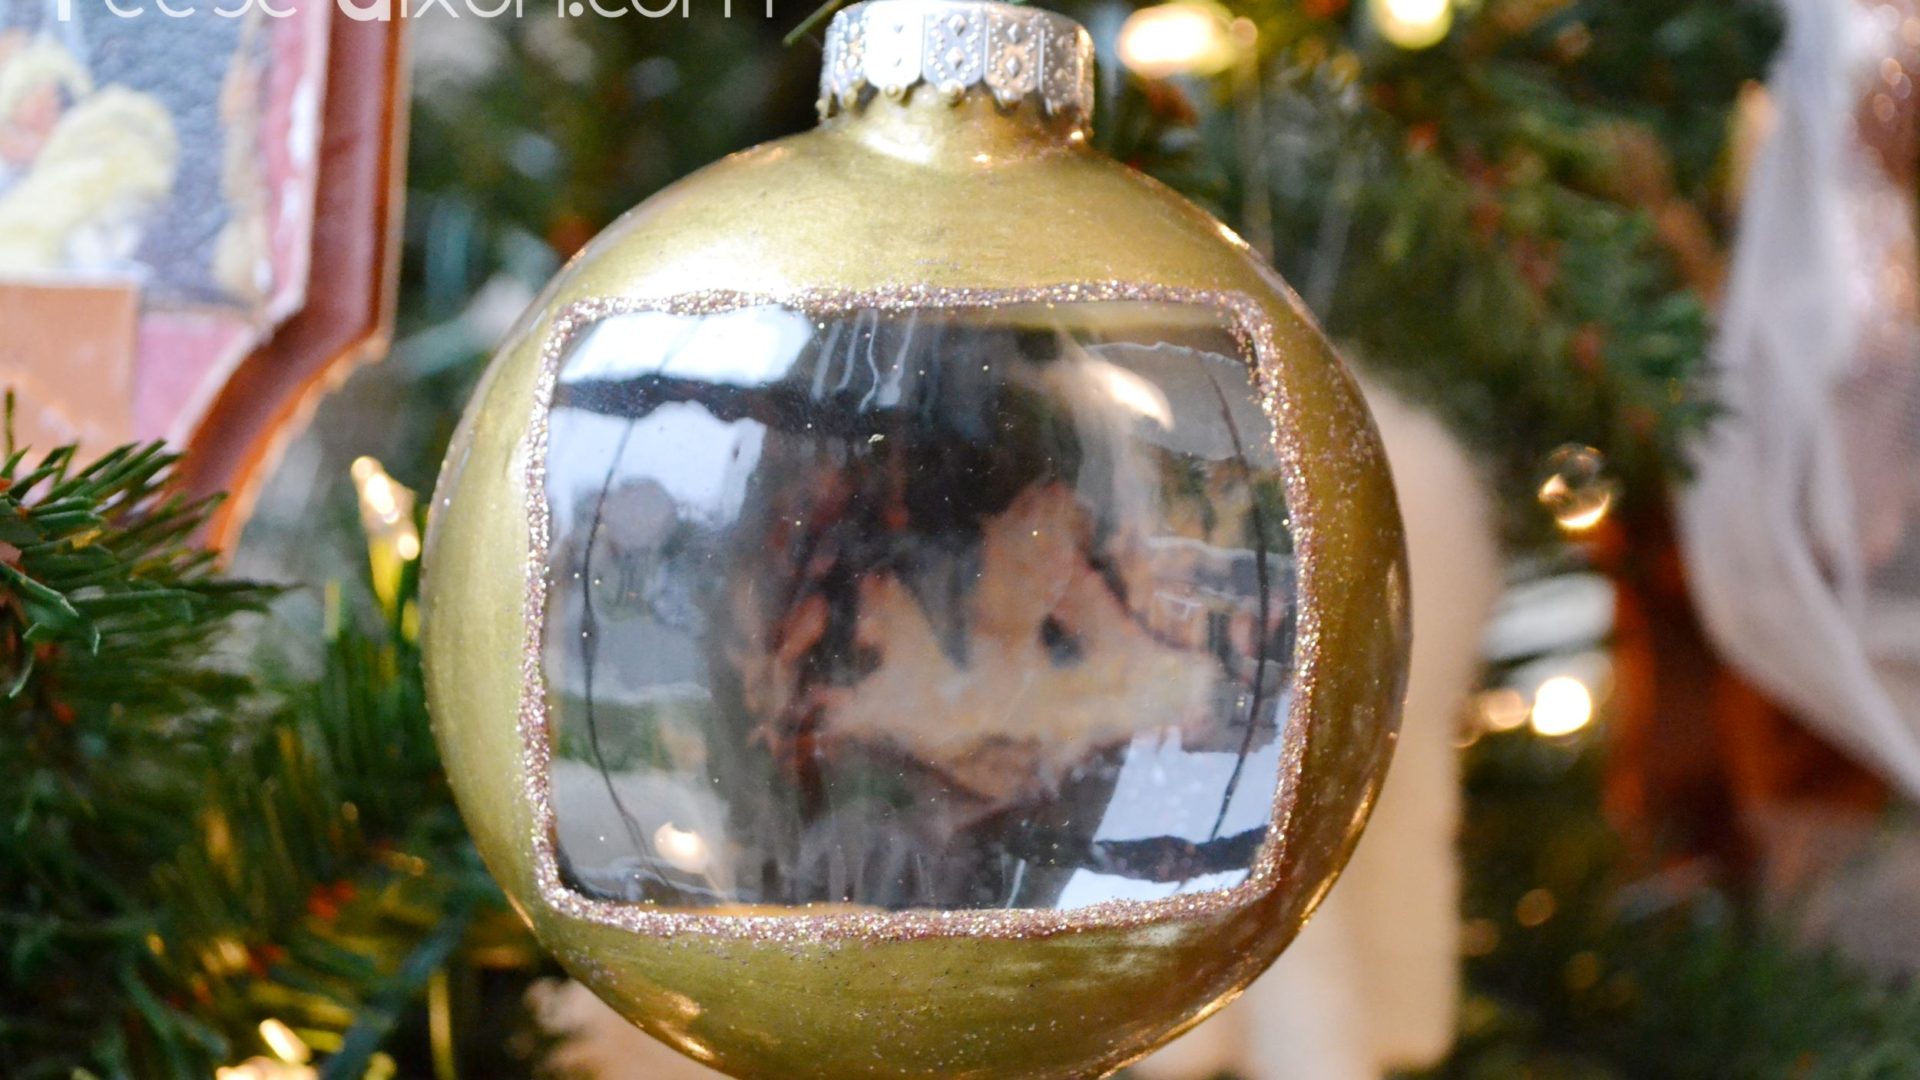
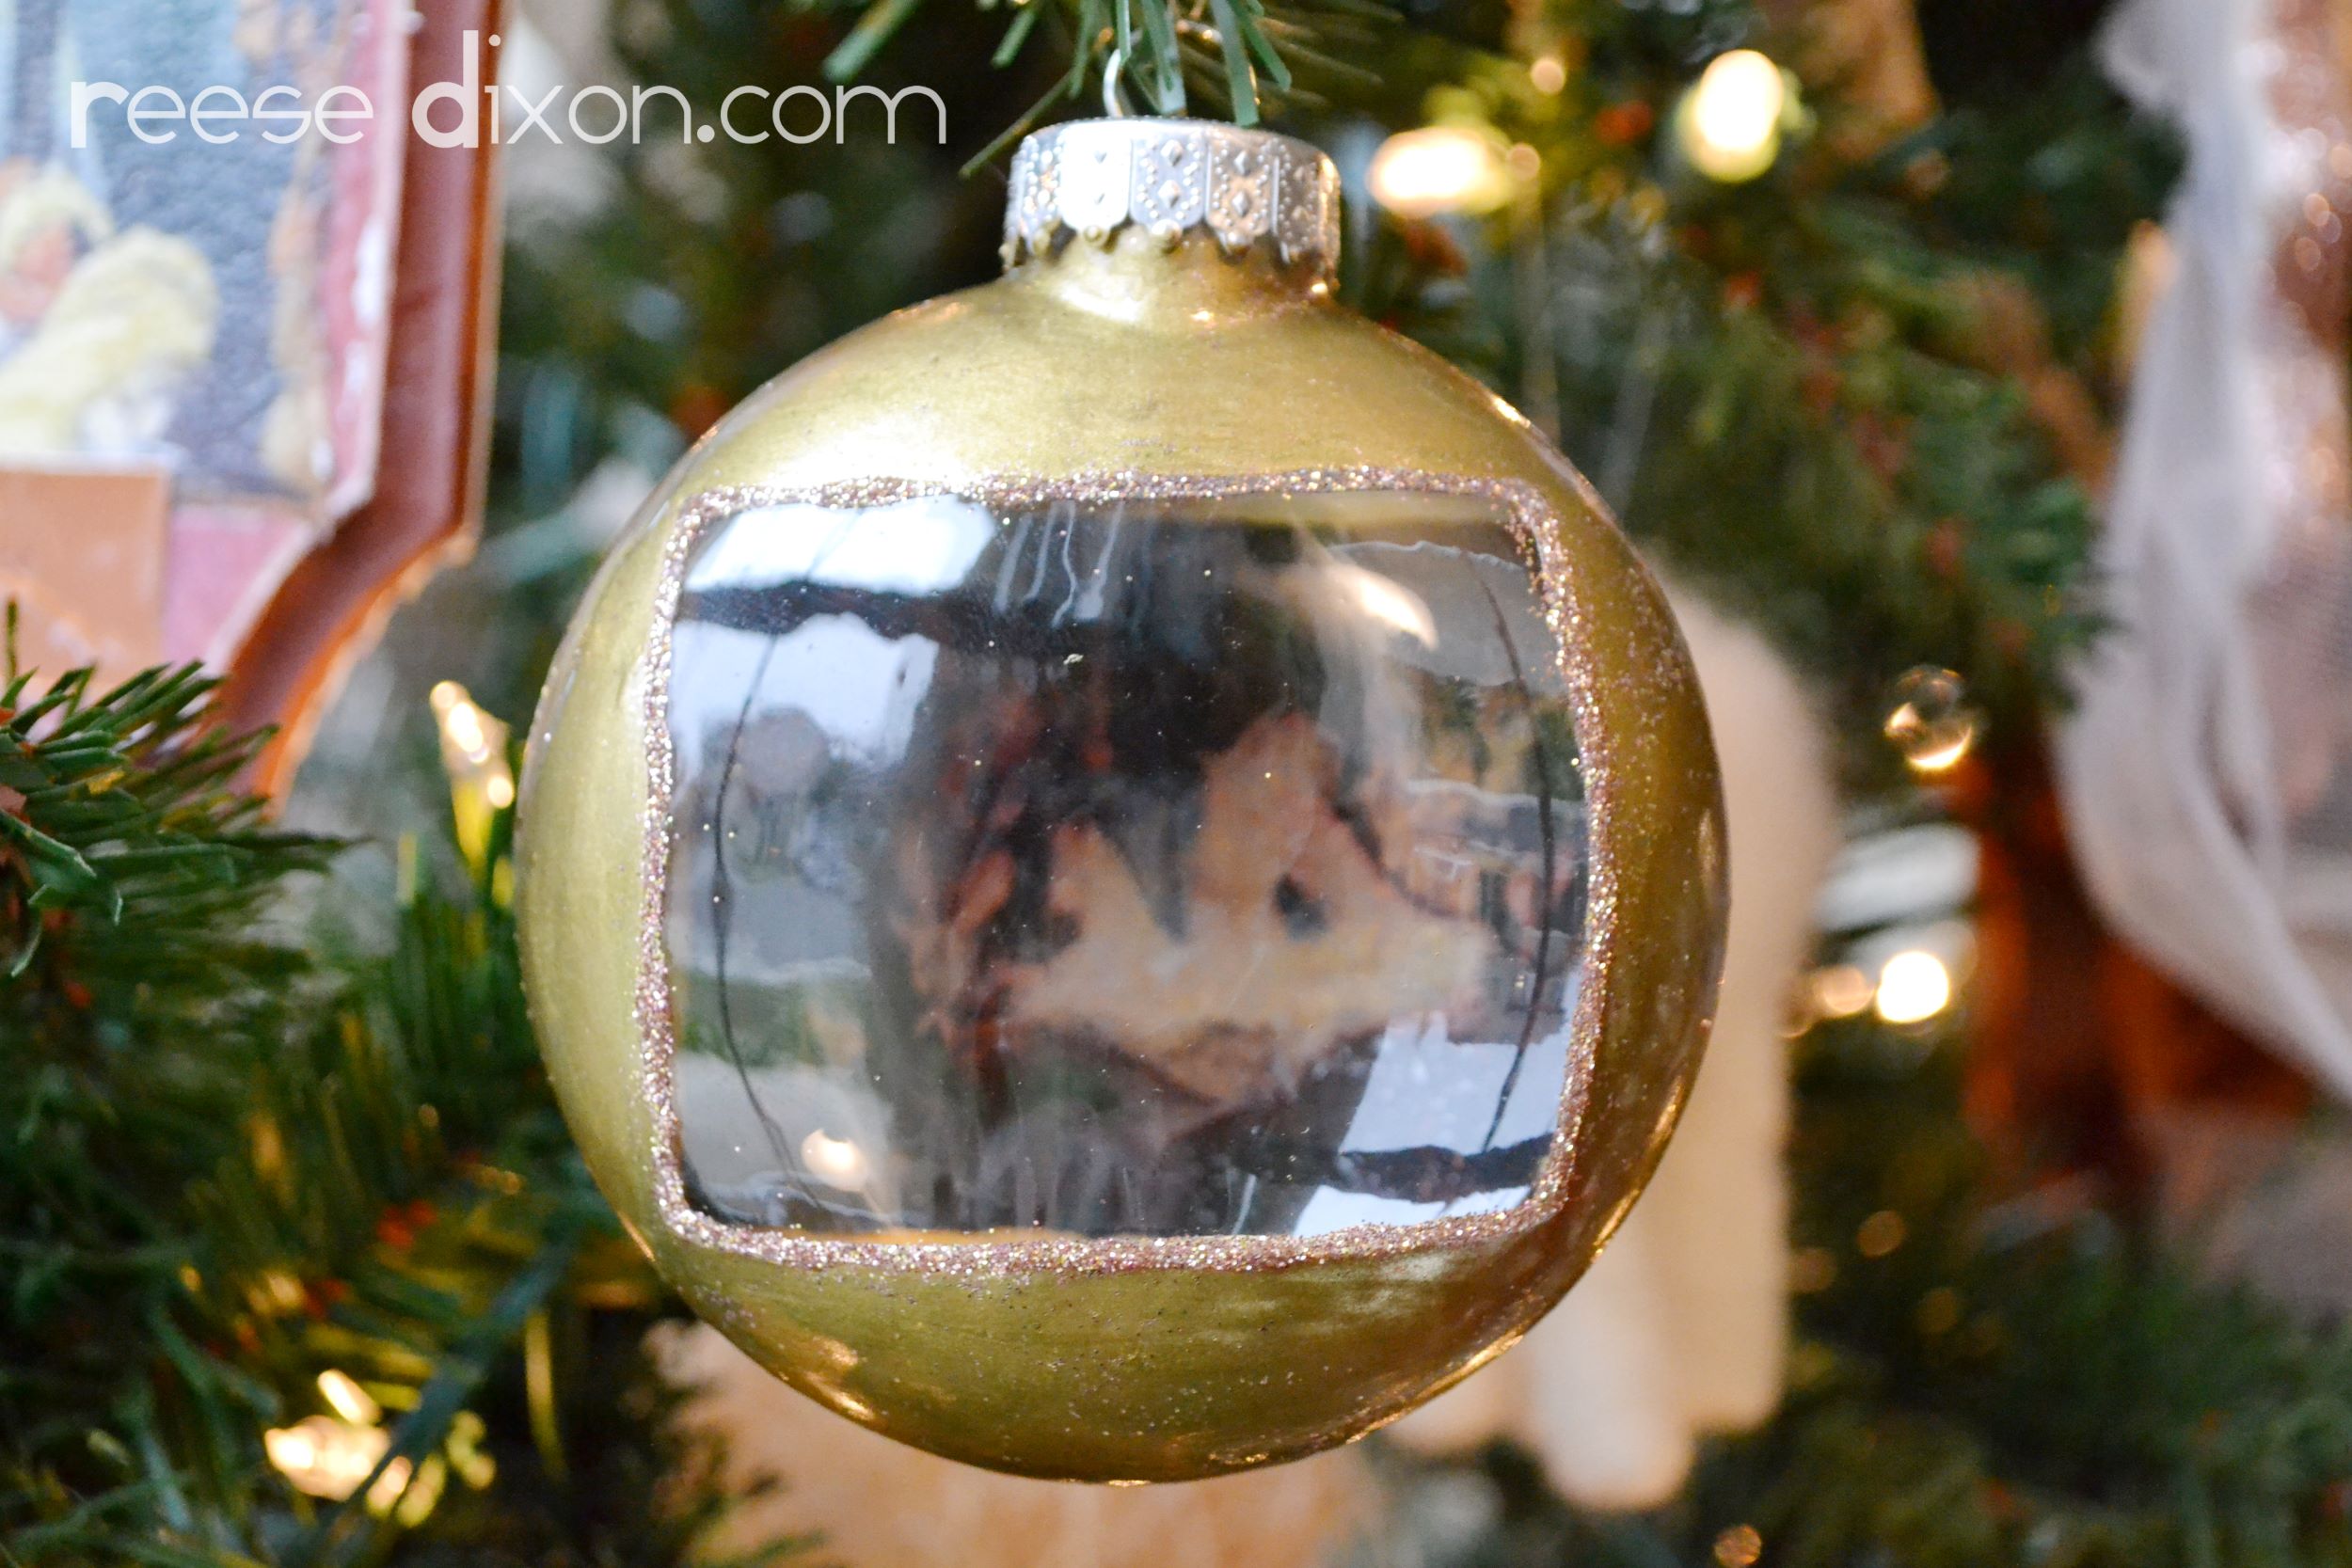
Last year I was seeing these flattened glass ornaments all over the place. Pottery Barn had a bunch of these and the ones I loved most were themed around the 12 days of Christmas. When I saw the flattened ornaments at Michael’s this year, I knew I could make something that highlighted a beautiful vintage picture of the nativity.
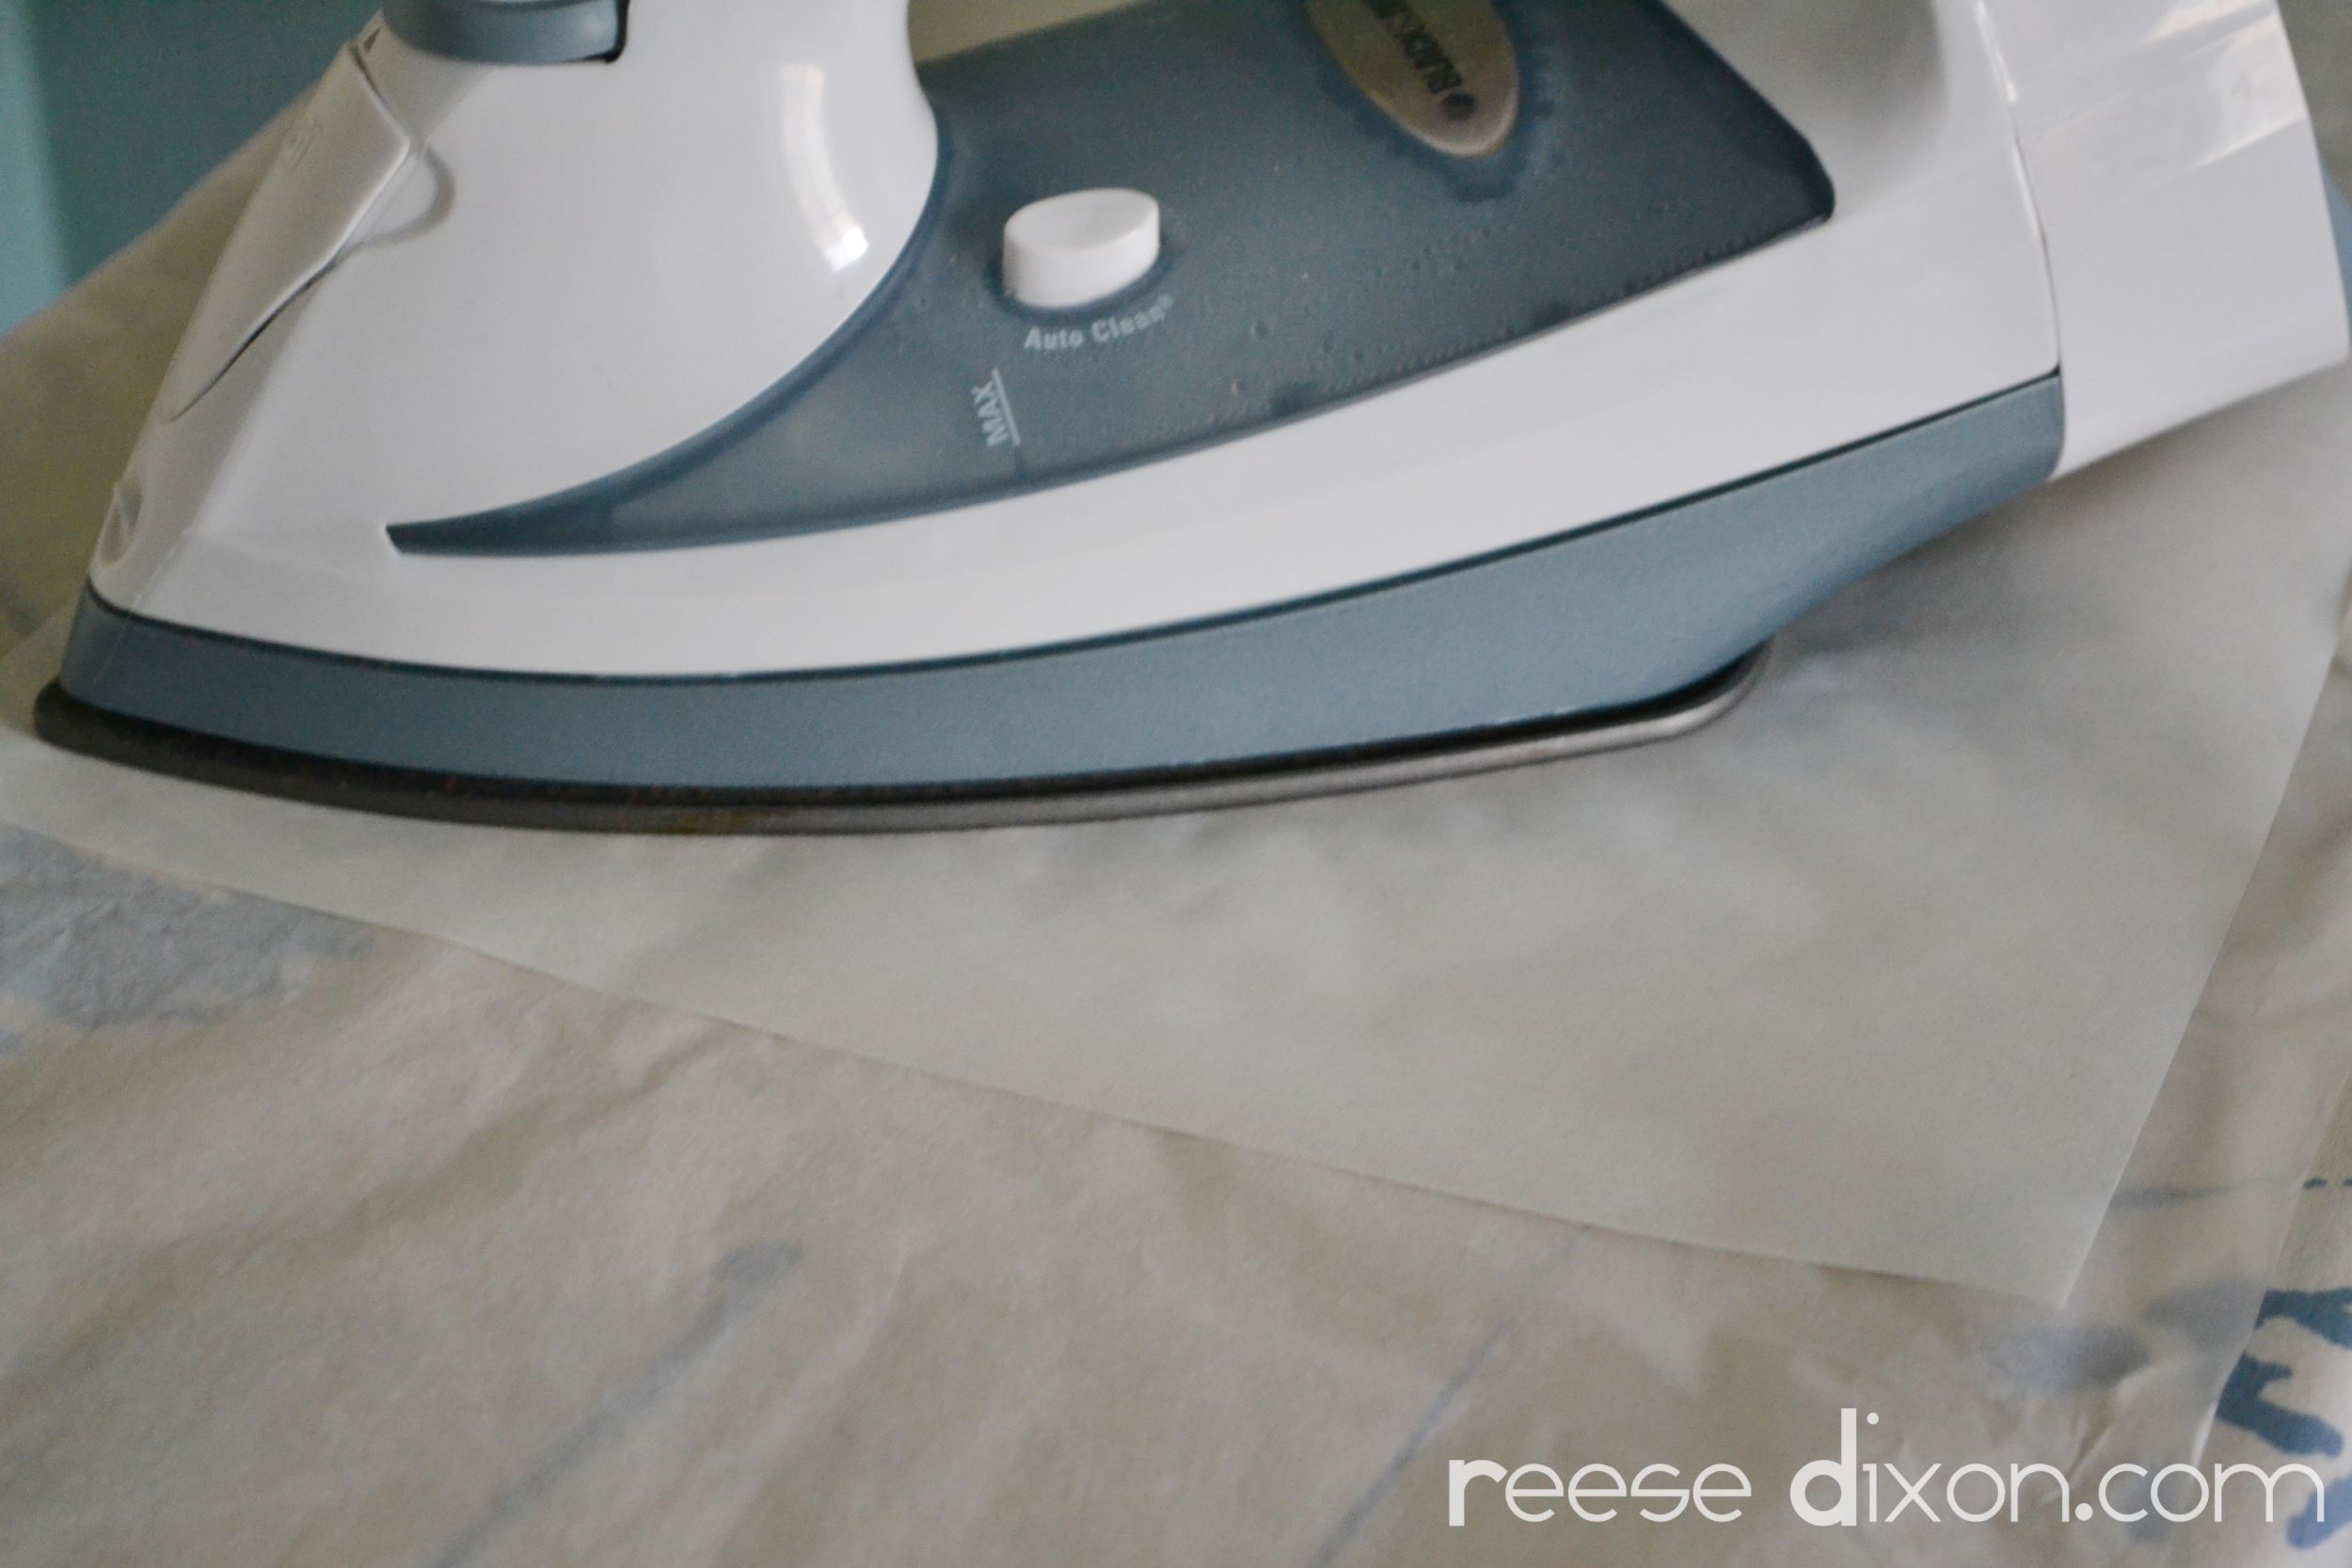
You’ll first need an image to decoupage. If you find some really great printed tissue paper or napkins, you can use those. Otherwise, you can find a royalty free image online and print it onto tissue paper. But of course tissue paper won’t go through your printer on its own, so start by ironing a piece of freezer paper to the tissue paper, gently.
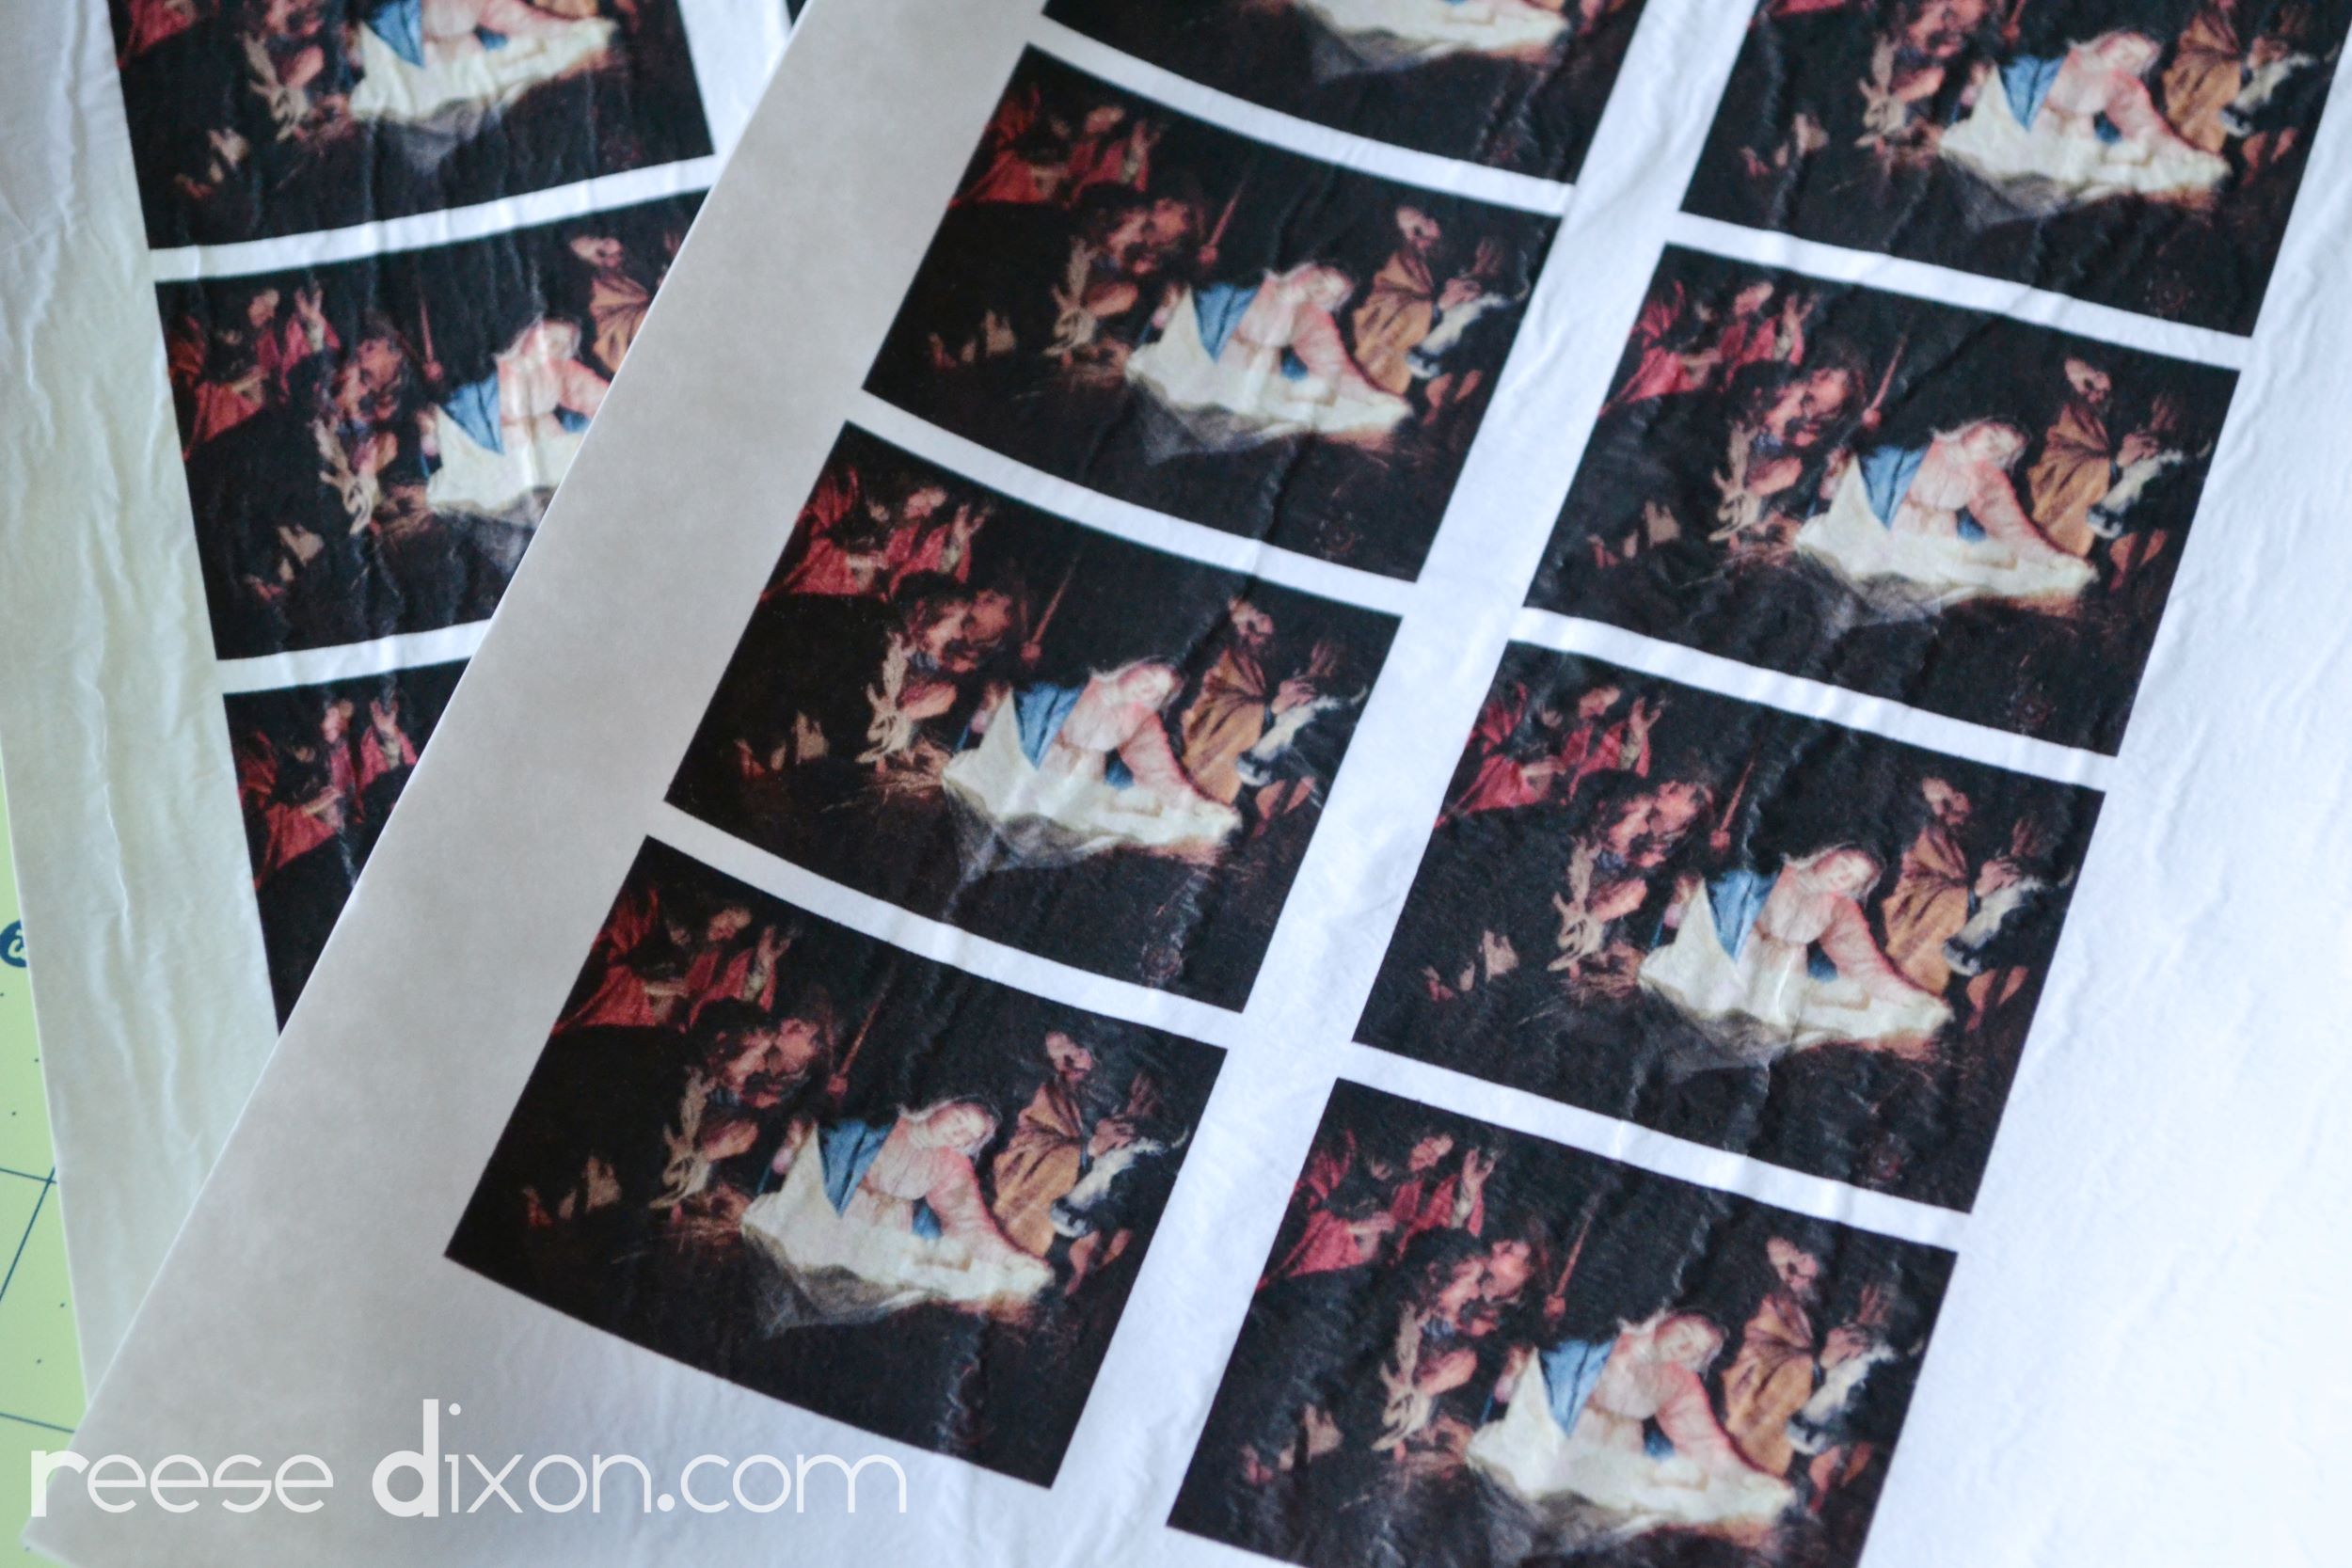
Then cut the paper to the size that will fit through your printer, probably 8 1/2 x 11, and print as many images as you need.
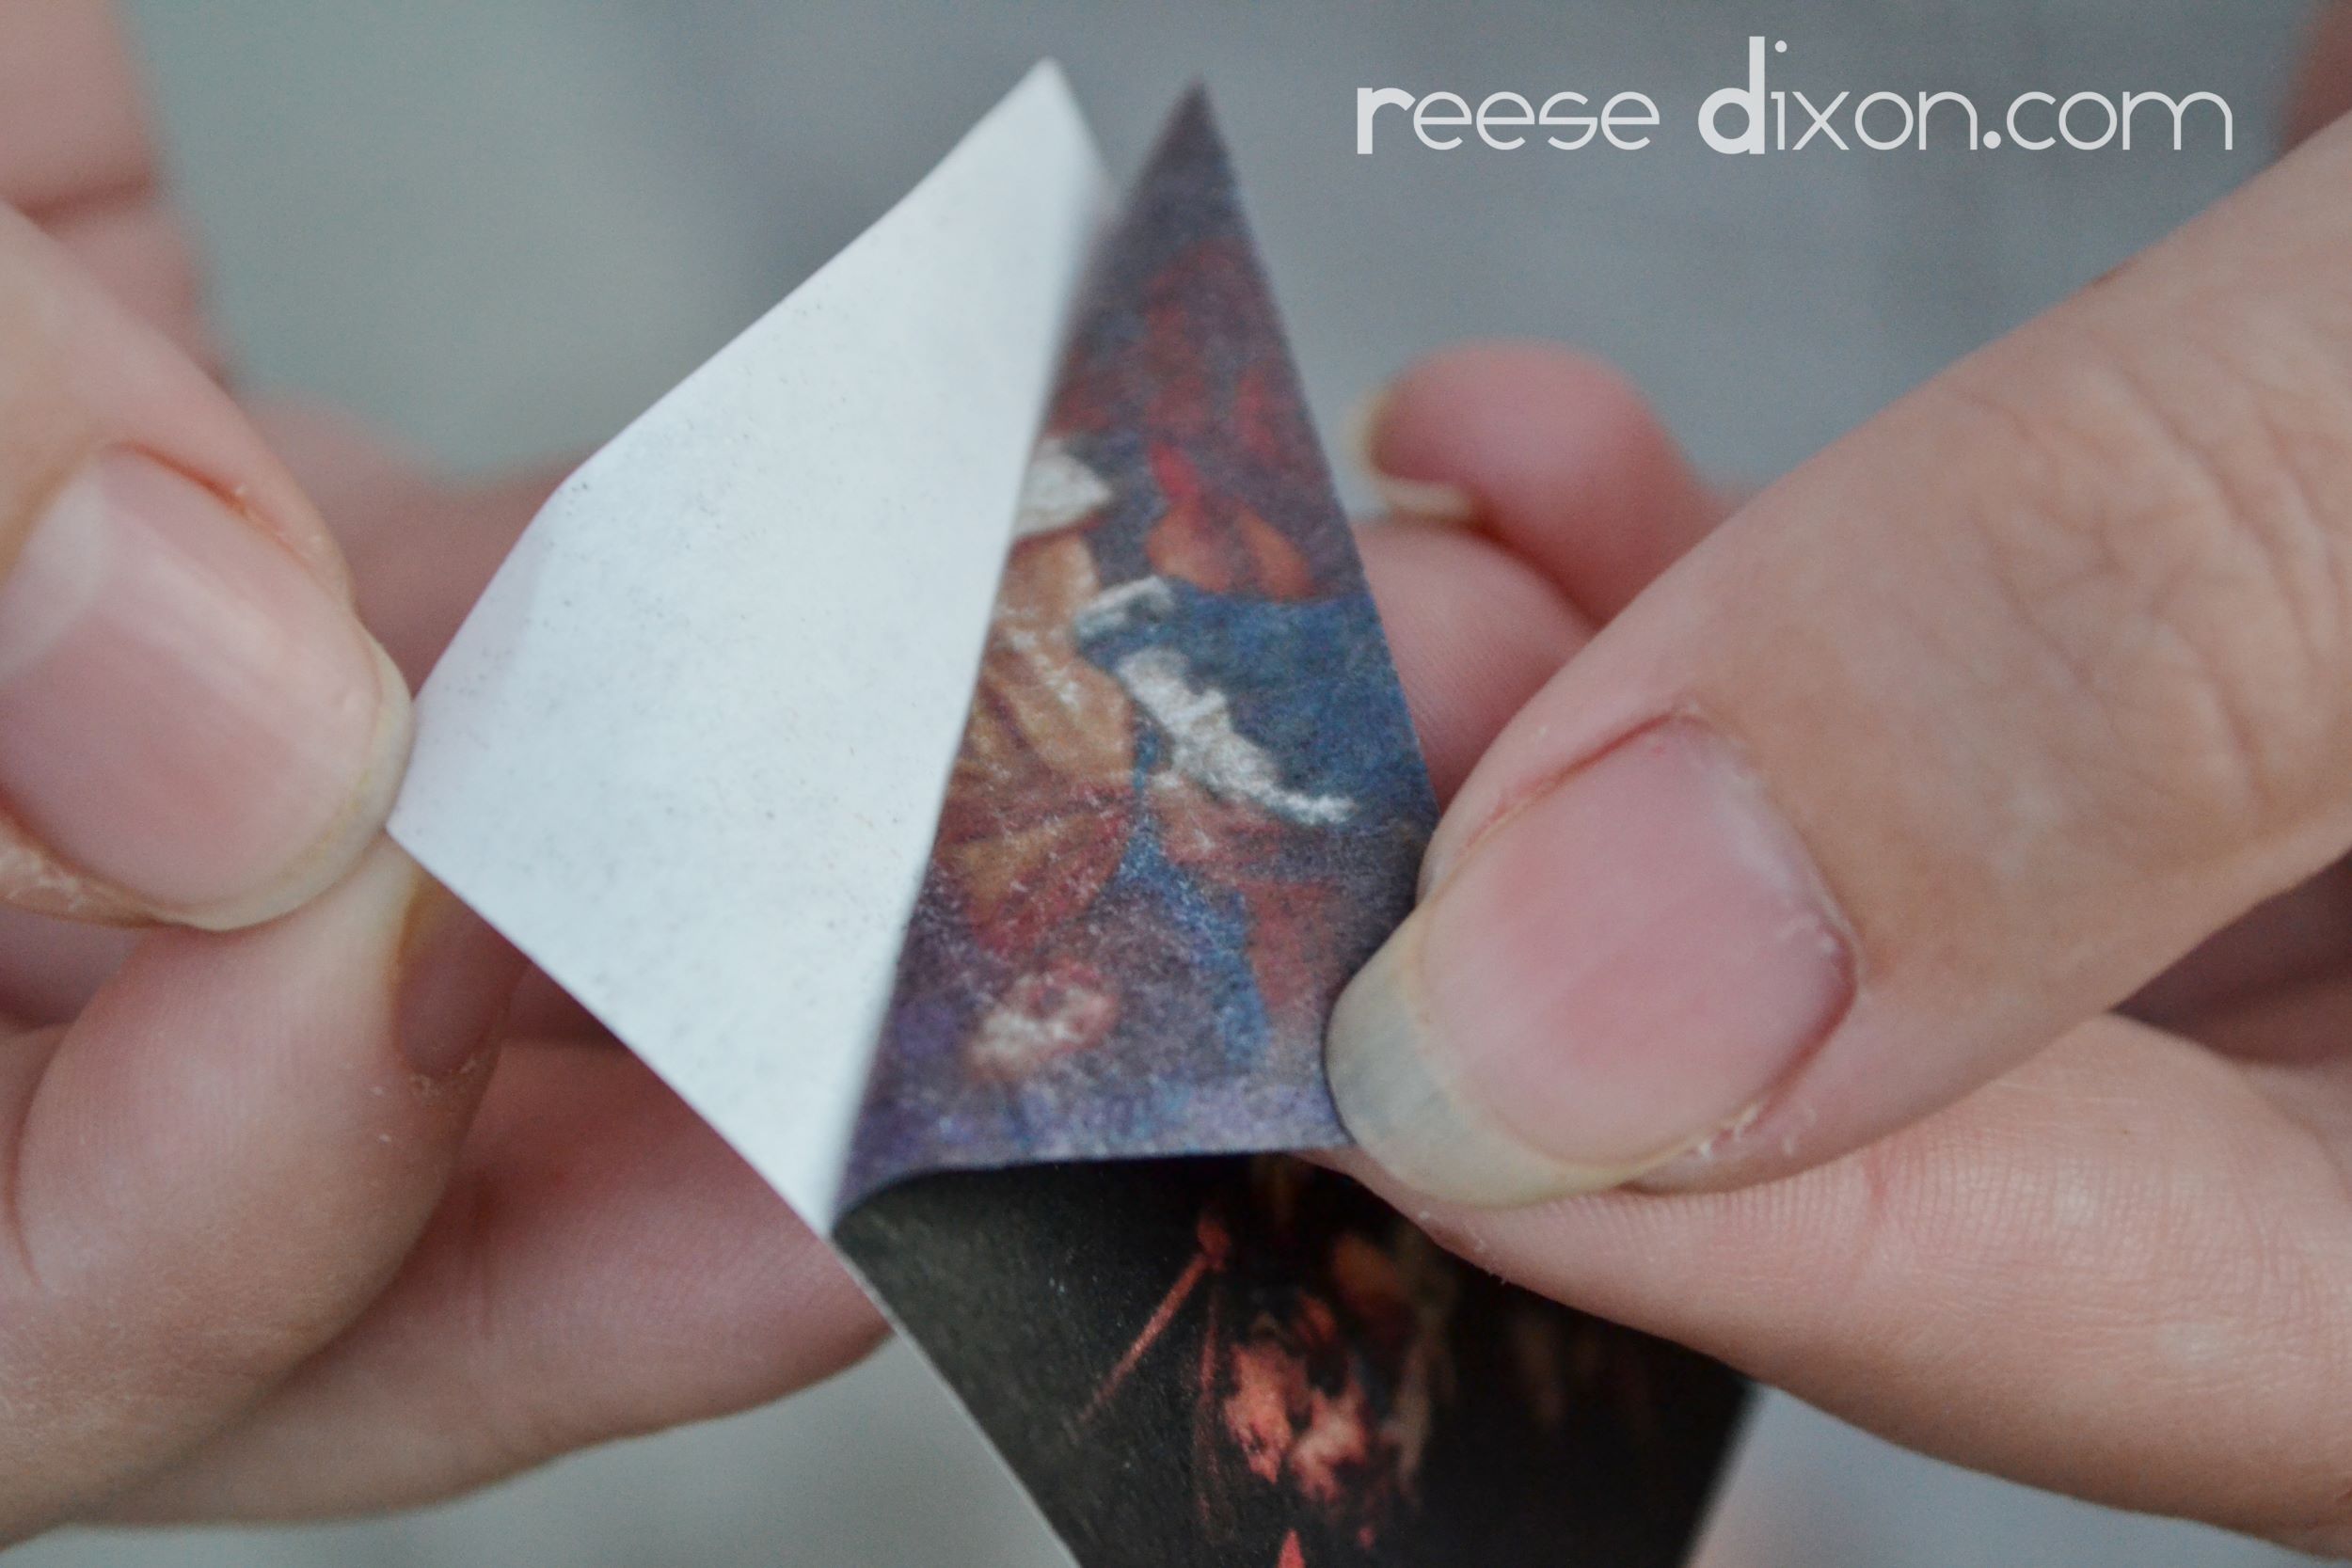
Trim your image to the finished size – it’s way way easier to cut while it’s attached to the freezer paper – and then delicately peel the tissue paper from the freezer paper. It’s a good idea to print a few extras, because the tissue tears soooo easily.
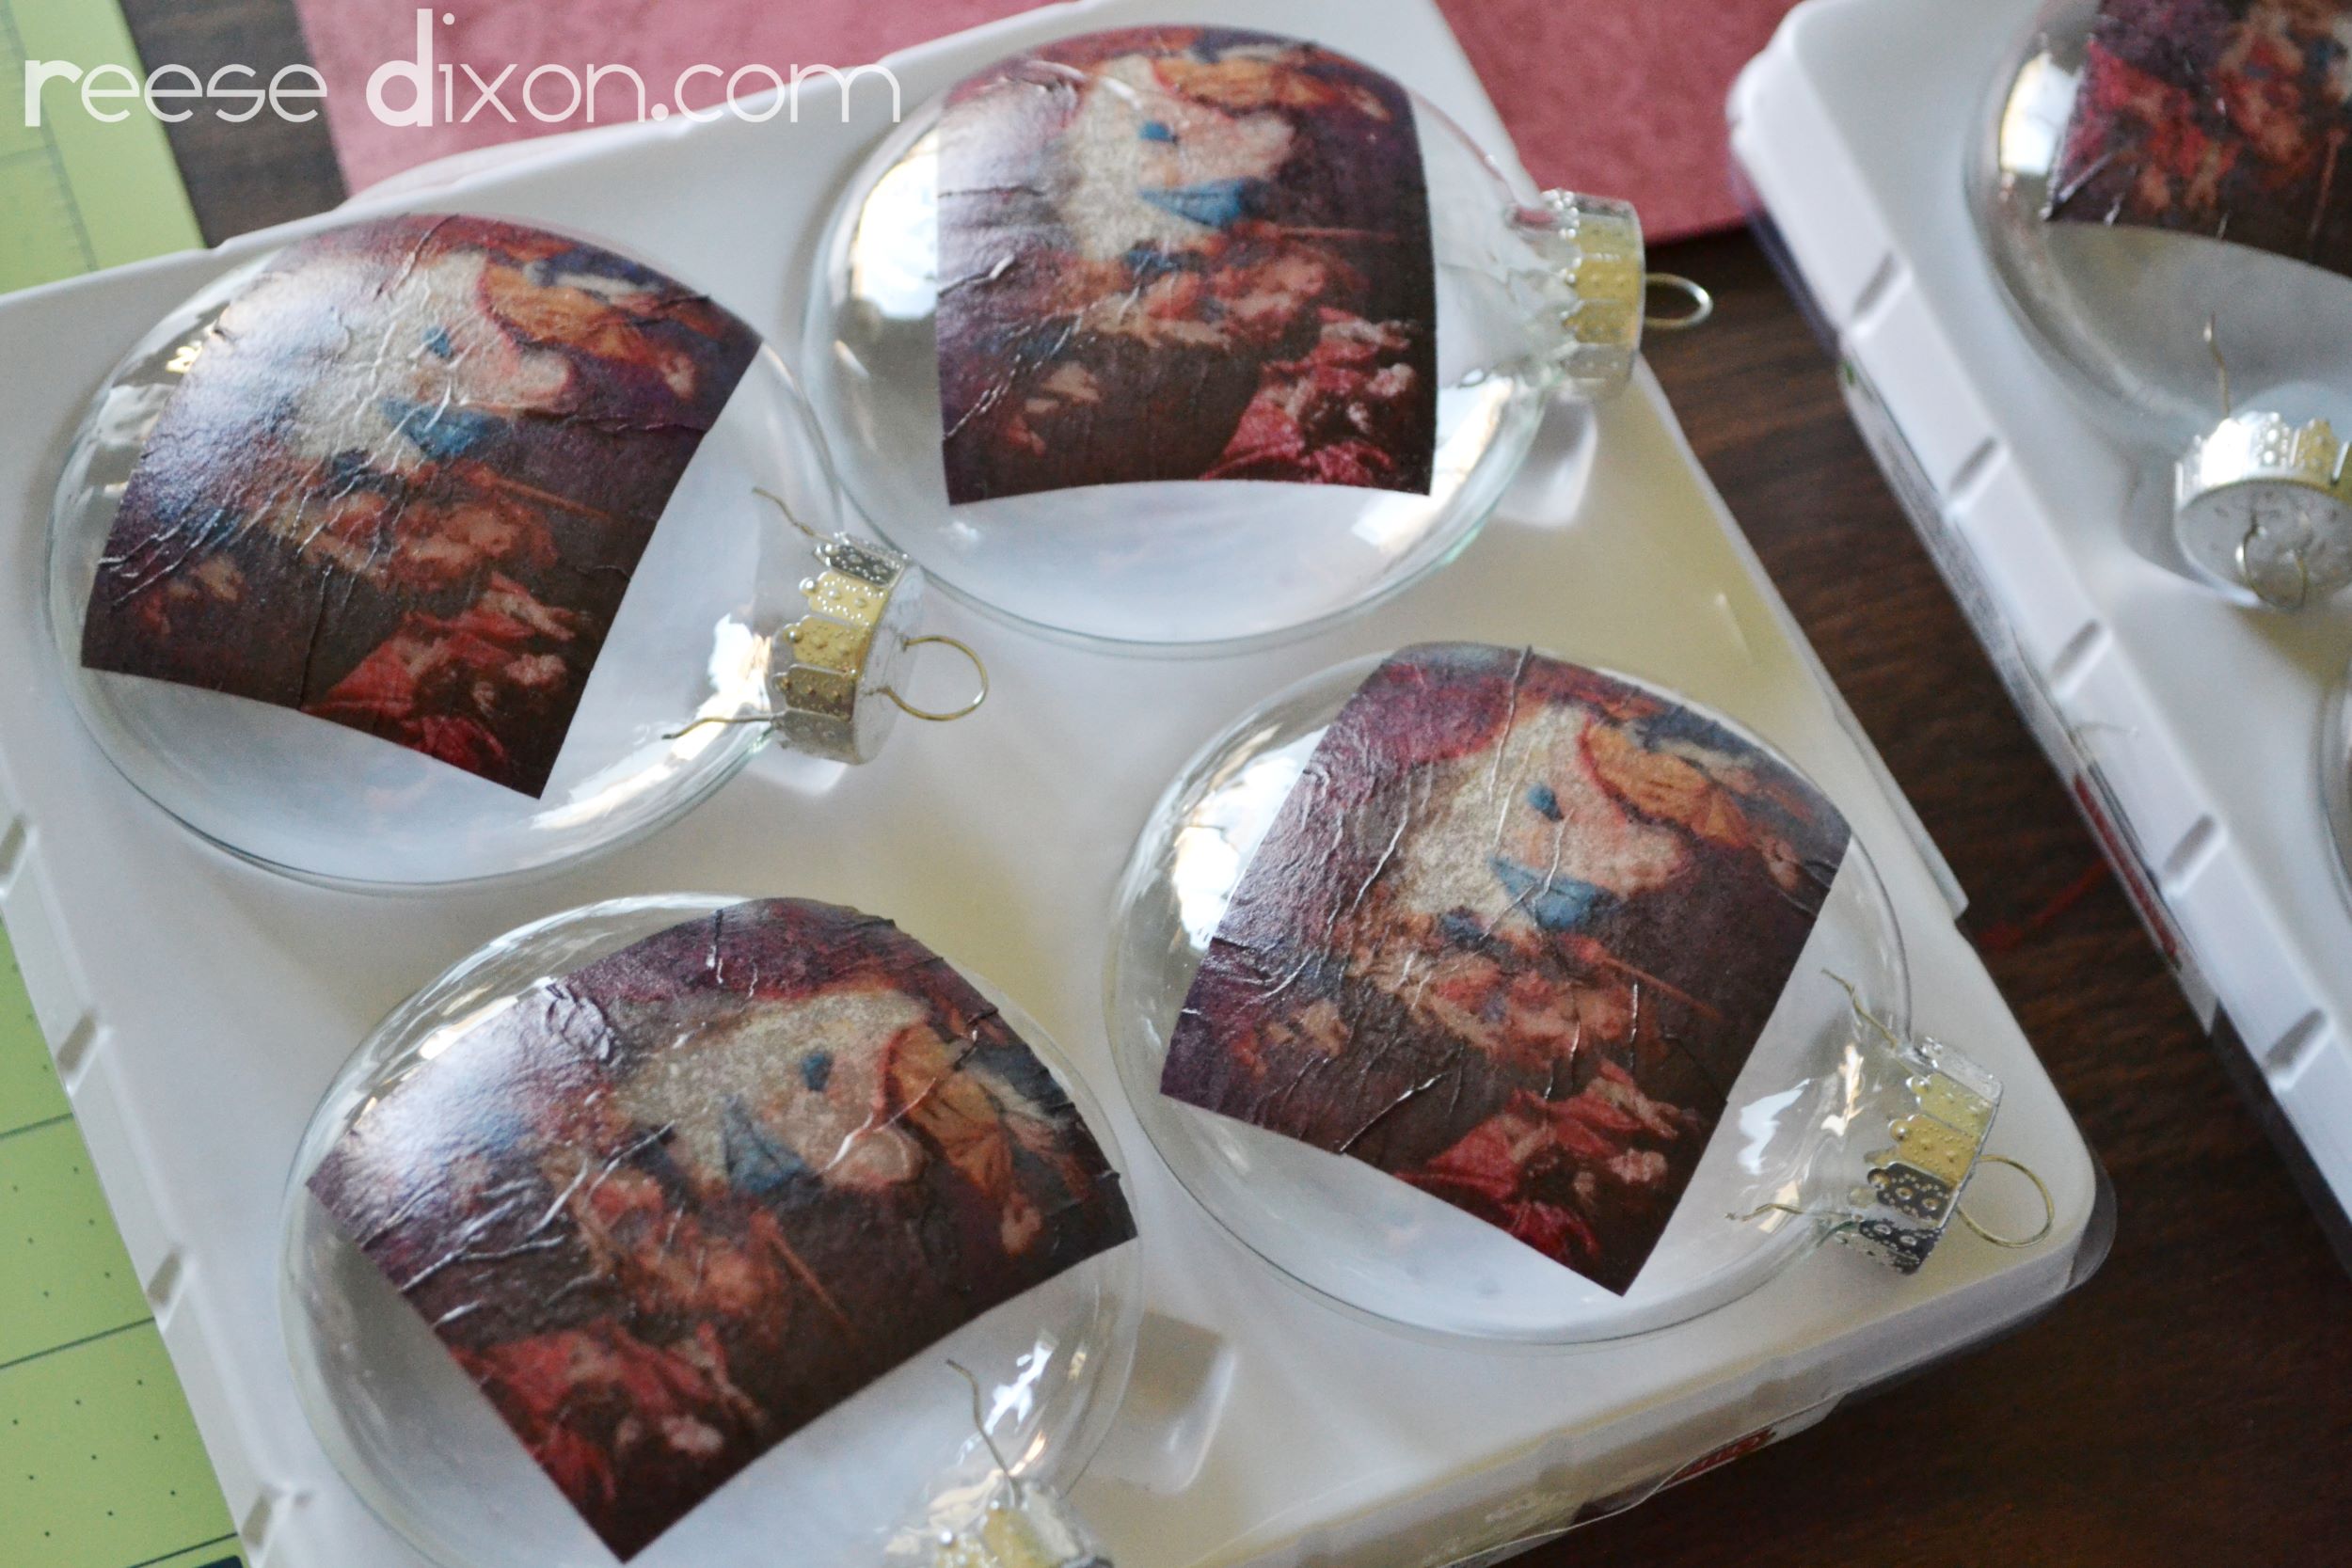
Use your favorite decoupage medium – mod podge, artist sealer, whatever – and brush it over the image, right side down onto the glass ornament.
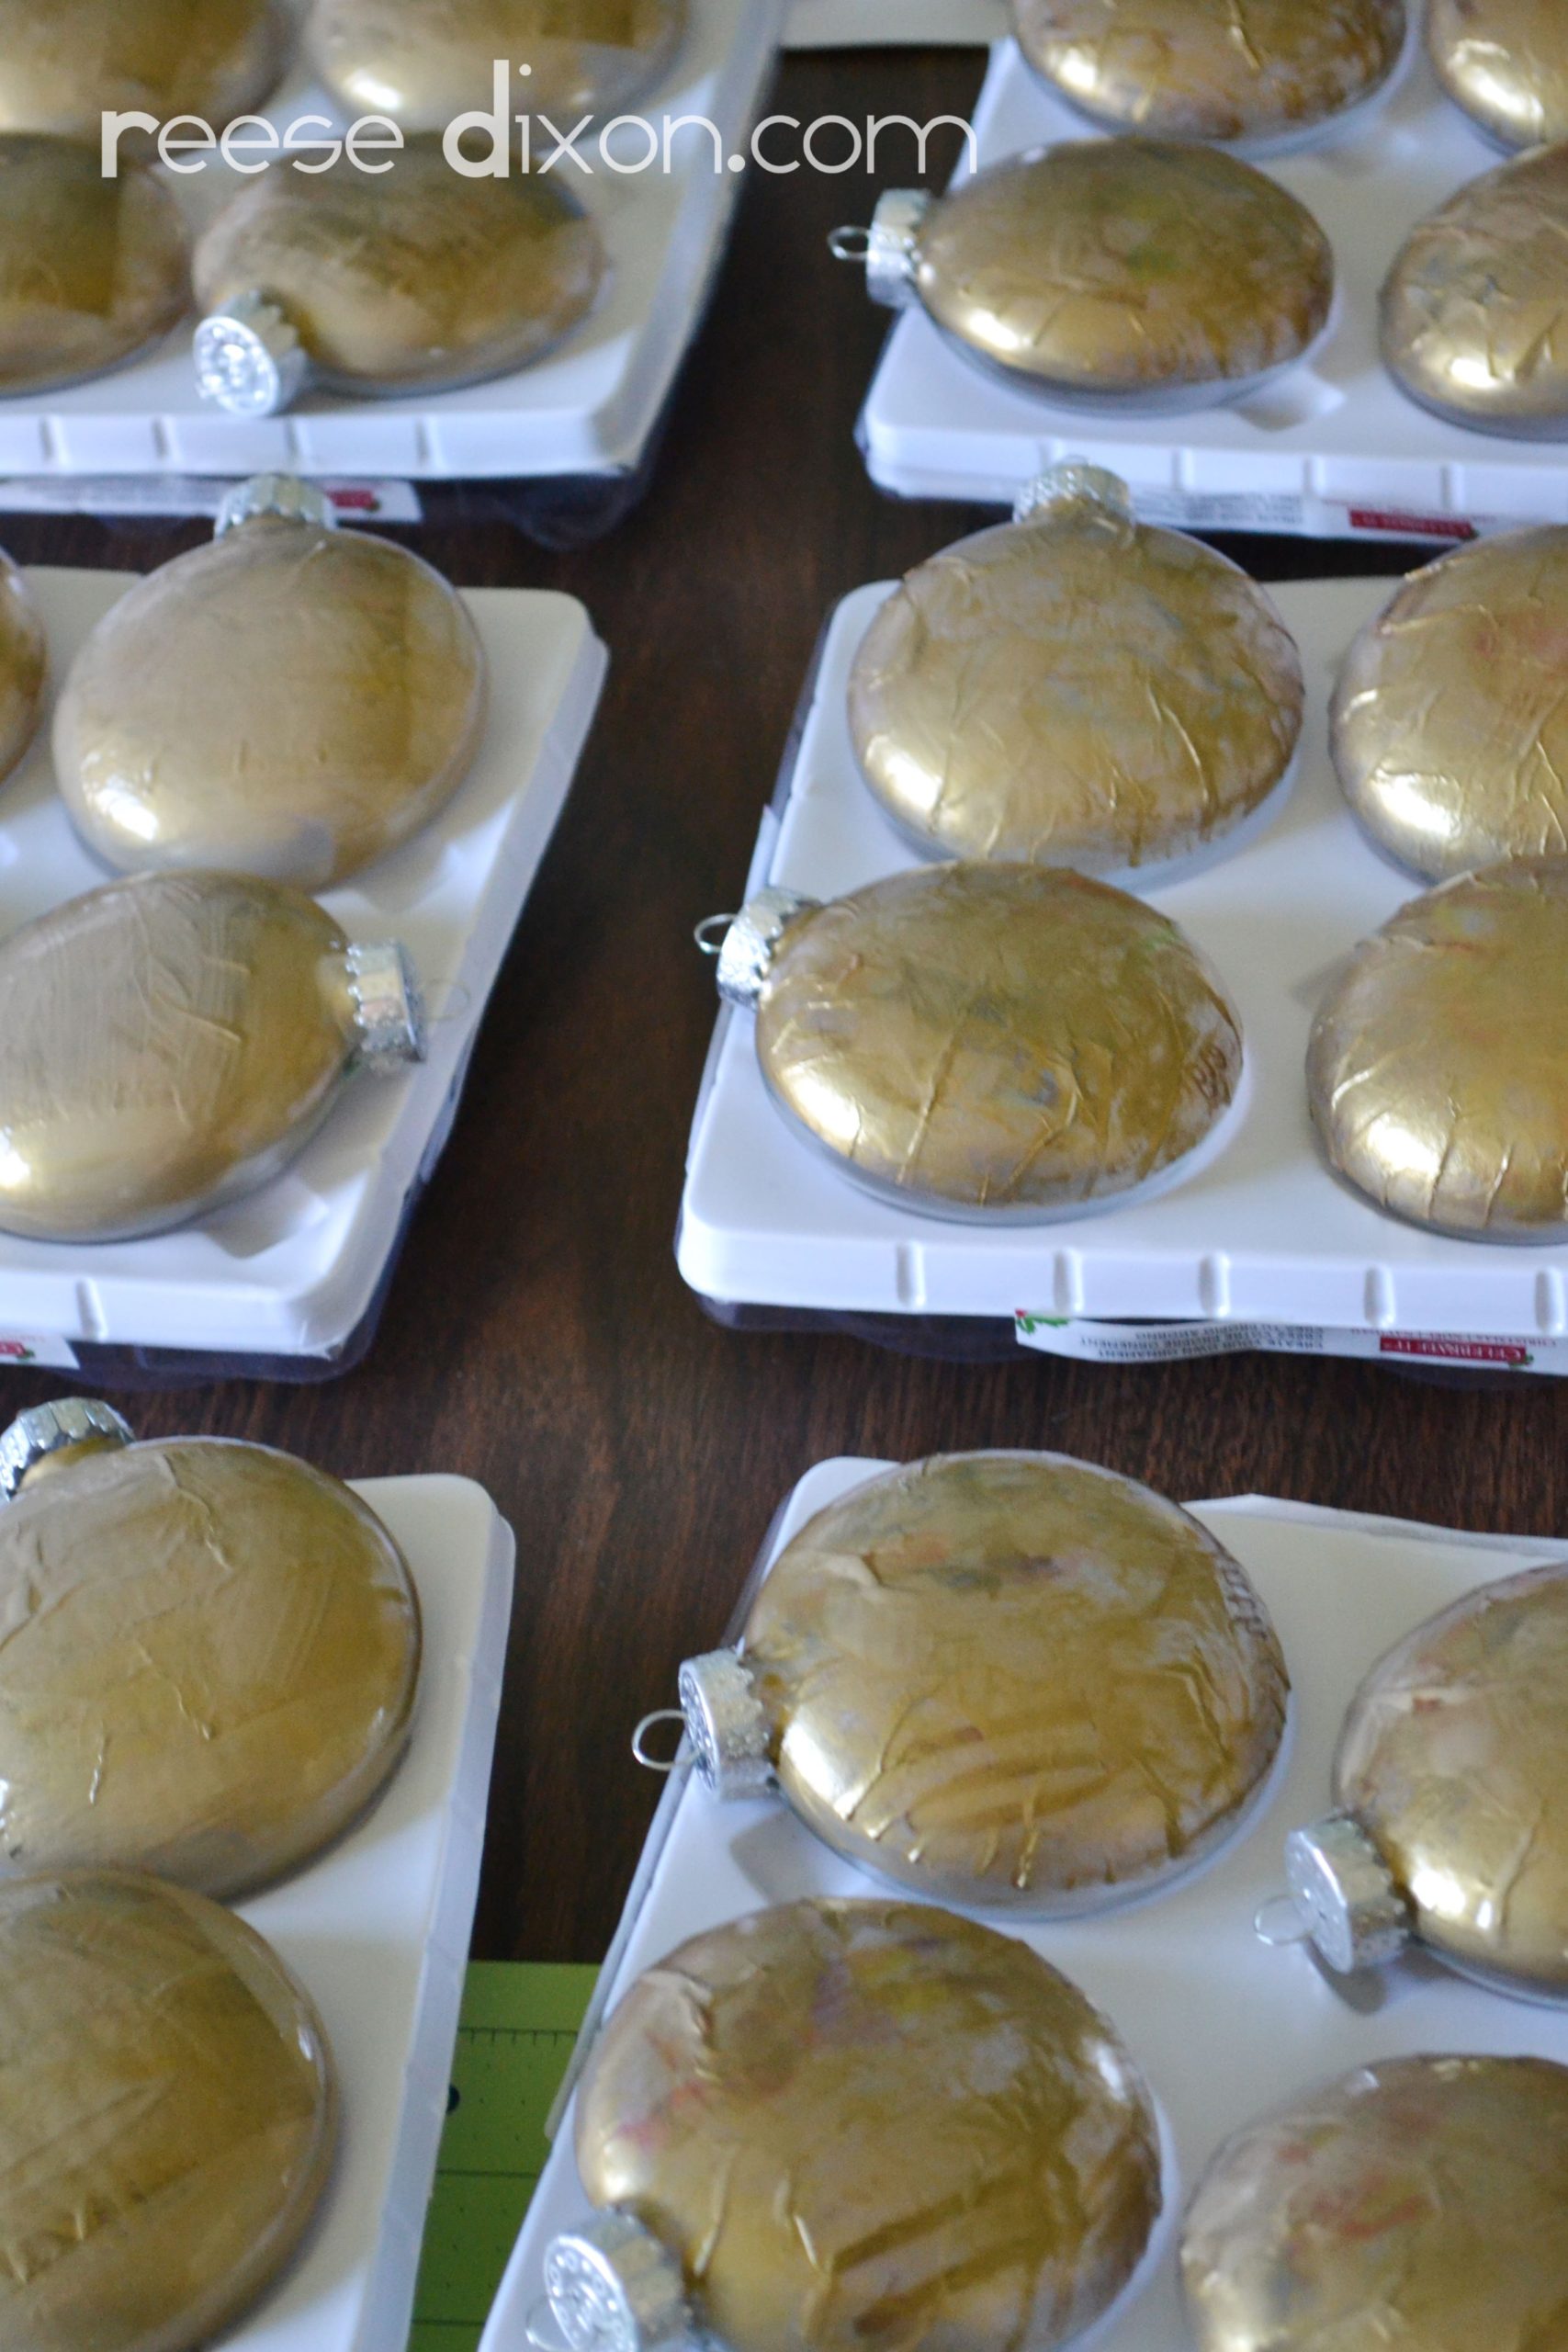
Allow that layer to dry, then paint a solid color over it. If you don’t want the color to show through your image, paint a couple of layers of white first, then follow up with a couple of layers of gold or silver or whatever color you want the back of your ornament to be.
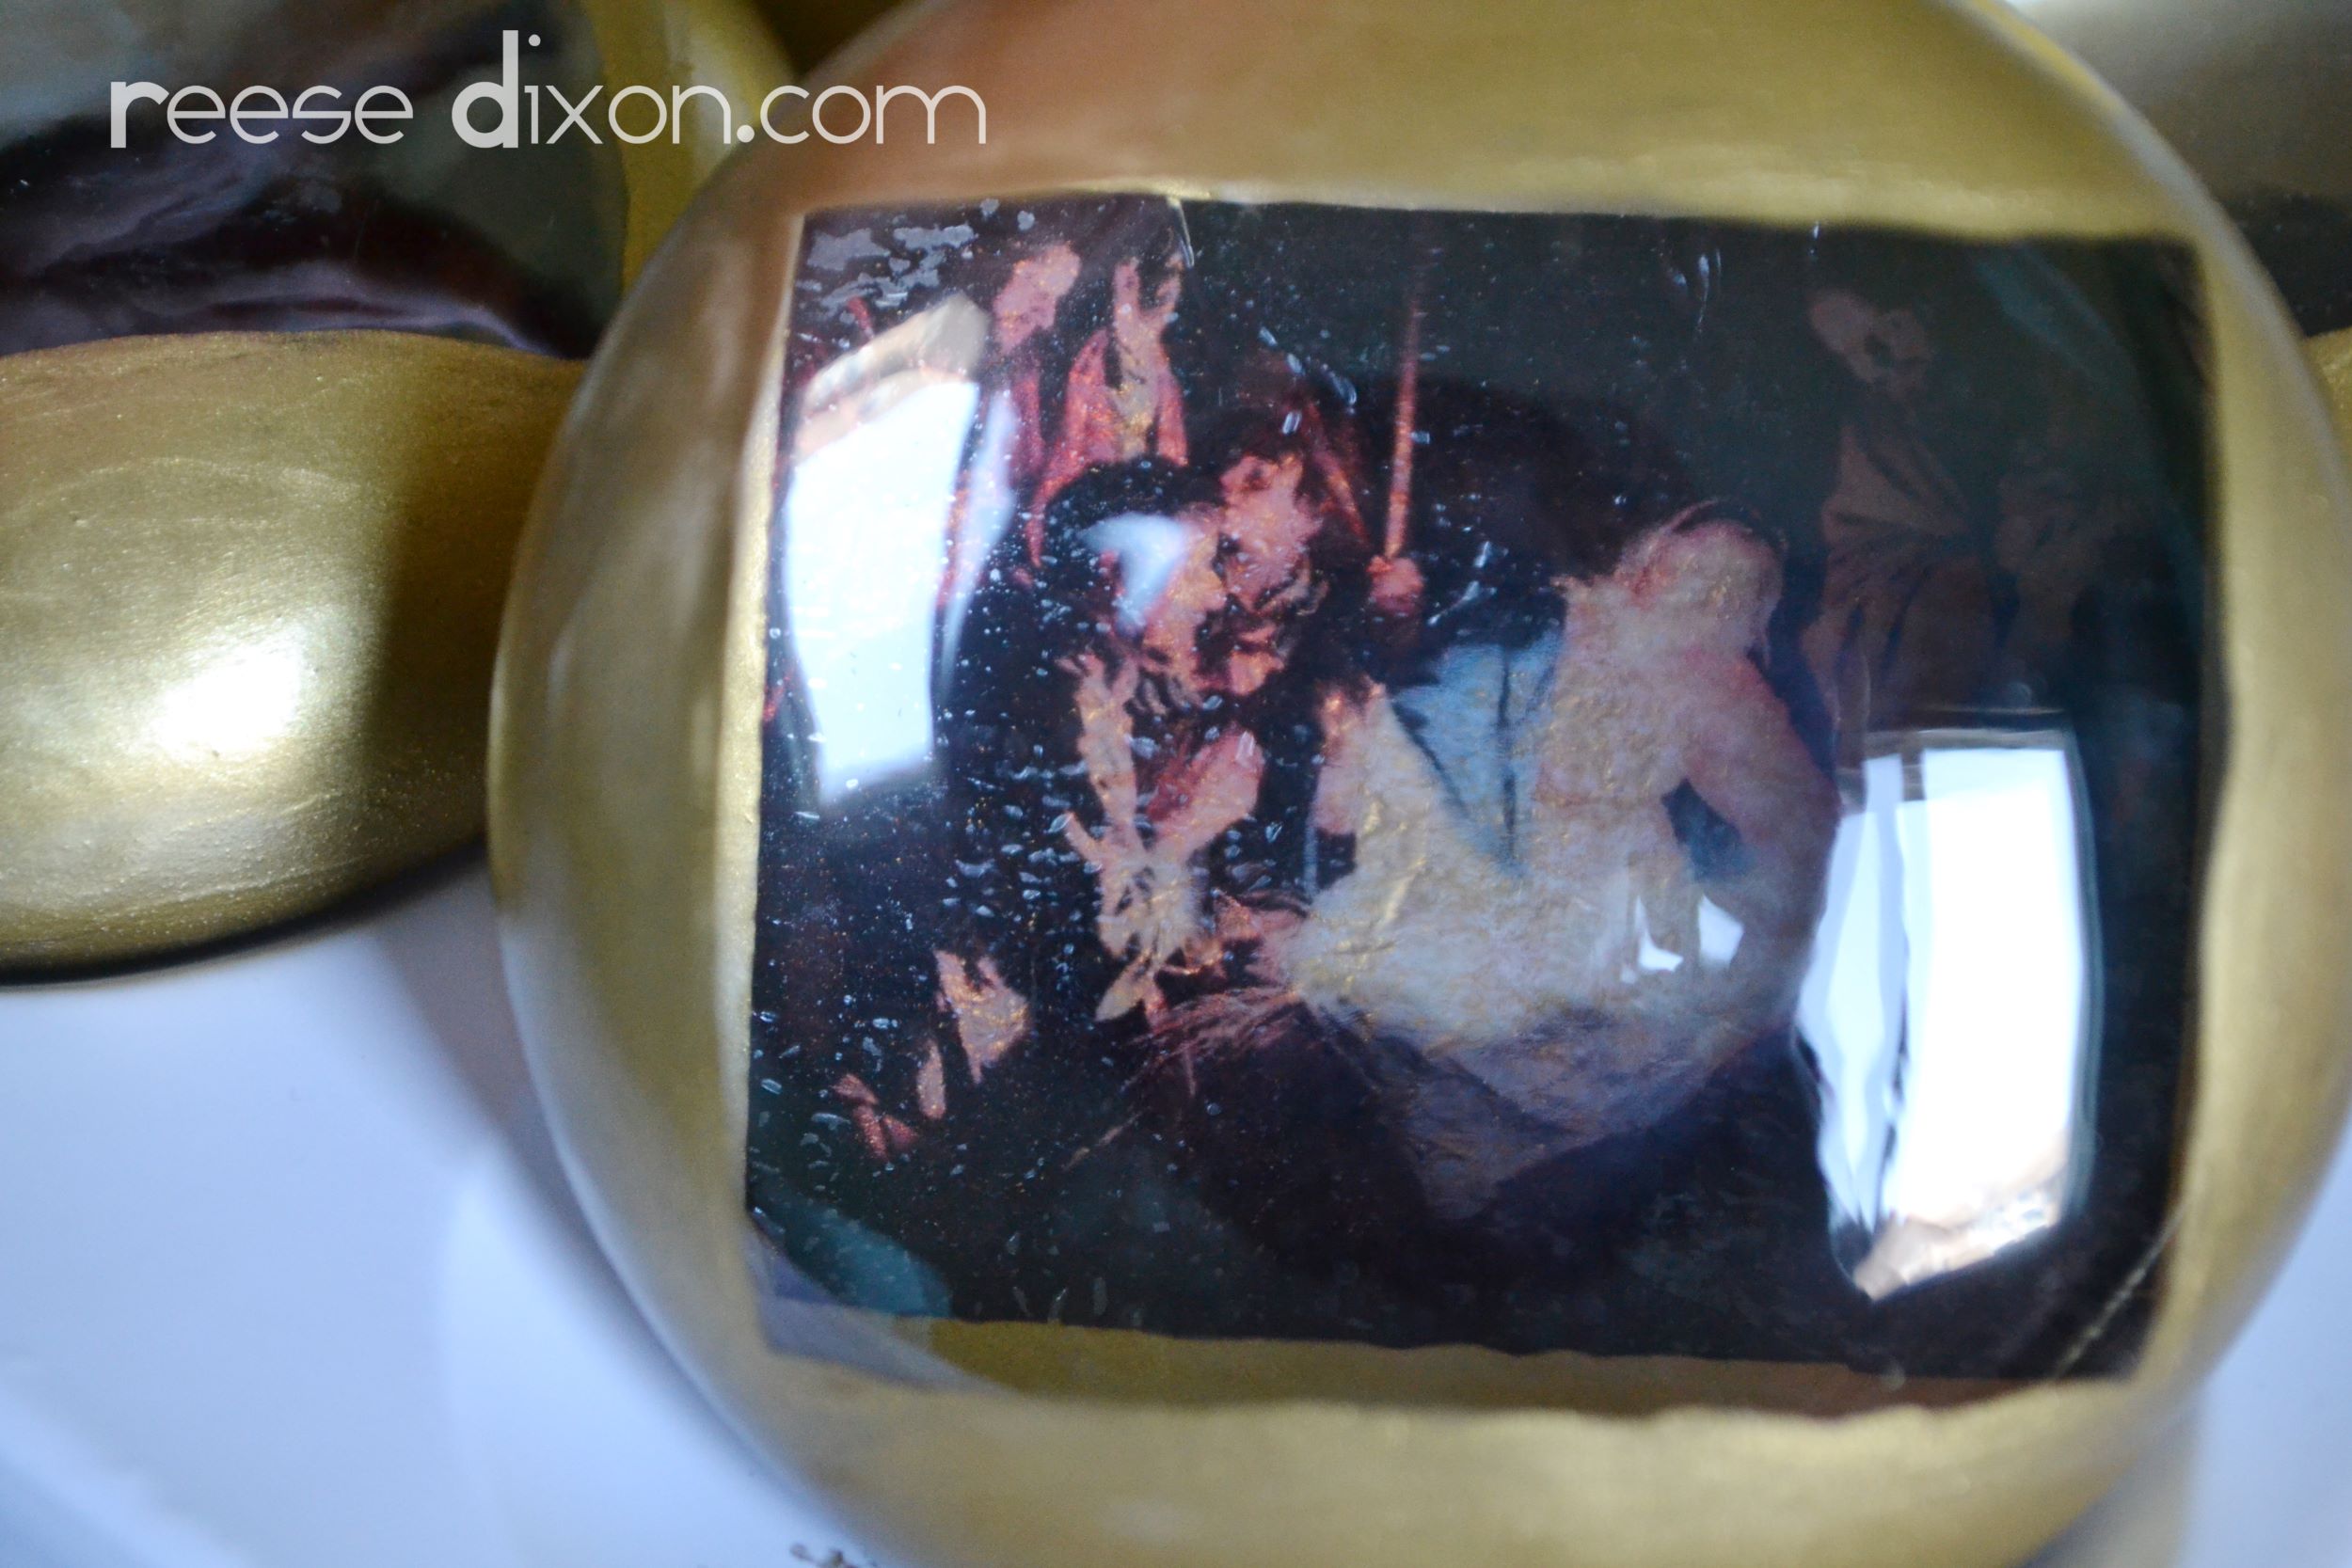
I made my image much smaller than the back of the ornament, because I wanted to create a frame for it. You can stop painting wherever you like, but I brought the gold around to the front, right up to where you could see the ends of the image.
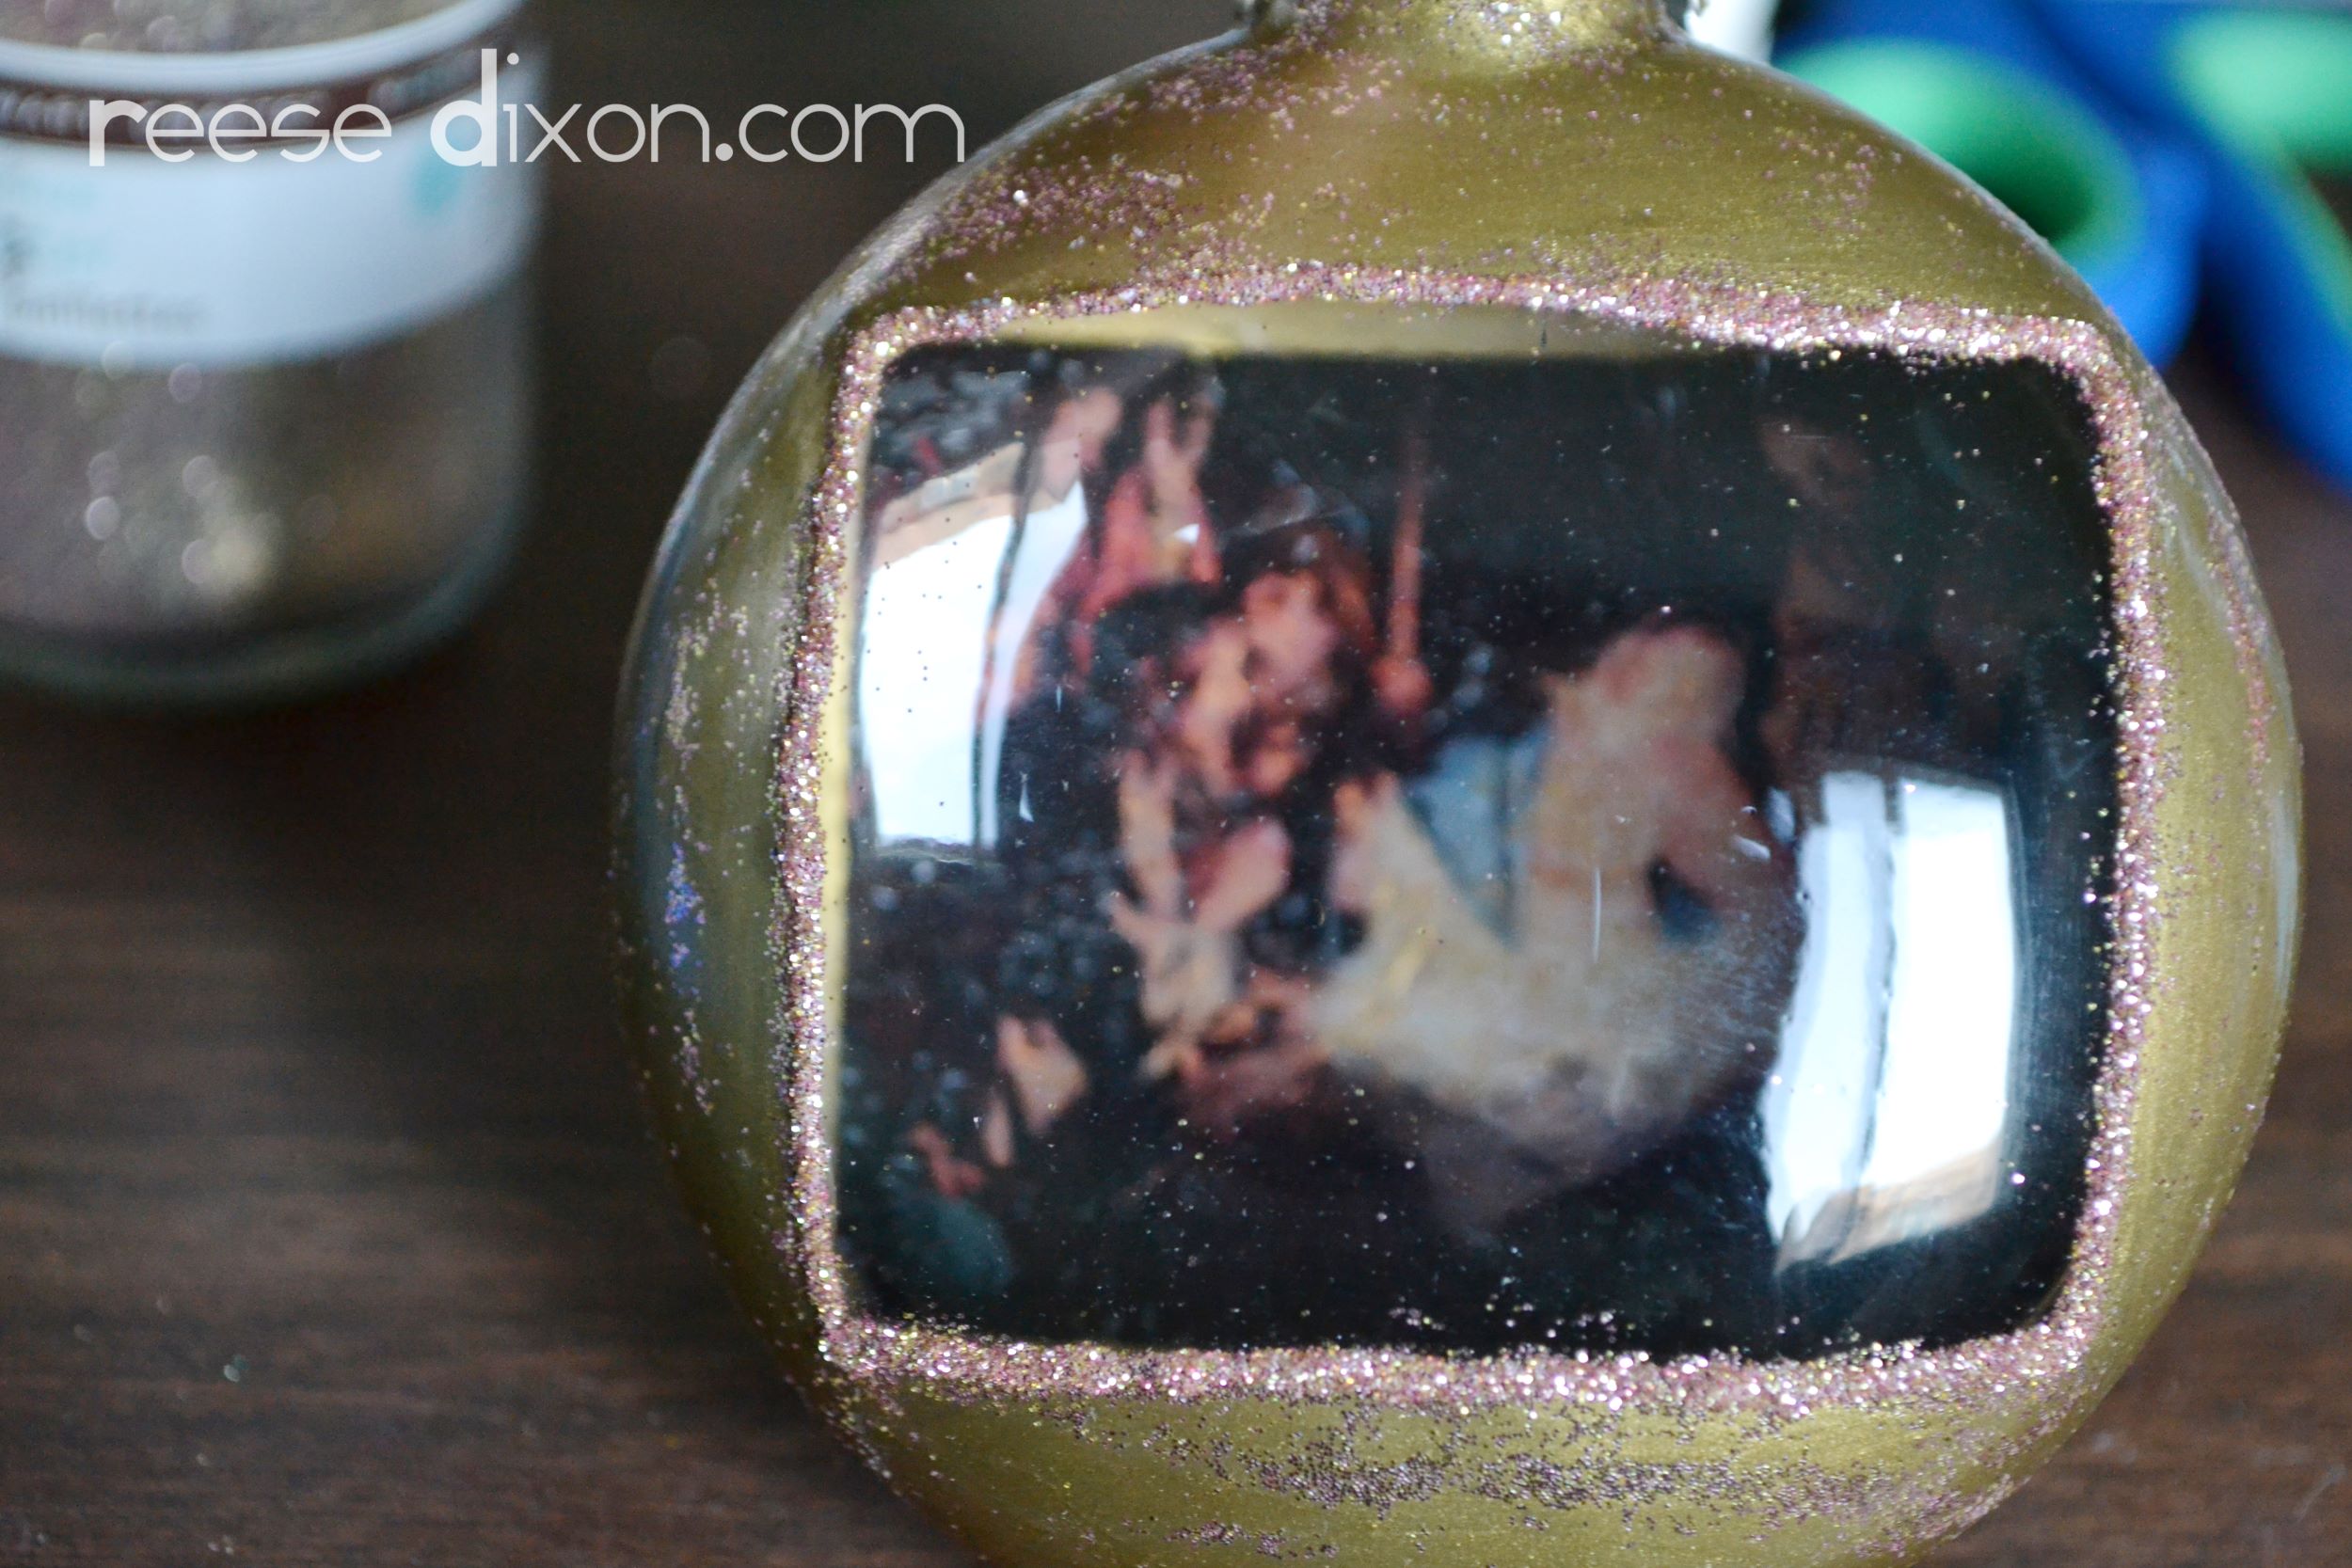
I ran a thin bead of glue around the edge of my frame and covered it with glitter for a more finished look. The glitter likes to stick to the paint, so make sure you let it dry thoroughly before you glitter, then just brush the excess glitter off with a dry paintbrush.
I made a bunch more of these for my 12 days of Christmas tree and they are charming. I had a dickens of a time trying to photograph through the glass, but in person these ornaments are really special. They look vintage and antiqued, so any kind of a victorian Christmas image would look amazing this way.

These are fabulous! Very cool. I've never seen anything like them!
Good info. Lucky me I came across your site by accident (stumbleupon).
I have book marked it for later!