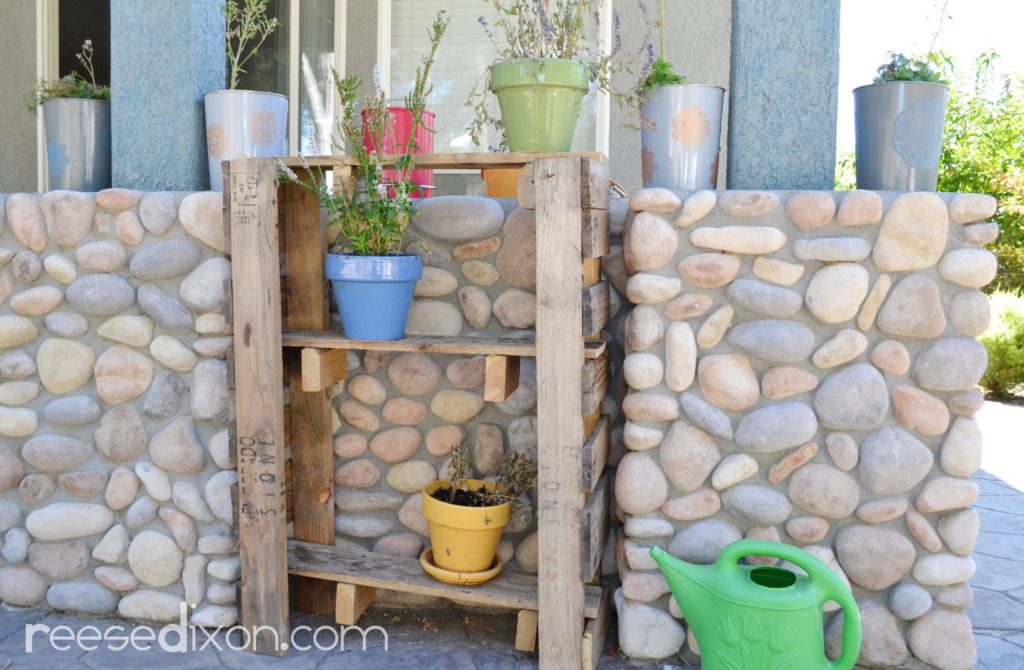
I did it! By the end of the day I was a sore, sweaty, mess. But in one day I built three pieces of outdoor furniture for absolutely nothing. And I did my part to save the planet by keeping a bunch of pallets out of a landfill, and saving all the waste that would have been made if I had gone out and bought this stuff. Wins all around!
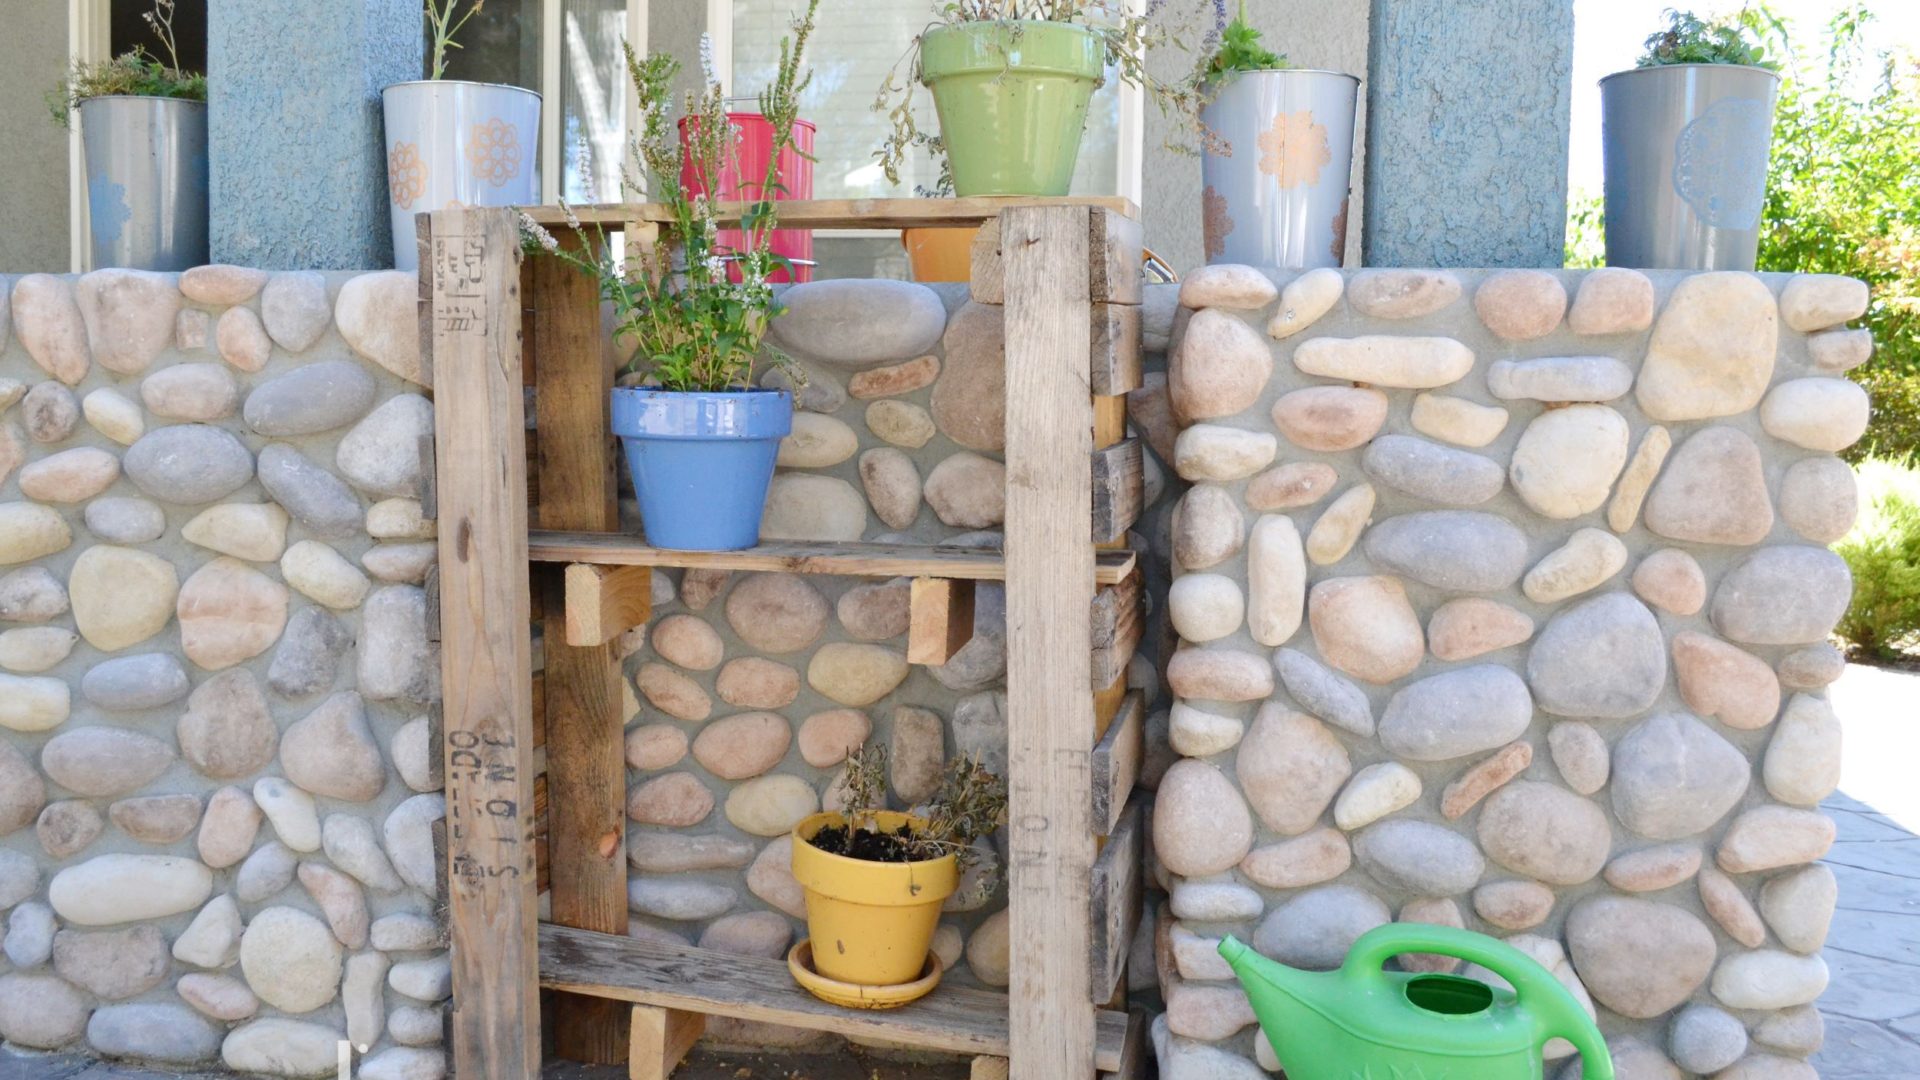
My last project is this plant…shelf. Stand. Bookshelf, but not for books, thing. I had this weird little alcove, I think when it was built it was meant for a grill (but ours doesn’t fit there), and I thought that getting a little stand or something to put there would be perfect. But making it myself and for free? Even more perfect.
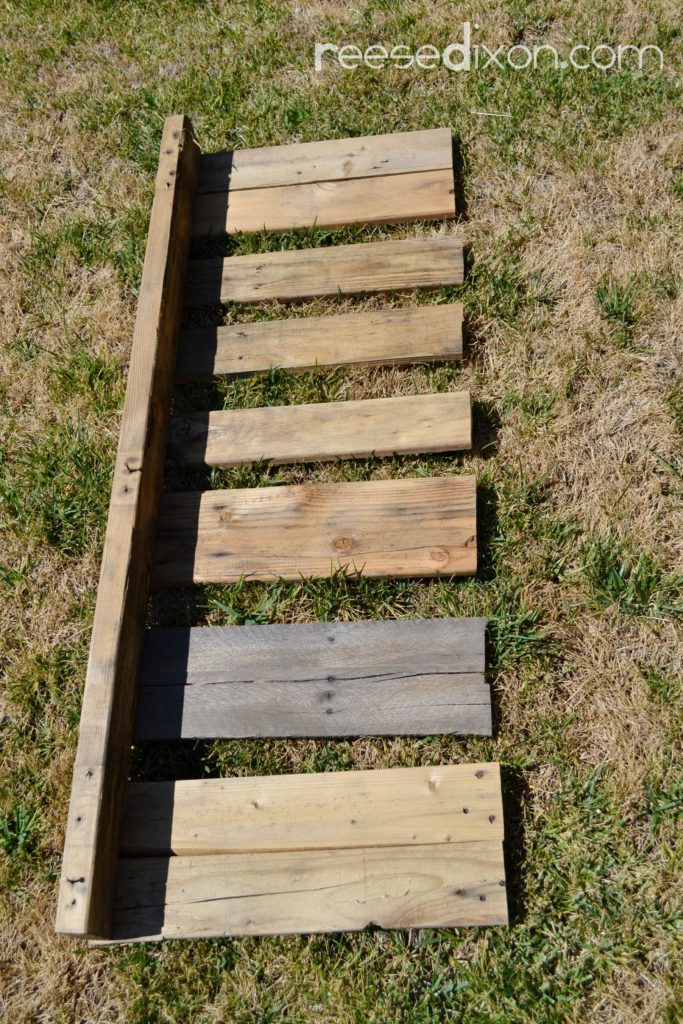
To start we’ll make the side pieces. Again, if your pallets have planks on both sides, you’ll want to start by removing everything on one side. Then, just as we did for the compost bin, Saw down the middle of the pallet as close as you can to the center beam. Do that on both sides of the center beam, and these pieces will make the sides of your shelf.
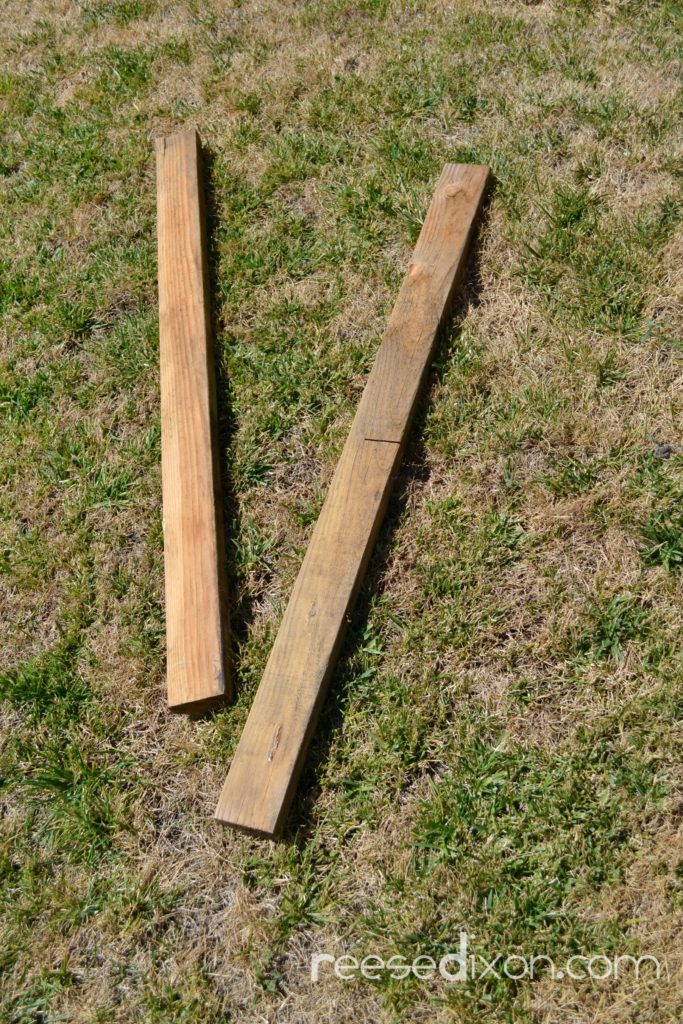
You’ll need to replace the beams you just eliminated so that your sides aren’t just wobbling around everywhere, so remove all the nails and wood pieces from that center beam, do the same from another beam, and make sure that they’re the same size as each other.
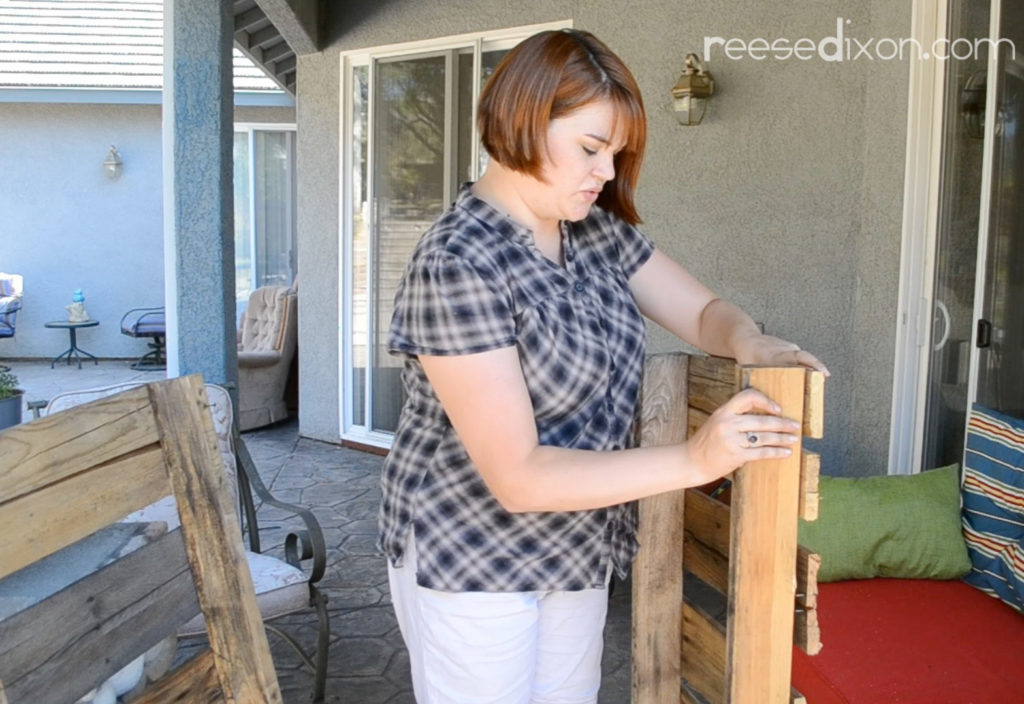
Line that beam up with the edge of the side pieces, and use screws to secure them together. At this point you’ll have two little ladder looking guys.
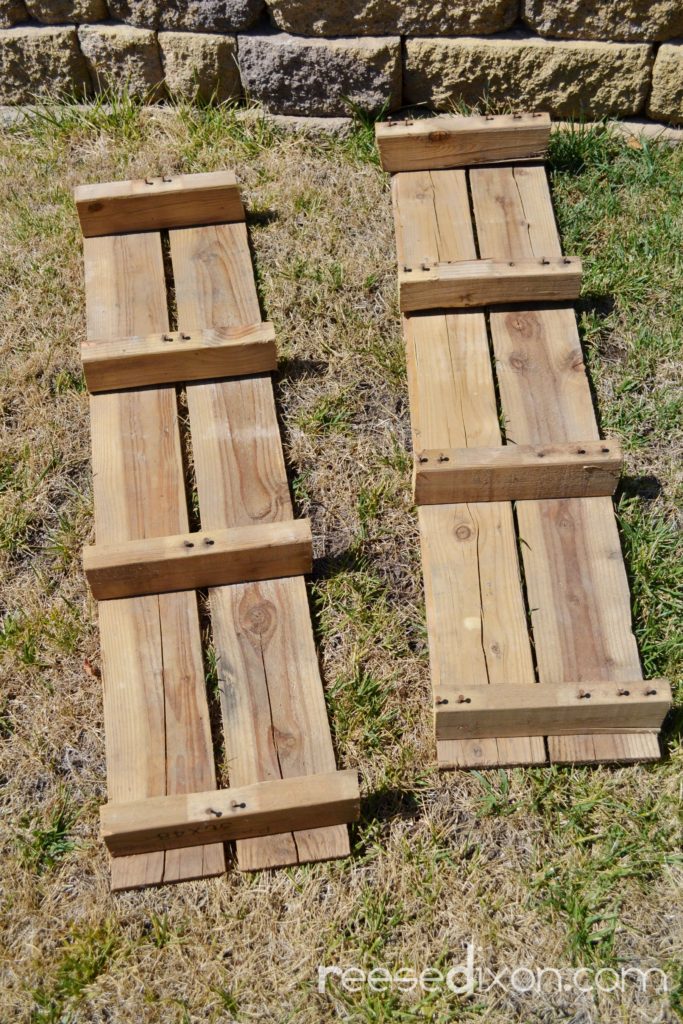
For the shelves you’ll need another pallet, and this time instead of cutting through the planks, we’ll be cutting through the beams. Saw through the beams between every two planks or so (depending on the width of your planks, this is all guesswork of course) until you have three shelves.
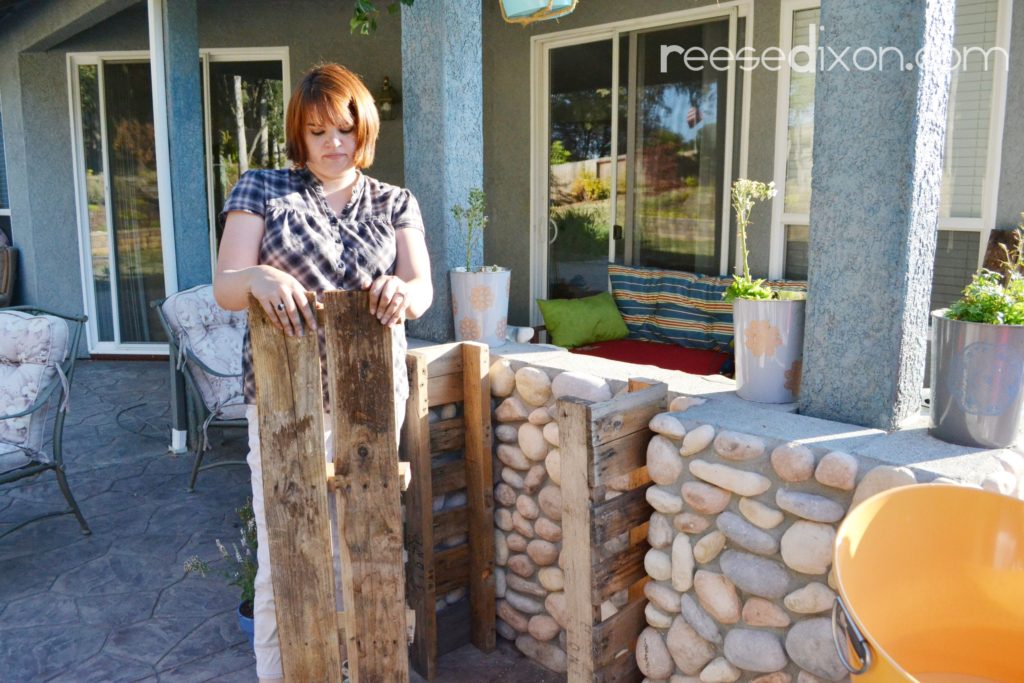
Since I had this specific space keeping the shelves together, I didn’t even worry about attaching the shelves to the sides. I just slid them through the gaps between the slats and figured that it couldn’t really go anywhere. But if you want yours to be free standing, then screw the shelves into the sides.
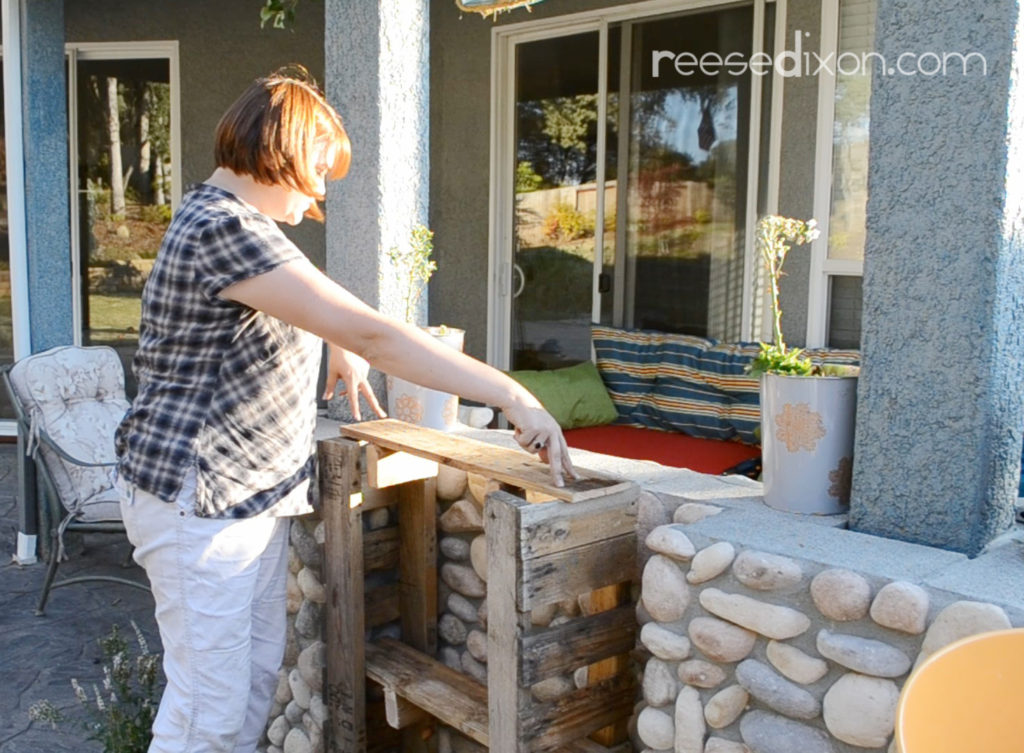
I positioned the top shelf towards the back of the side pieces so that the shelves were kind of staggered. There’s no real reason for that, I just liked how it looked. A few more screws down through the top and this project is finished.
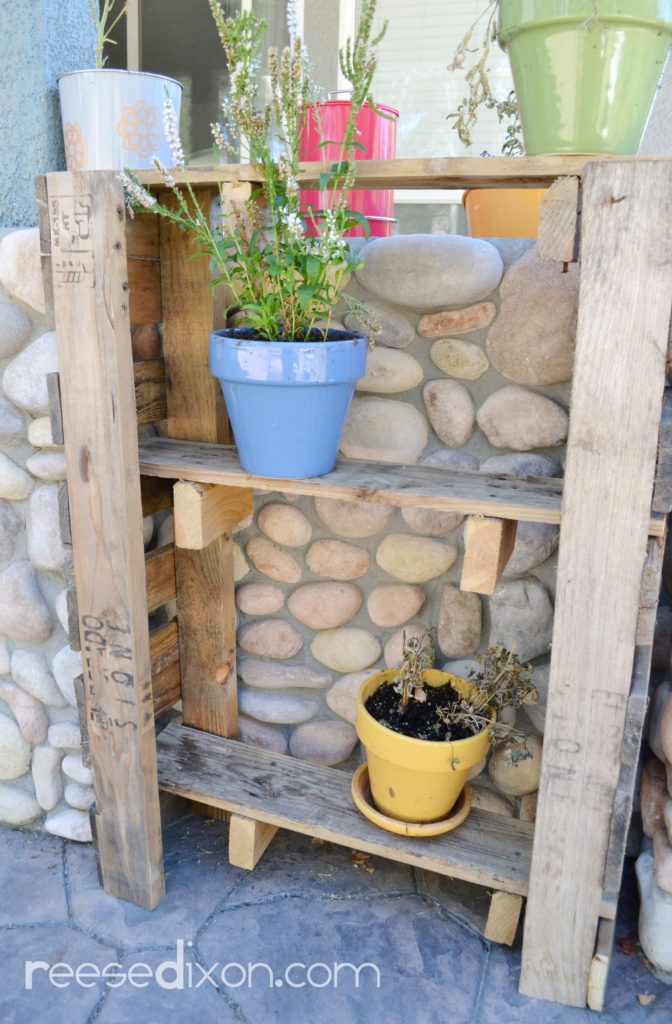
Most of the time my beef with pallet furniture is that it rarely looks like anything besides furniture made from pallets. Which means that unless you are a careful decorator, you’ll look like you’re a poor college student gathering milk crates around your table made out of an industrial spool. But that all changes for me once you take it outside. In the garden the extra nail holes and random printing just *works* for me.
This project was the afterthought as I was challenging myself to use up all of the pallets, and now I think it just might be my favorite. Which is why these kinds of creative challenges are worth the sweat and sore muscles.
I like your plant stand. But I love that stone wall. Did you make it yourself too and if so, how? I want to make a low wall outside and I have plenty of river stones.
It nice to read you post and you give some valid point in this article about online fashion.I bookmarked your page and waiting for more post.
This is an amazing project and it looks so beautiful and lively. The plant shelf you have made is simple custom essay writing services but amazing. It was a nice activity to follow for me and I have watched the video. Thank you for sharing it is a good stuff.
It is so amazing and nice idea to do such things. I see the same a lot of time but did not know how to make it by myself. Thanks for sharing your ideas and I found it useful for doing the same in my home. here I have seen a blog post that has great ideas of styling and choosing the best clothes shop online Canada. You should check it too because the ideas are great.
This is such a nice DIY wooden plants stand. It looks so beautiful laying beside your stone wall. The thing is you have made it so perfect with perfect distance shelves. It's such a nice product.