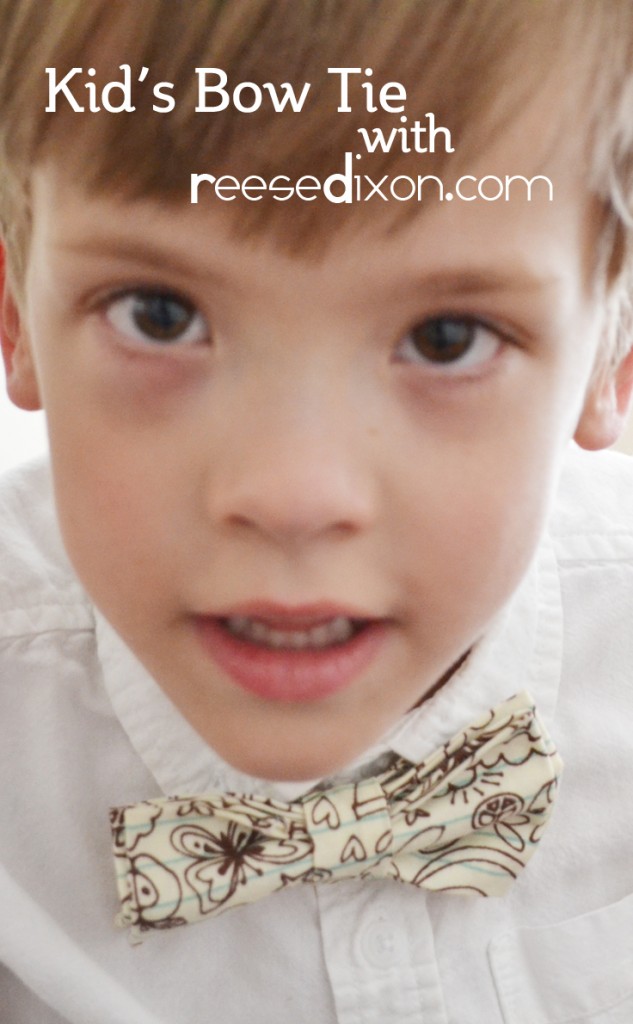
This Kid’s Bow Tie tutorial is so easy you barely need to know how to sew to make this bow tie, I promise. You can sew this it by hand if you felt like it. And isn’t it worth it for such a cute look?

Little boys all dressed up are just the very very cutest thing. They are so adorable that I don’t know why it’s so hard to find little bow ties, it seems like they should be as plentiful as socks, just as an obligation to make the world a cuter place. And yet the only time I find them is at craft fairs. I figured it was time to make some myself, so after a little experimentation, I found the easiest possible way. A bow tie with three little seams and no special hardware.
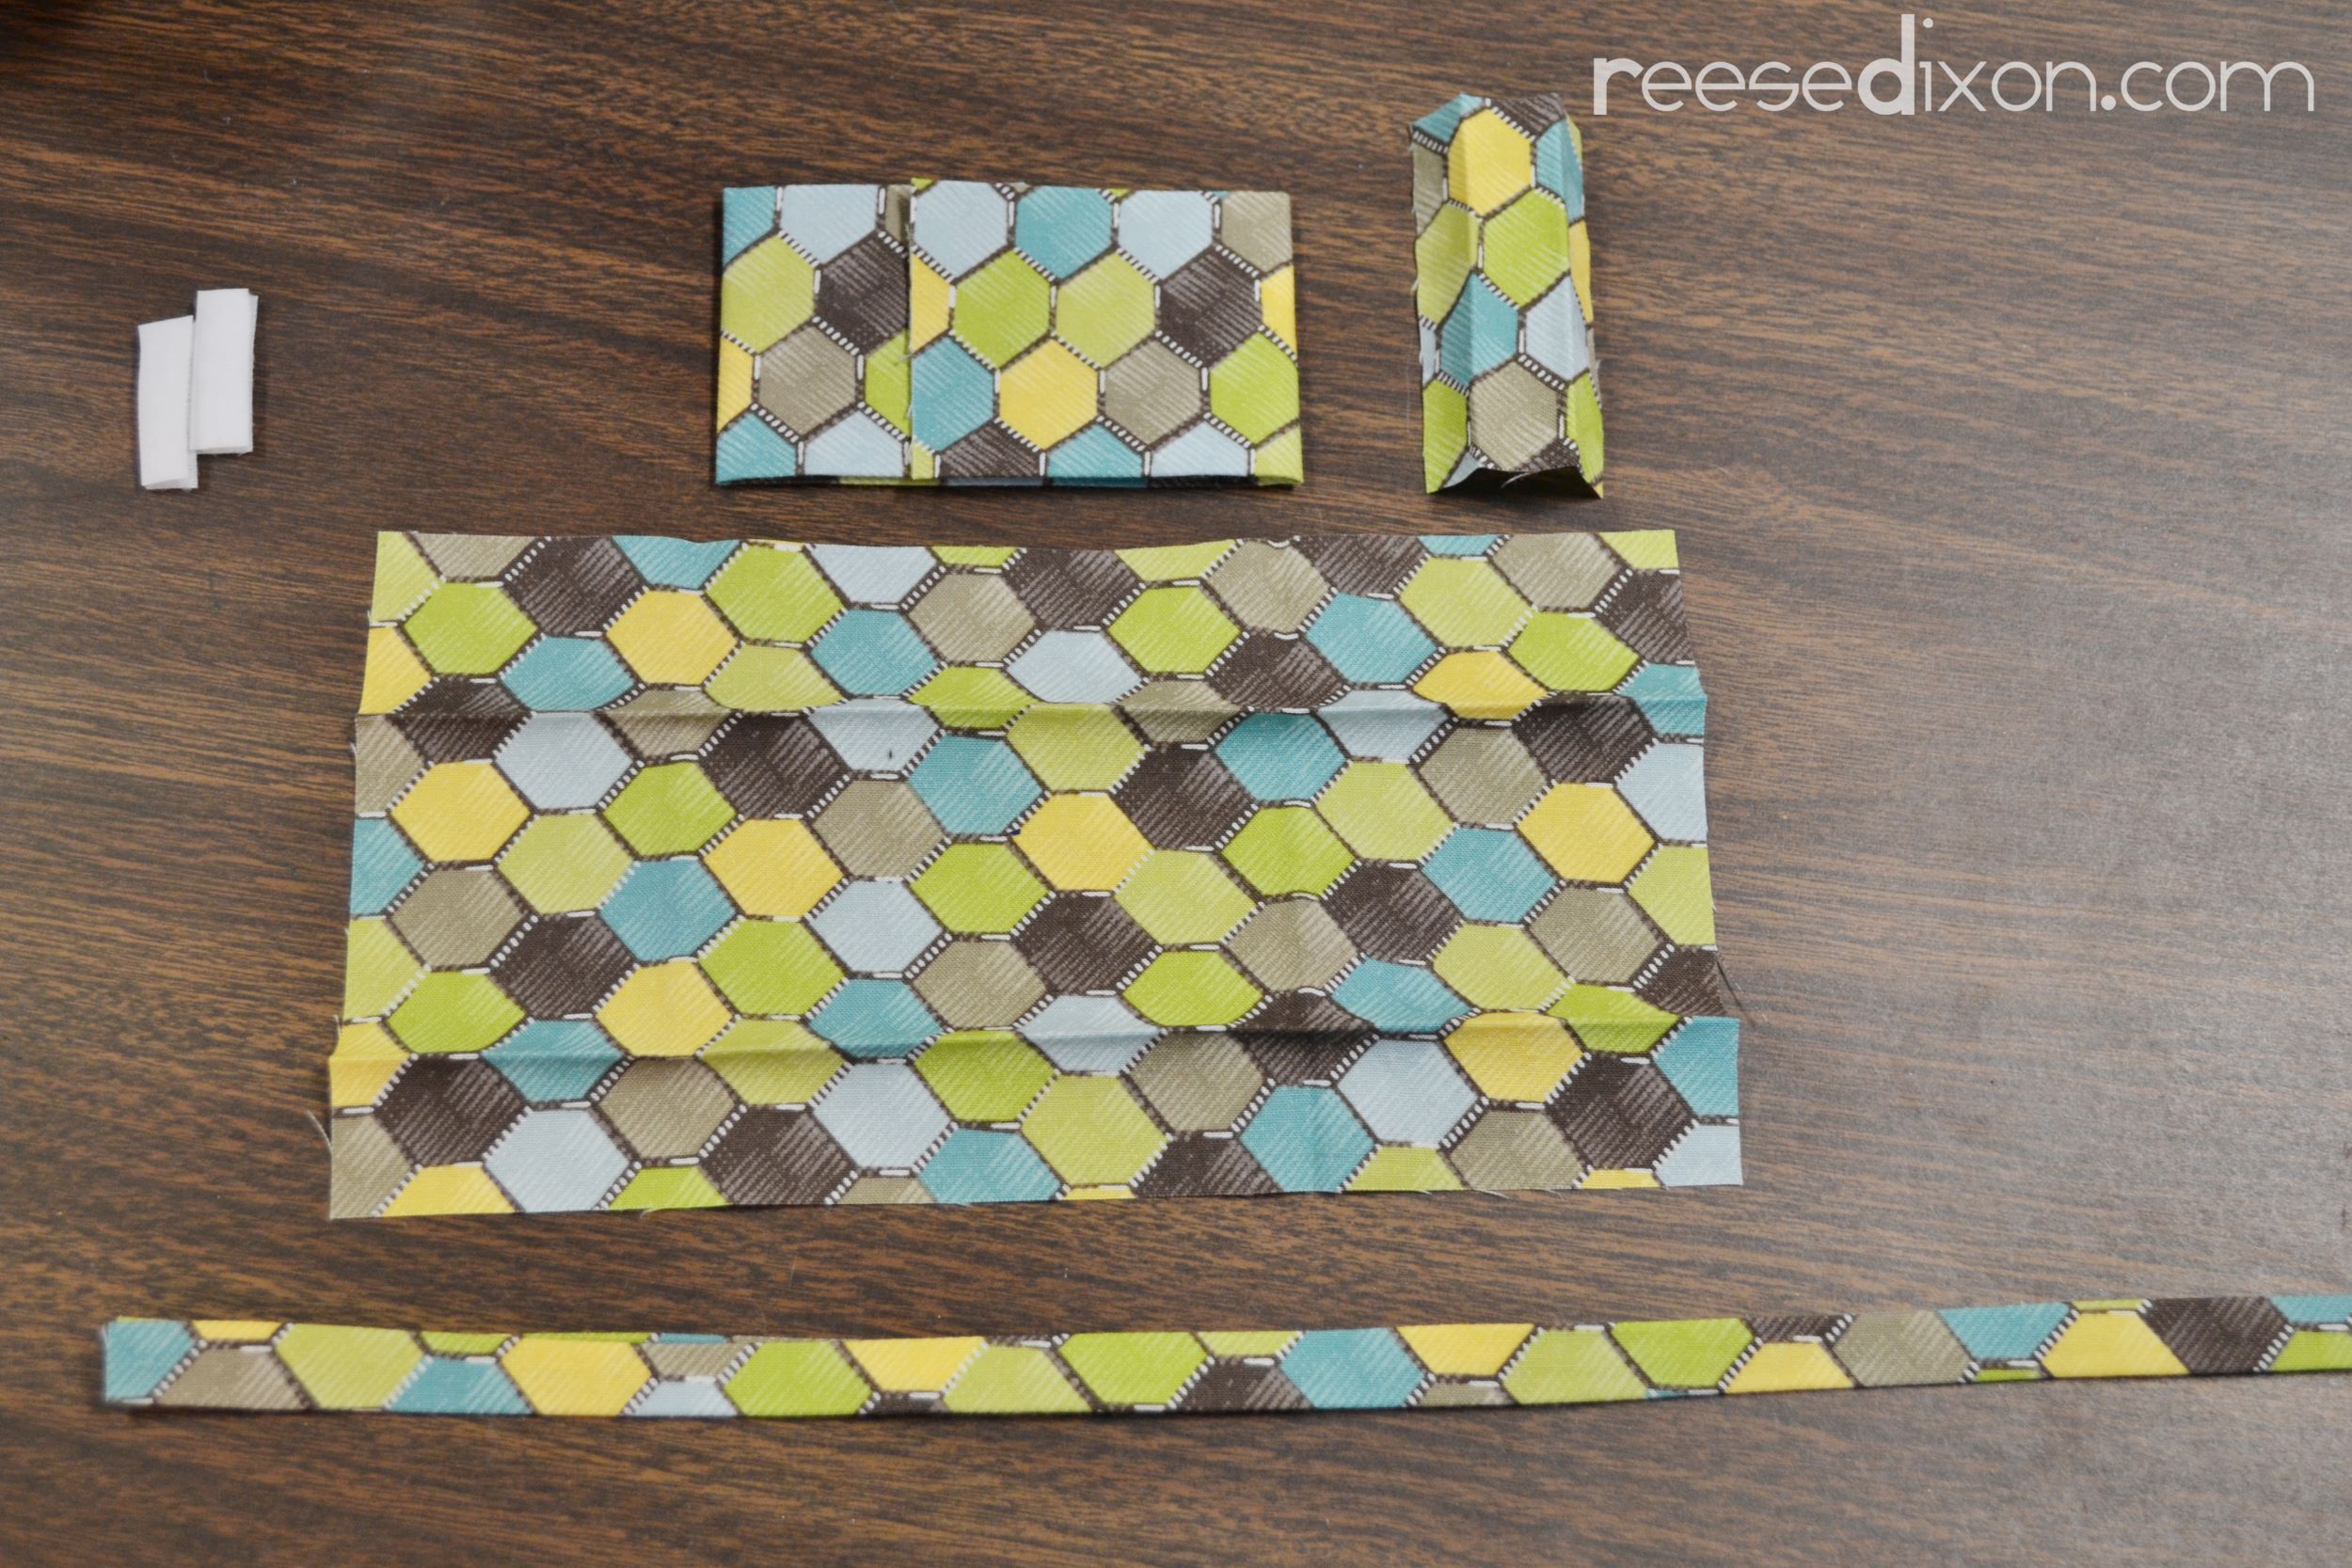
First cut out all of your pieces. Get your iron hot because you’ll do a lot of pressing, but that’s what does all the work here.
Cutting Measurements:
2 Bow tie pieces: 9″ x 5″
1 Strap piece: 15″ x 1 1/2″
Center loop piece: 3″ x 1 1/2″
2 pieces of velcro cut skinny enough to fit on a 1/2″ wide strap
Each piece then needs to be pressed to the finished size.
Finished sizes:
2 Bow tie pieces: 4″ x 2 1/2″
Fold the edges into the center until they just overlap. Adjust as necessary to get the finished size you want. Press. Then fold the sides into the center until they overlap. Adjust again for the finished size. Press.
1 Center loop piece: 3″ x 3/4″
Fold the edges into the center until they overlap. Press.
1 Strap piece: 15″ x 1/2″
Fold the raw edges into the inside, then fold the whole piece in half. Press.
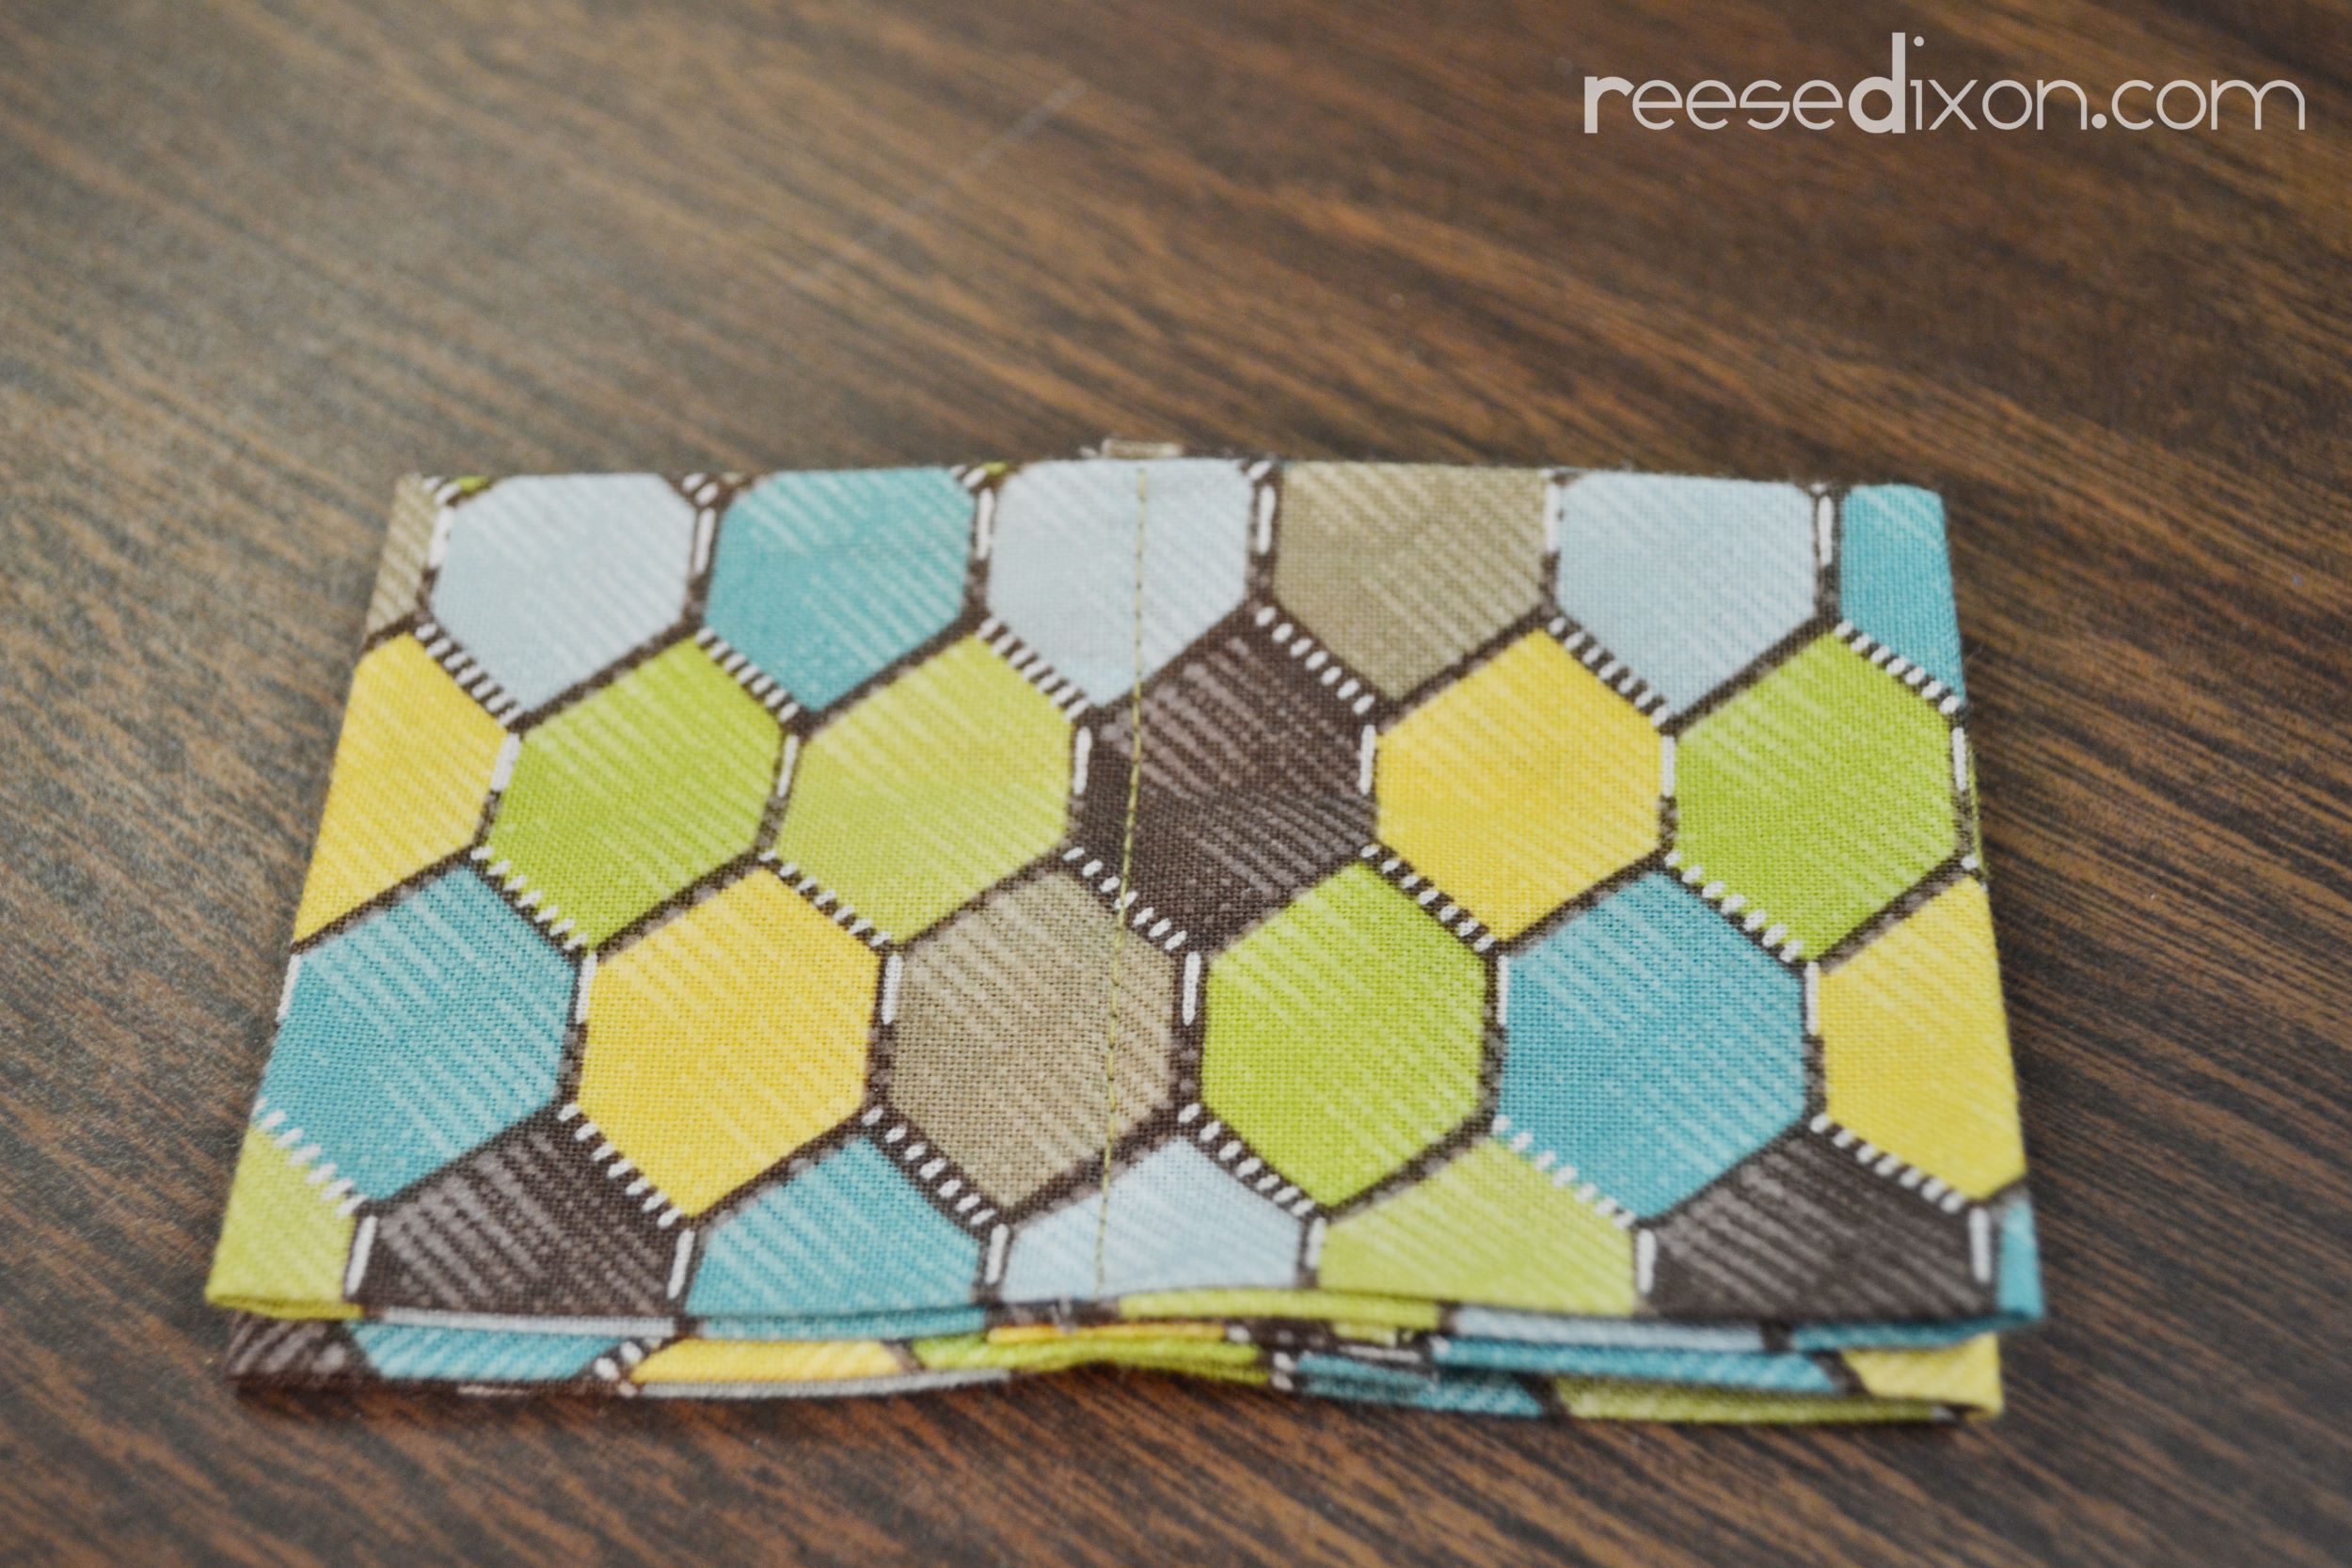 Layer your two bow tie piece on top of each other, all the fold lines facing in. Sew them together with a line of sewing right down the middle.
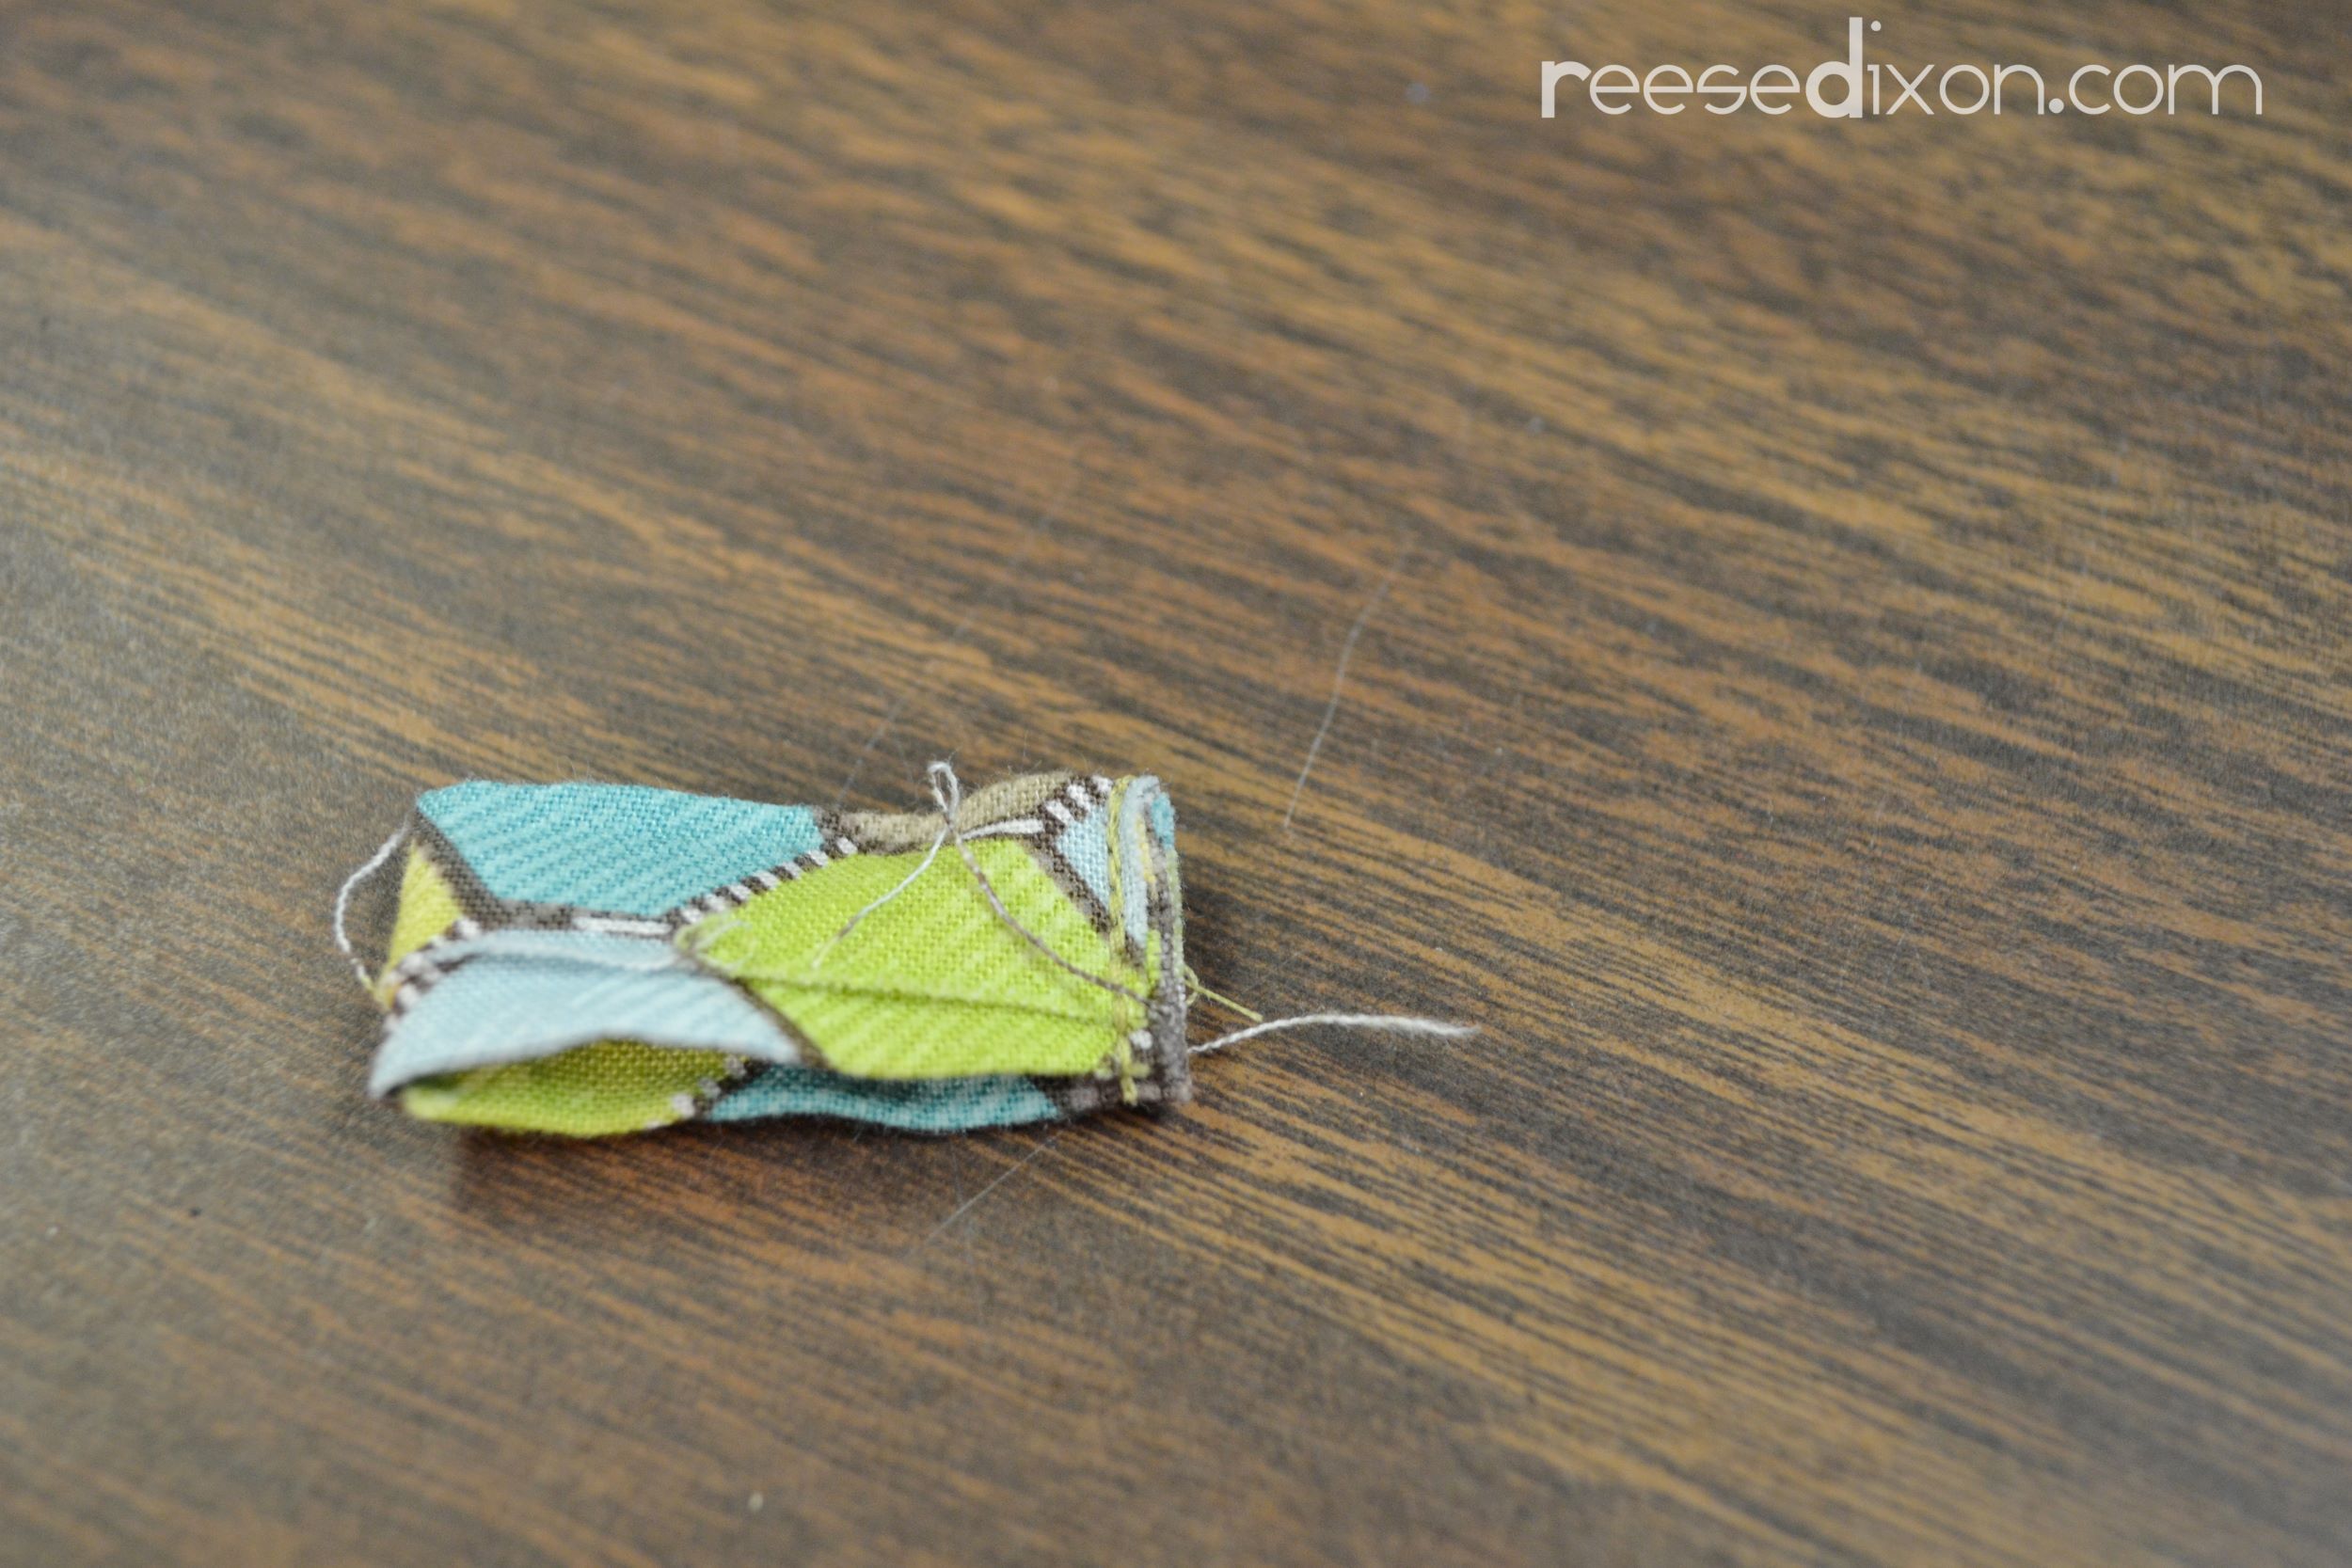 Fold the center loop so that the ends are meeting, fold lines out. Sew as close to the edge as you can, and reinforce that seam several times. This is the point that will take the most stress, so you want that seam strong. Turn right side out.
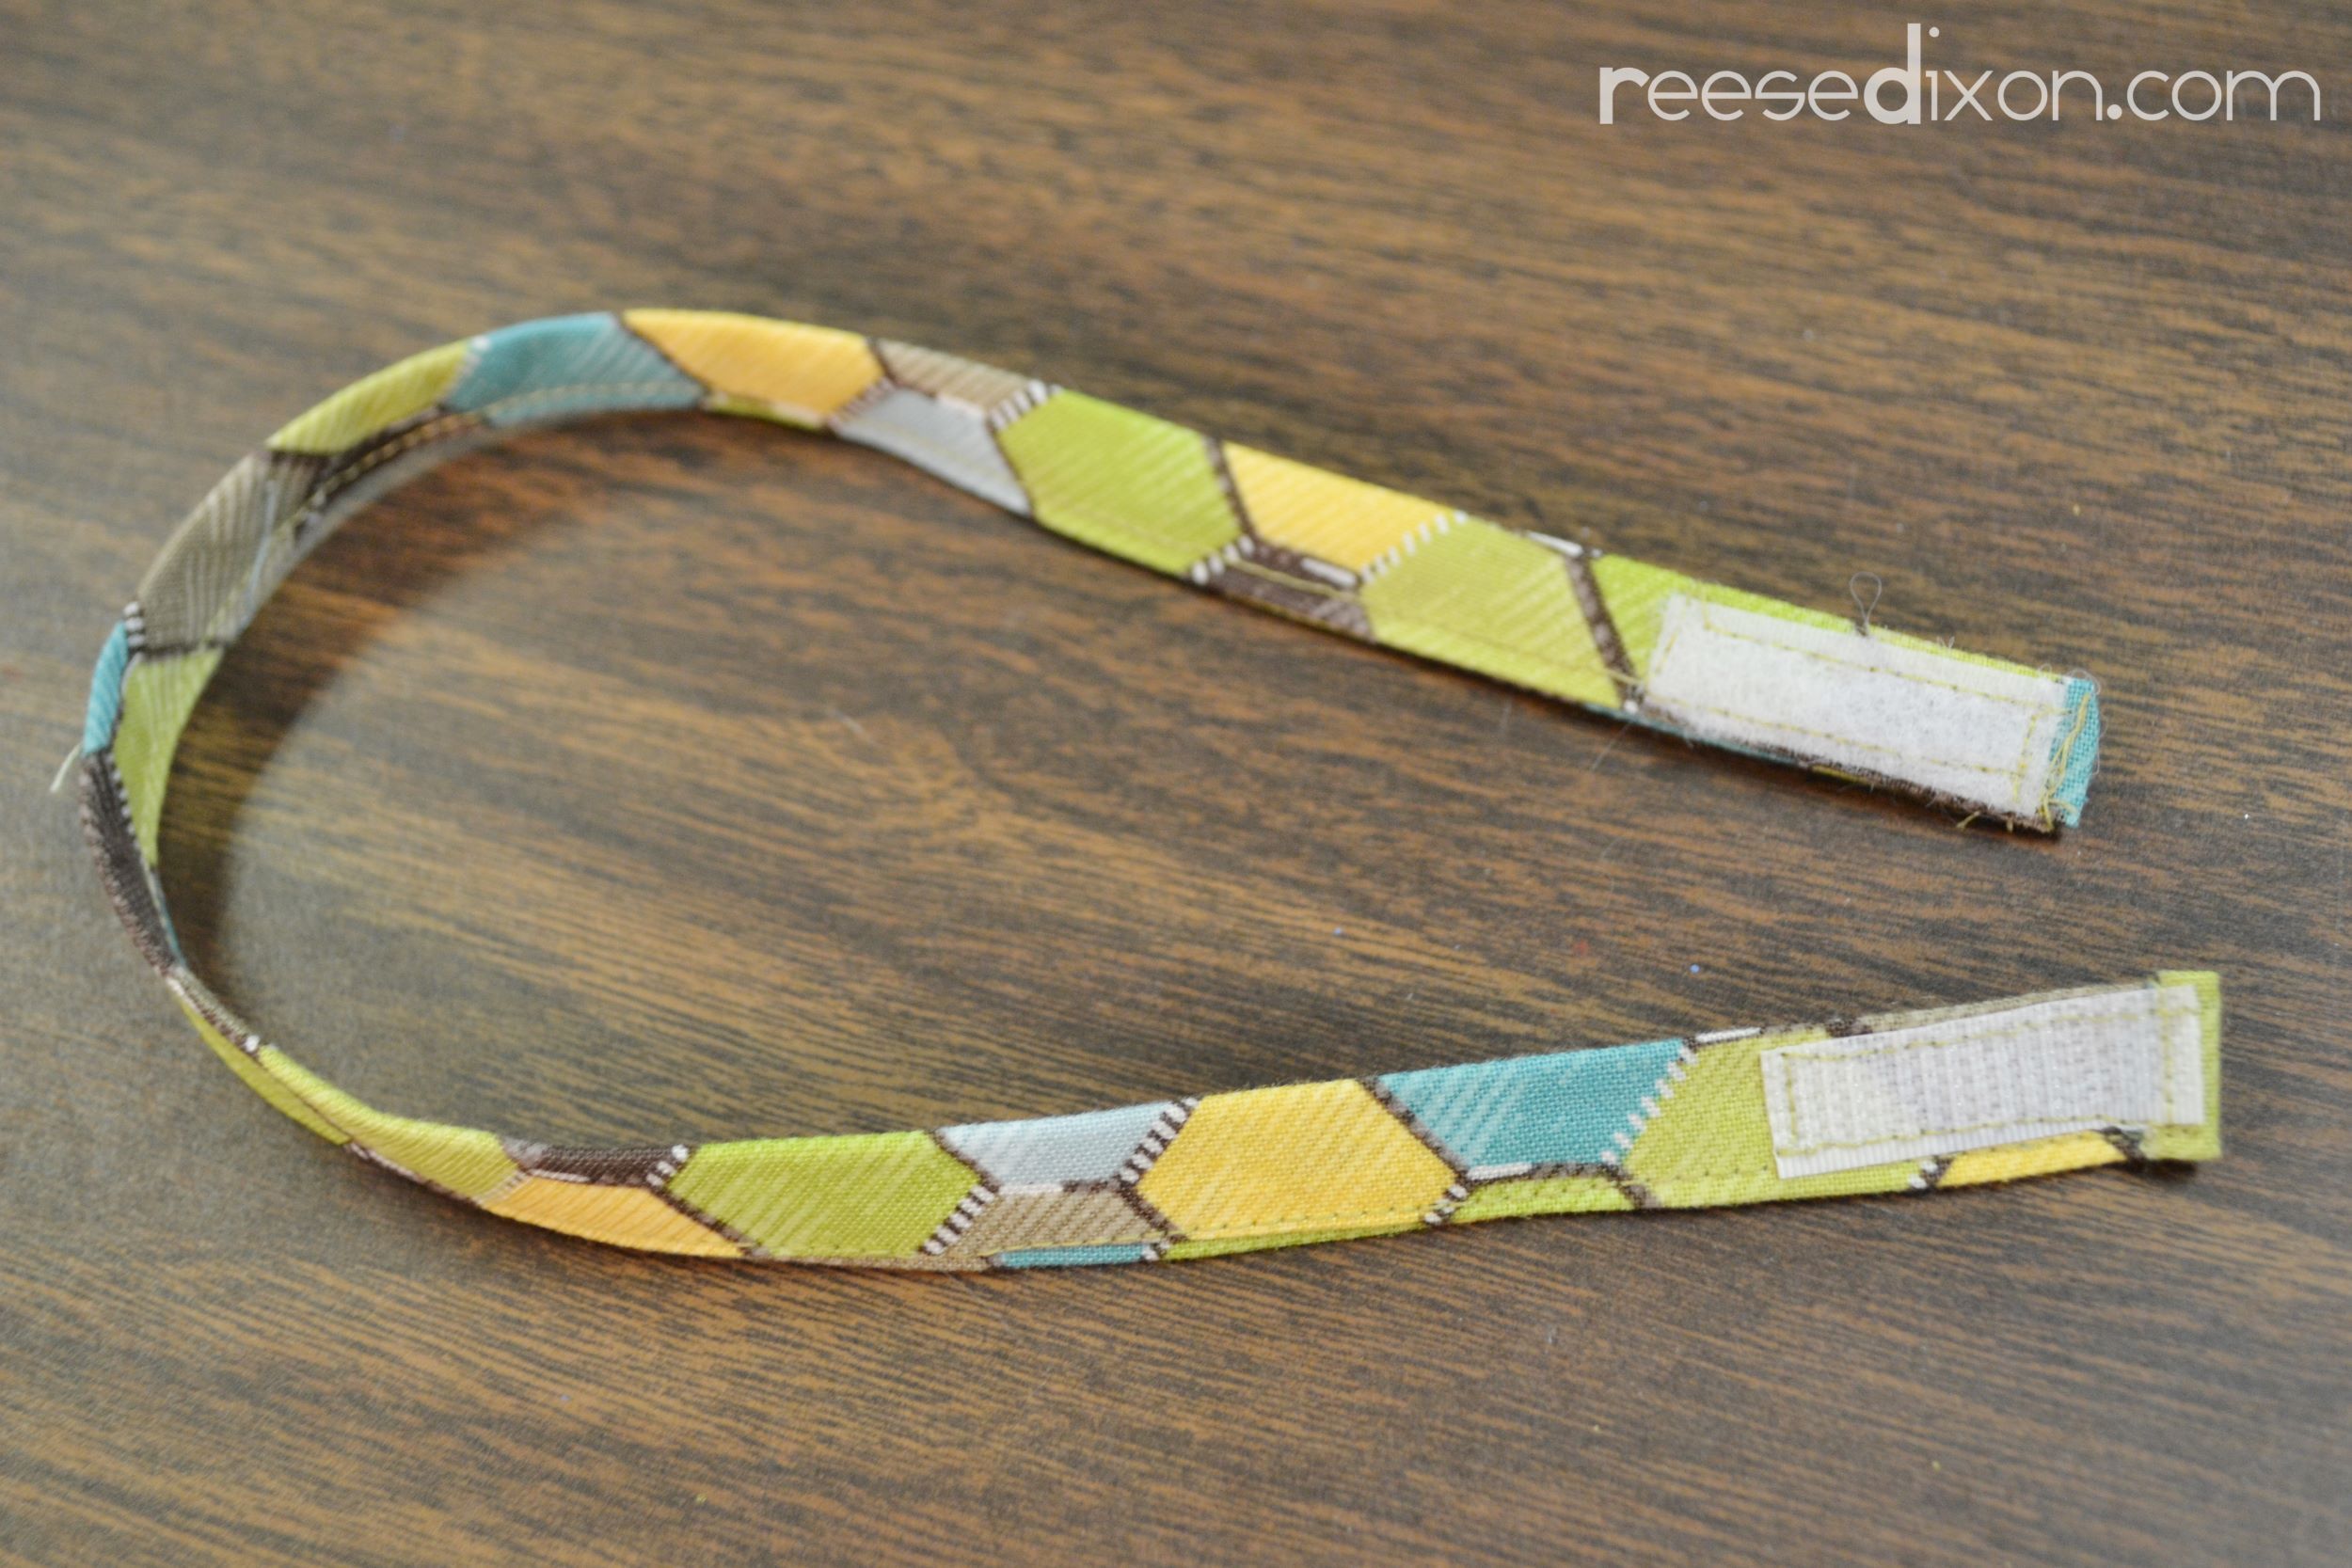 To make the strap start by sewing it shut. Fold the end edges inside and then sew a line of stitching as close to the edge as you can while enclosing everything. Sew on the velcro by sewing a line all the way around the edge of it. Just make sure that each edge of your velcro will line up the way you want it to when the tie will being worn. One piece of the velcro will need to be on the front of the strap, and the other on the back.
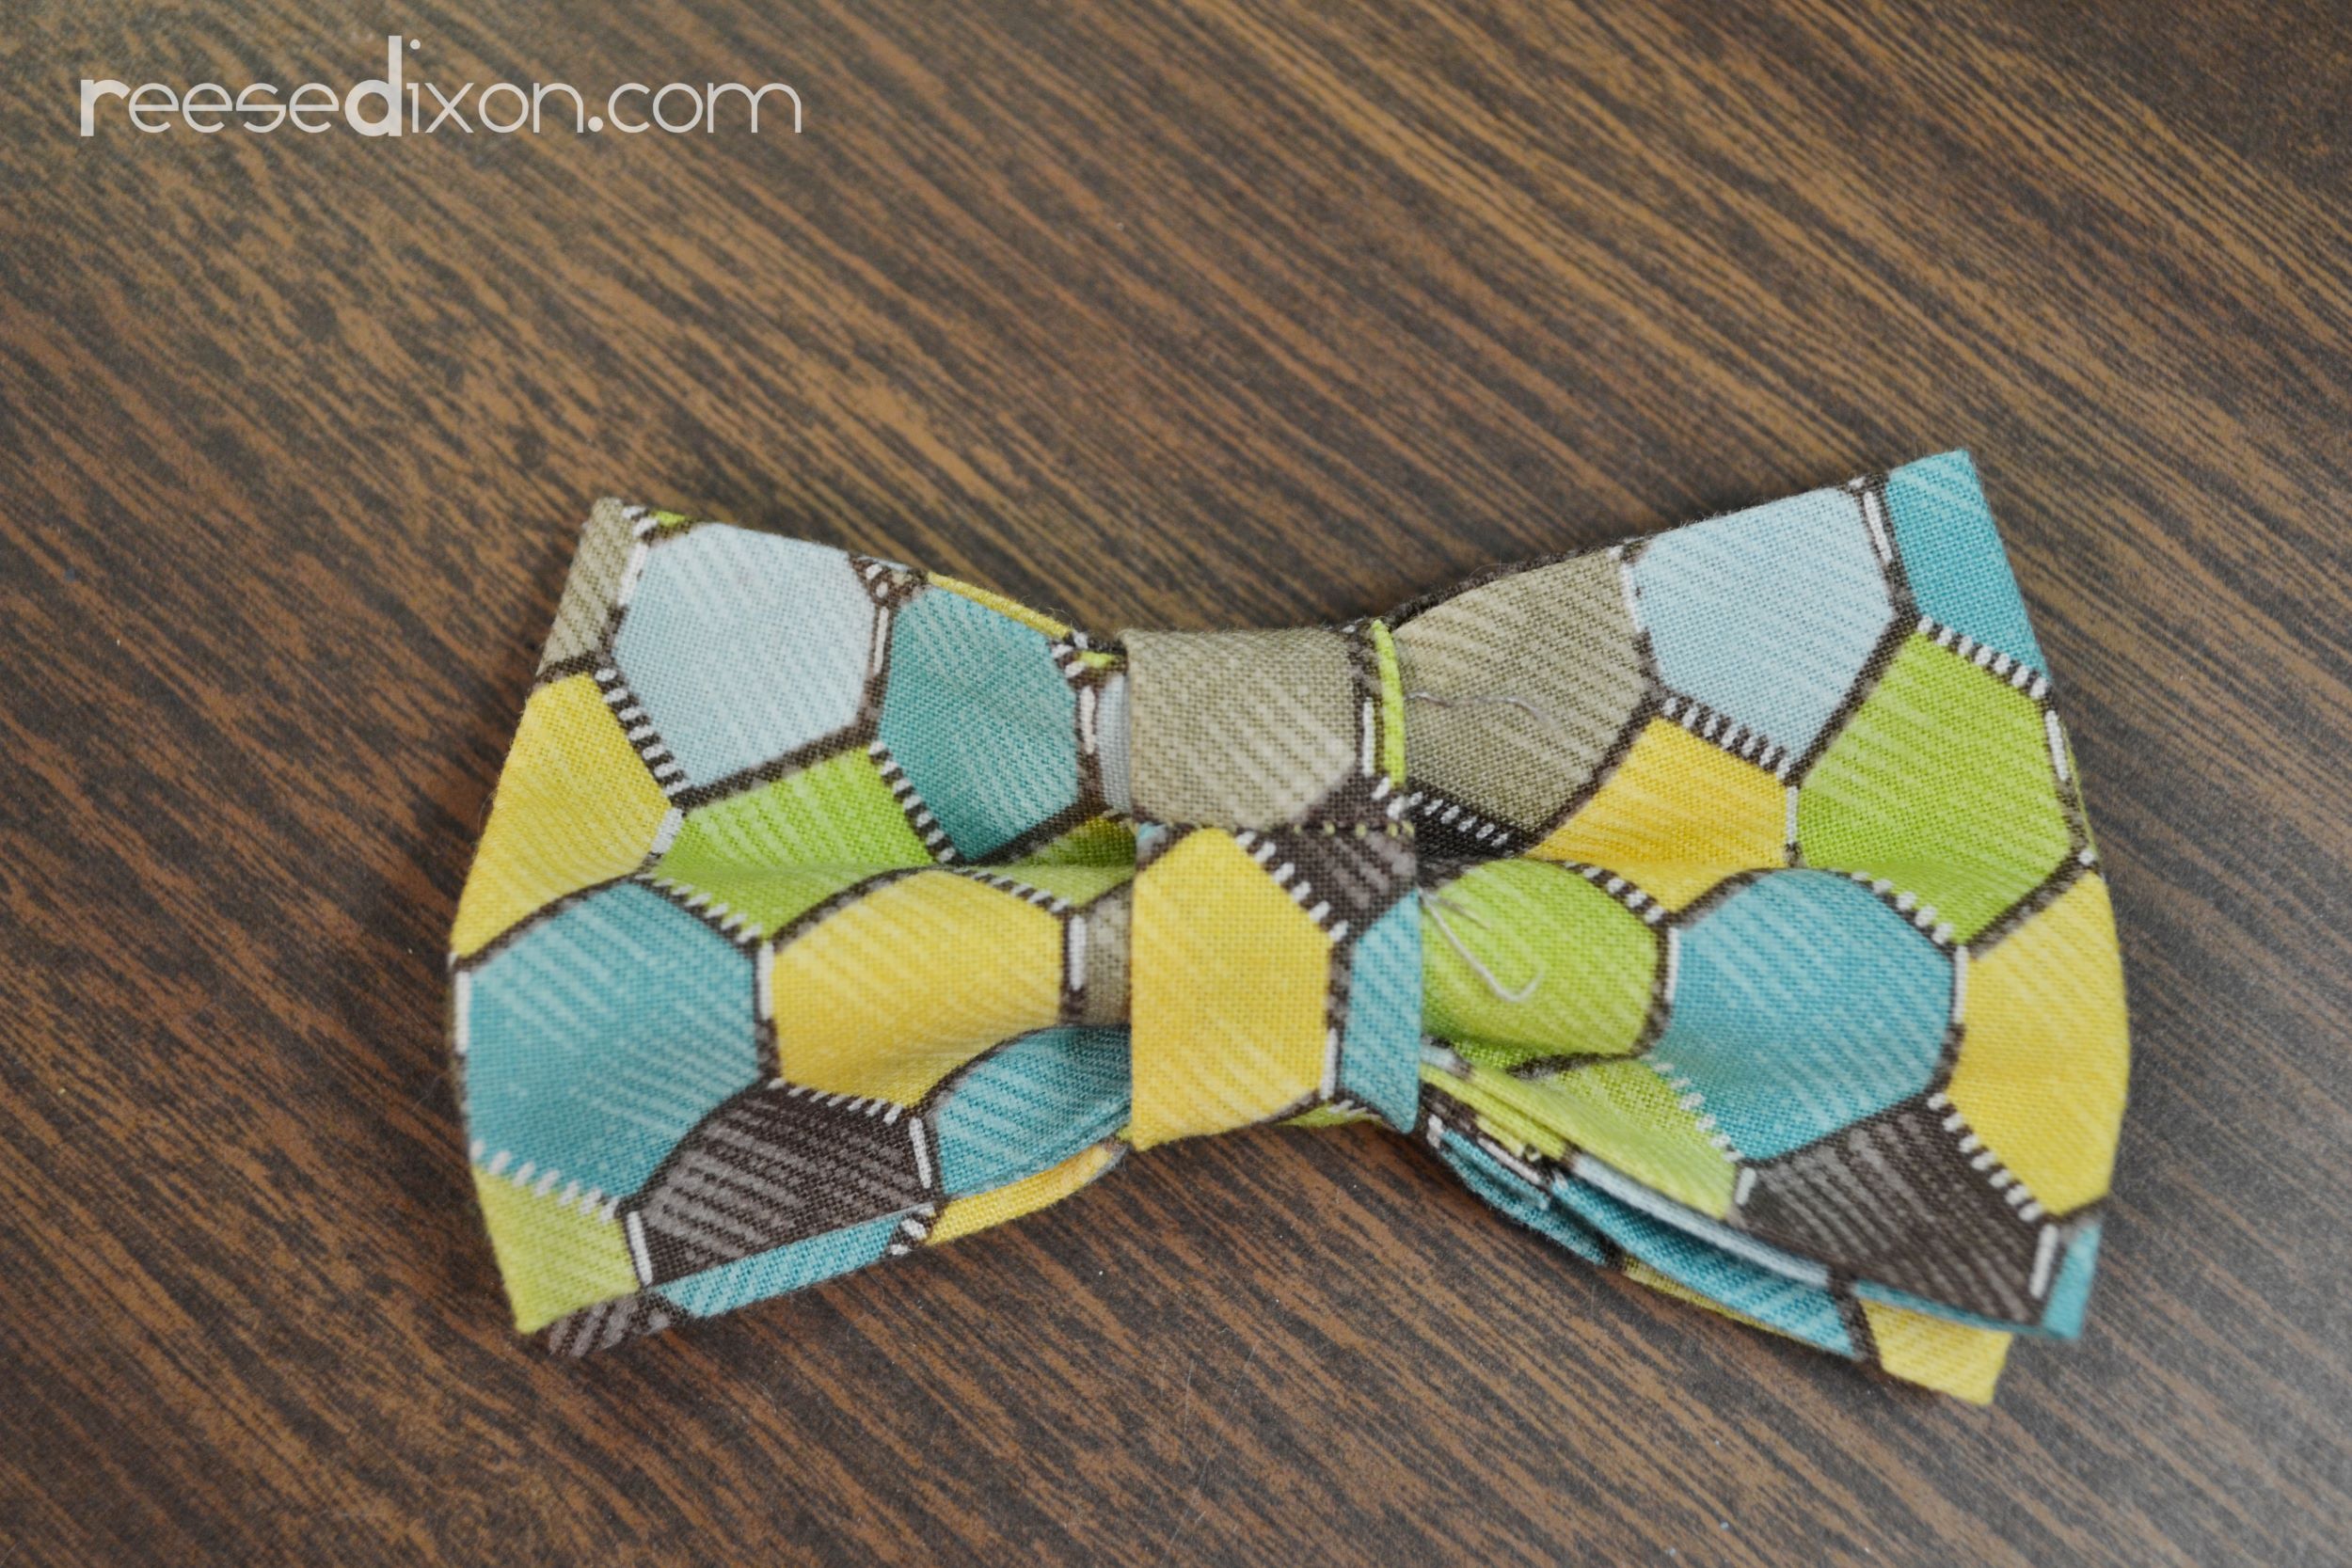 Fold your bow tie pieces over until they’re small enough to fit through the center loop and shove them through.
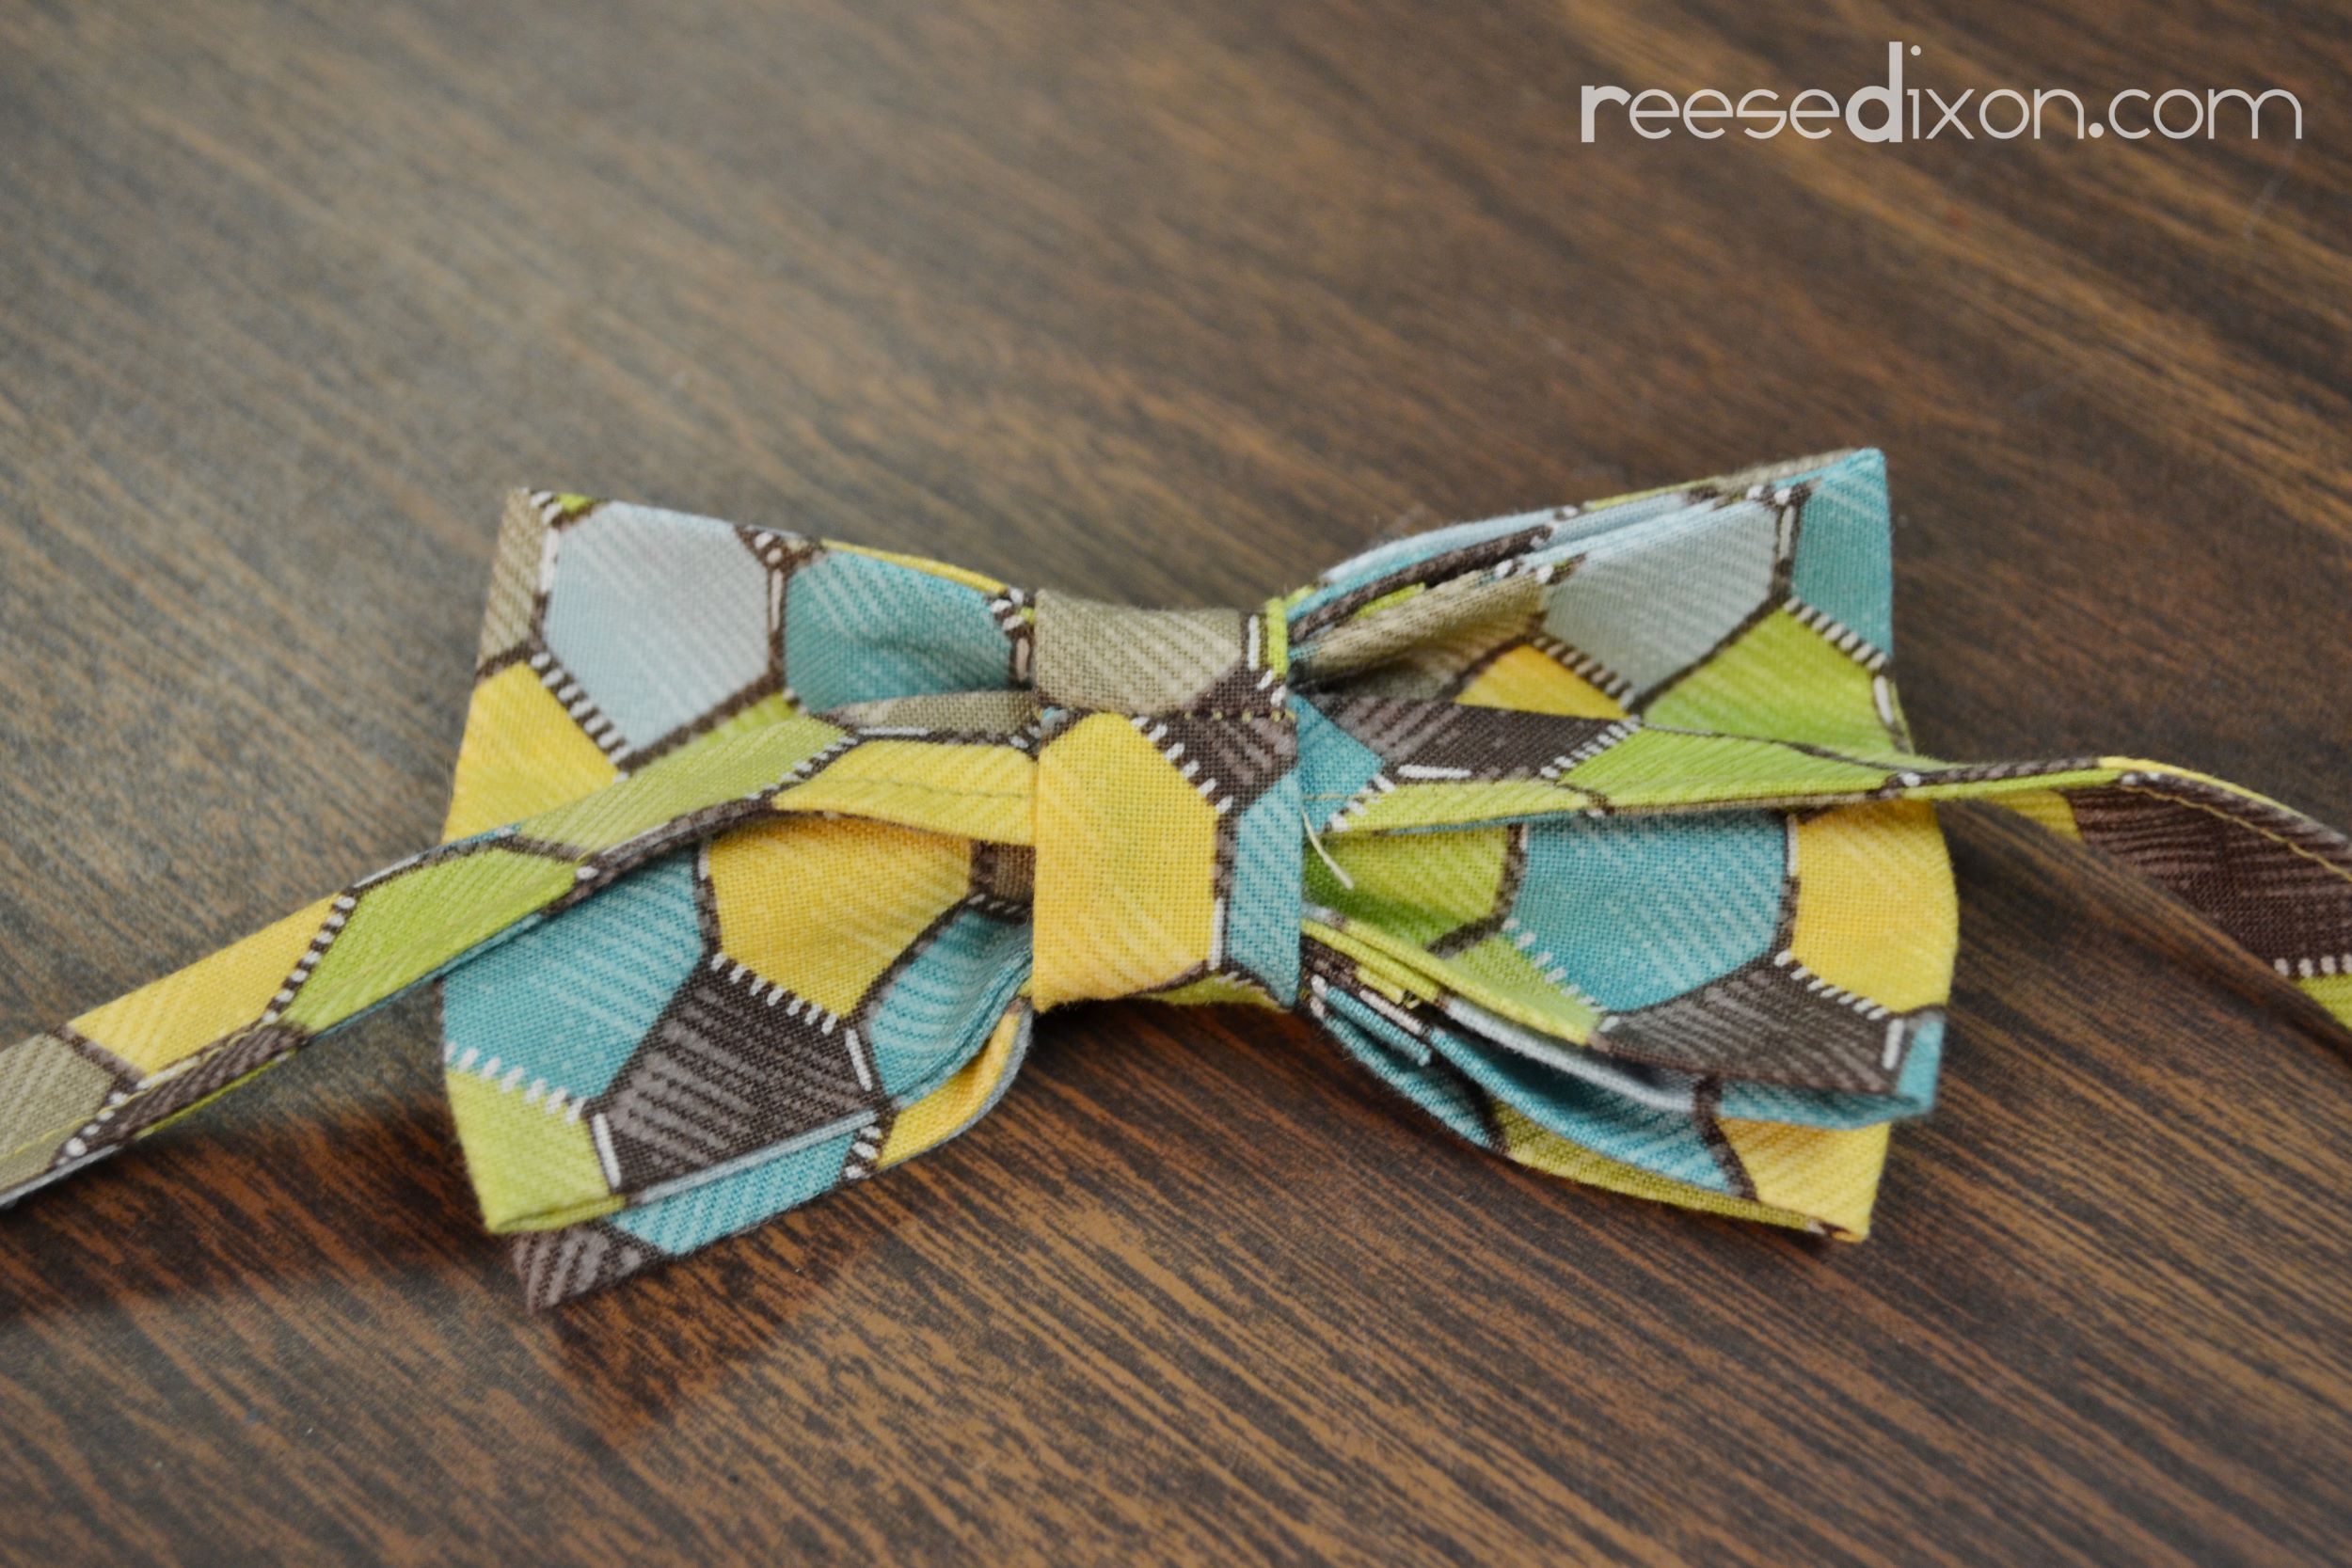 Thread the tie piece through the center loop too. If you want to make sure that it doesn’t slide around, you can use a few hand stitches to secure the center loop to the bow tie and the strap, but I didn’t bother taking the trouble.
 I mean, seriously. How can I dress him in anything else now?




Adorable!! I love bow ties on little boys. Great job!
Your bow ties are adorable! Someone sent me your link telling me you needed to know about our line of bow ties. Sorry if this feels spammy… But we have boys bow ties at johnsonbrothersonline.com.
That is cute. I will surely try to make this I remember I have some piece of fabric I can use. I will make it for my nephews.
How amazing is that bow tie that he is modelling. Thank you so much for the tutorial, you've made it really easy to create a bow tie.
This is wonderful and thank you for sharing it with us. Really like your article!
What a wonderful post! I really like it! And maybe if you will look at my http://www.fashiondivadesign.com/original-clothin… you will like it too. I will really appreciate you!