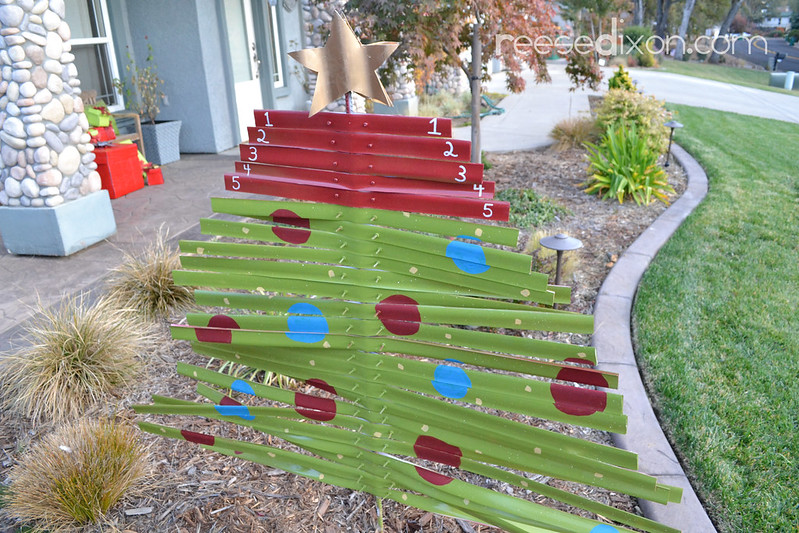
 Every year I go into the holiday season with superhuman goals, and more often than not I actually meet them. Homemade presents, family time, baking, and a new Christmas tree nearly every year, this is the season I’ve got it all together. But even I have my limits, and so far that has been largely ignoring the outside of the house. Bear will put out some lights that we’ll often forget to turn on, and I’ve made a couple of wreaths, but no big yard displays or even little holiday touches. During the day our house looks nearly the same as it does all year, and then you open the door to an explosion of Christmas wonderland. So this year I’m fixing that by getting a jump start. I’m dedicating Fridays this month to outdoor holiday projects.
Appropriately enough, the place we’ll start is with a giant outdoor advent calendar. I have a huge collection of them for inside the house, and I love having something displayed that the whole neighborhood can enjoy as we get closer and closer to the festivities. This one is made out of plastic and rebar so it will stand up to the elements, but it’s also so easy you do most of your work with a pair of scissors.
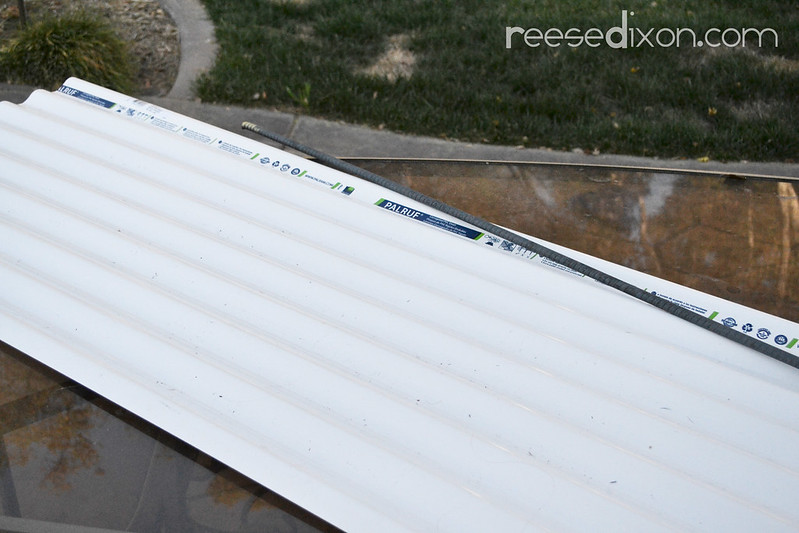 You’ll need a six foot piece of rebar, 50 1/2″ machine screws with matching bolt, spray paint in gold, green, red, and a primer, a drill, and 2 pieces of corrugated PVC sheeting. You’ll find this in the roofing section of your hardware store. It’s available in a whole bunch of different colors of plastic and metal, and since you’ll be spray painting it, the color you get doesn’t really matter.
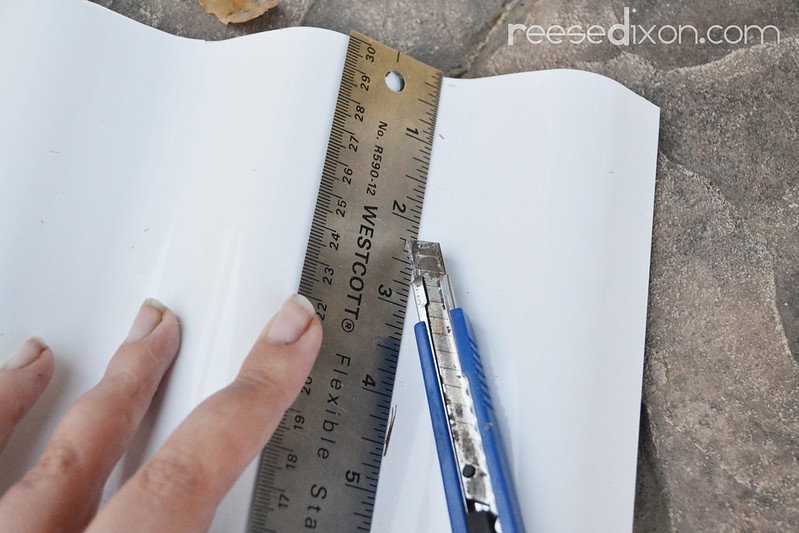 Using a ruler and a box cutter, score the plastic down the middle of a valley in the corrugation. Bend it backwards and snap it off. This is your basic cutting technique, and using this method you’ll need to cut 50 pieces. The width doesn’t really matter – in fact I found it both easier and visually pleasing to vary the width – but you’ll want to make sure that all 25 finished strips can fit on your rebar with room left over to stick it into the ground. So each piece needs to be no bigger than 1 3/4 inches.
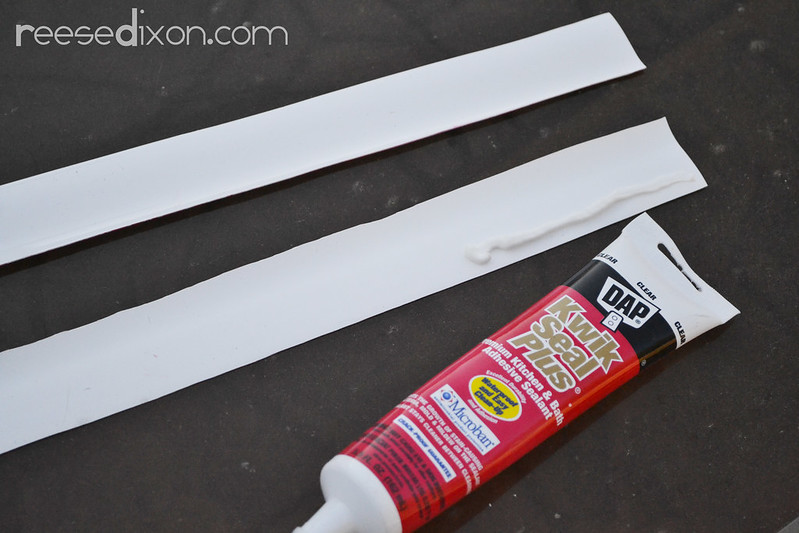 You’ll need two pieces matching in size for each step of the advent calendar. My smallest piece was 14″ long and then each piece after added 2″ until the last piece was 62″ long. I kept a little checklist near me to keep track of all the cuts I had to make – 14,16,18,20,22,24,26,28,30,32,34,36,38,40,42,44,46,48,50,52,54,56,58,60,62 – and then lined up the two matching pieces and trimmed them up together. When I was satisfied with my cuts I used a kitchen and bath adhesive to stick the pieces together, but only on the ends. You need to leave the middle open to attach it to the rebar. Lots of glues will work for this, but I used this particular one because it’s made to stand up to water. It will be perfect in the rain and snow.
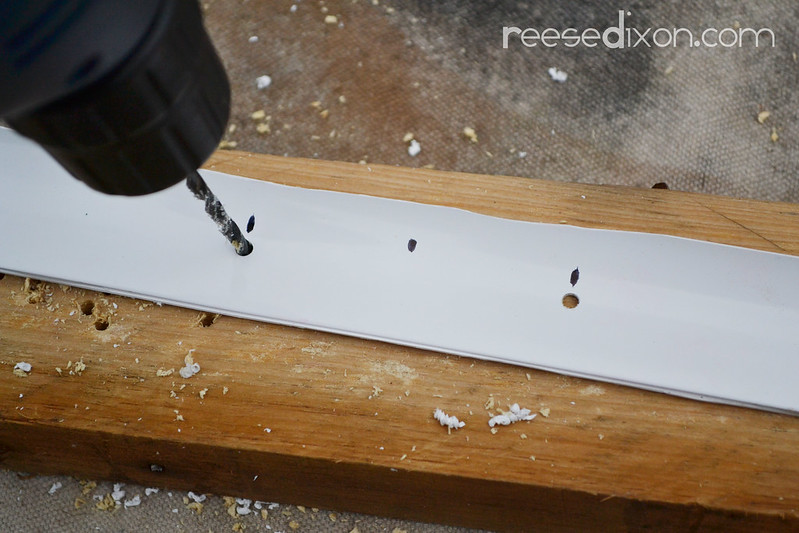 When the glue is dried, measure and mark the center of each strip and then 1 1/2 inches away on each side. Using a drill bit that is the same size as the screws you bought, drill holes in the outside markings.
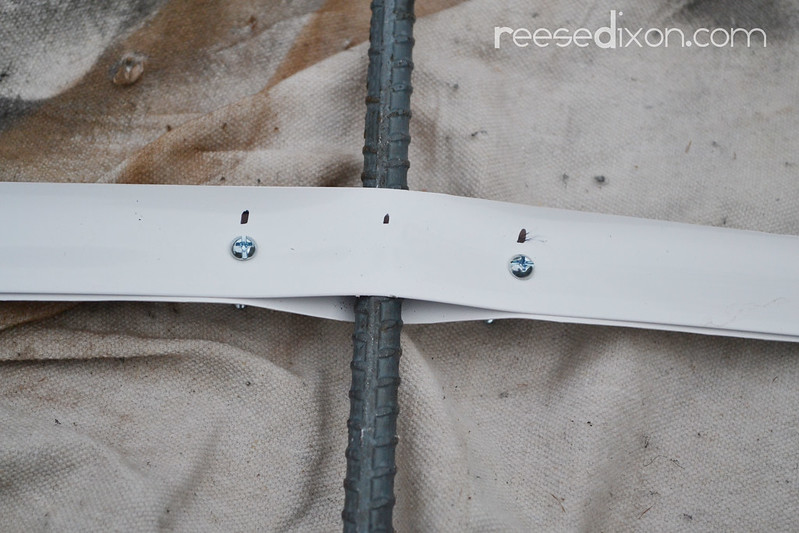 Put your screws through the holes you drilled, securing with nuts on the back, and thread your rebar in between the two plastic pieces.
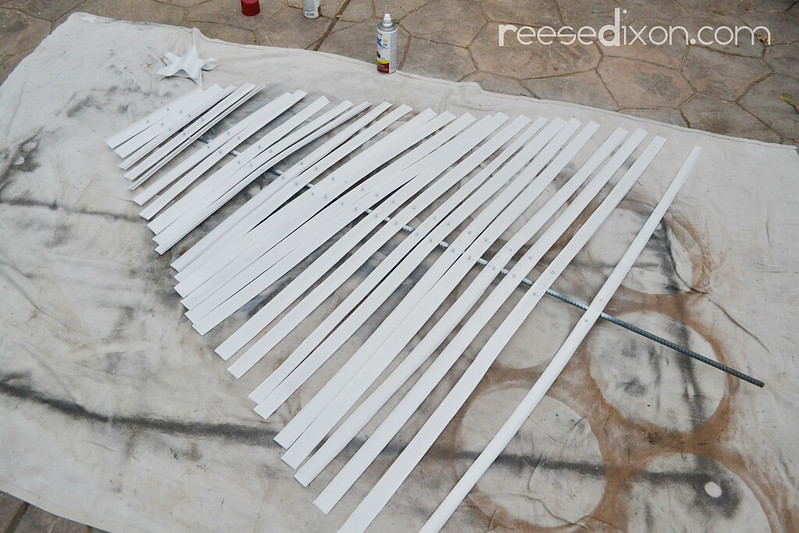 Feed all of your strips onto the rebar, making sure that you keep them in order from smallest to biggest.
 To make sure that this looked like a Christmas tree and not a weird holiday pyramid, I cut two star pieces out of the leftover plastic and glued them together with the same adhesive. Spray paint all of your pieces with a primer coat so that the paint gets good adhesion.
 Then spray paint your star gold. I used more of our trusty kitchen and bath adhesive to stick the rebar to the inside of the star.
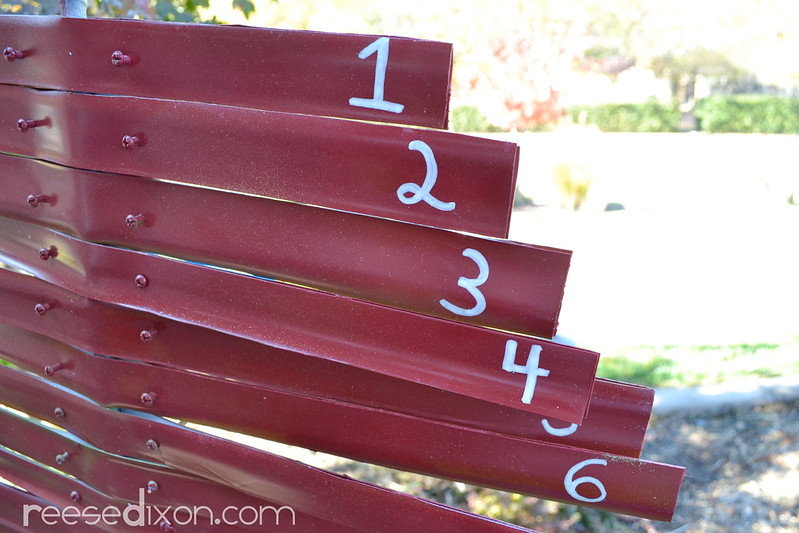 Spray paint one side of the plastic strips a bright Christmas red and decorate for the advent countdown. I kept the decoration simple with a little touch of gold splatter and white numbers on each end.
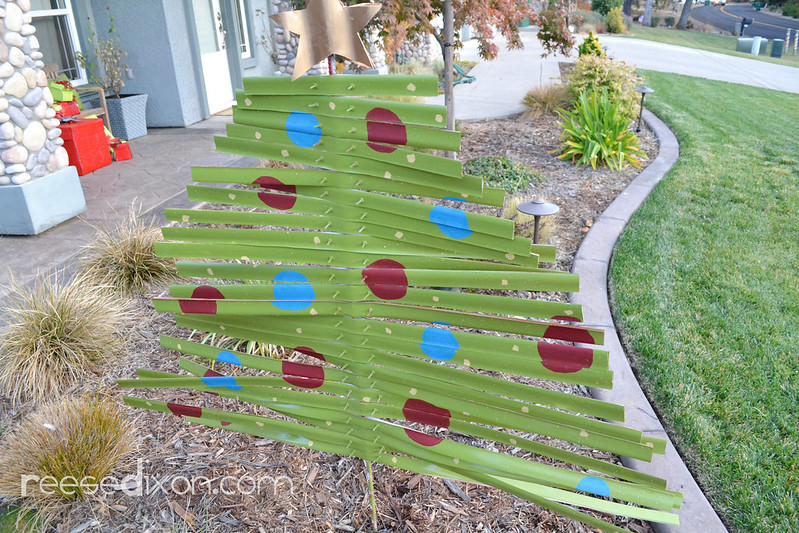 Spray paint the other side of the plastic strips bright green and then decorate to look like a Christmas tree. I used acrylic craft paint to make Christmas balls and little dabs of yellow to look like Christmas lights.
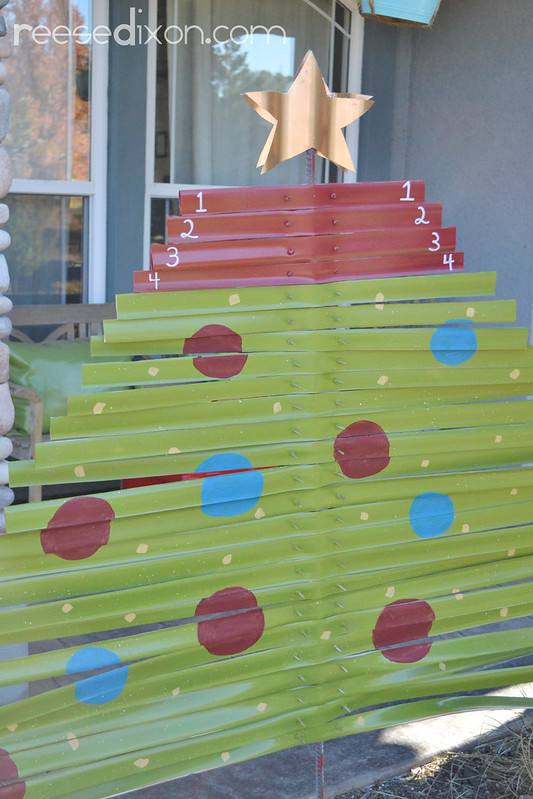
Now as the month progresses I’ll just turn each strip around from red to green, assembling a Christmas tree the closer we get to the holiday. I think everyone will love watching my tree get bigger and bigger, and it will give me one more visual reminder of the big deadline. I’ll be on my toes before I even turn off the car.



Amazing!!!
It is bit difficult to make it but i loved it. looking so wonderful. and pictures are beautiful.
Thank you for sharing this lovely DIY.
Wow that guys not using the verse in context at all. Jesus went into the part of the temple made for praying. And there he Became angry because it is to be a house of prayer not a house of thieves