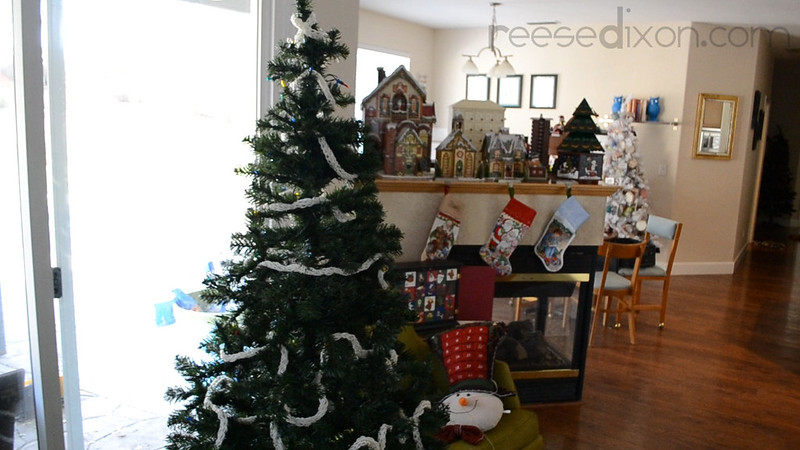
 First things first for our Cozy Christmas tree, and that’s a giant knit garland. I wanted even the tree itself to look all bundled up, so I wanted the garland to look like a scarf so long Doctor Who would be jealous. But I also had a lot of other projects to work on, so I needed something that would work up in a hurry, and for a long chain in a hurry there is nothing better than finger knitting.
A lot of kids go through a finger knitting phase in elementary school, although these days, I think it might have been replaced with a rainbow loom phase. When I was a kid I made chains and chains of it so long I could have mummified myself, but I had no idea what to do with it. That’s the one drawback with finger knitting – it really only makes a chain. But that drawback works in our favor for a cozy garland.
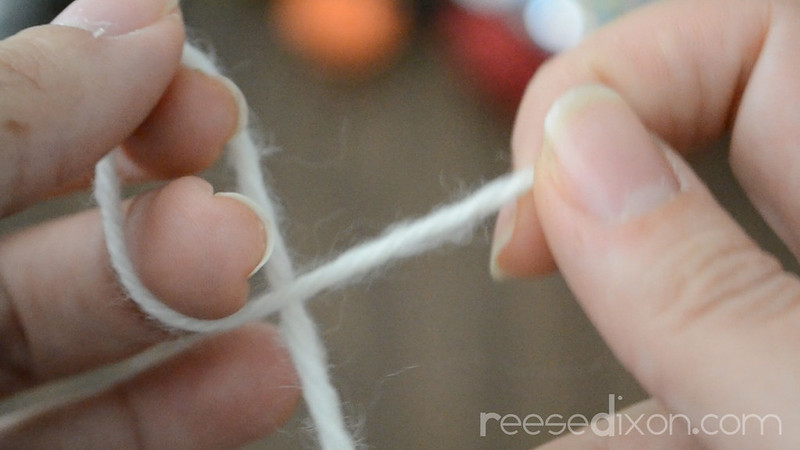 To start knitting you’ll need a slipknot. Take the end of your yarn and make a loop around two fingers by crossing the yarn over itself.
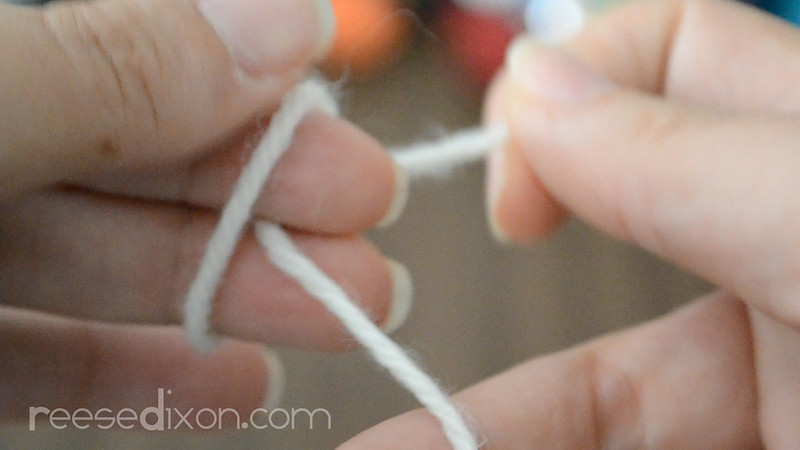 Reach through the loop with your fingers and grab the long tail of yarn.
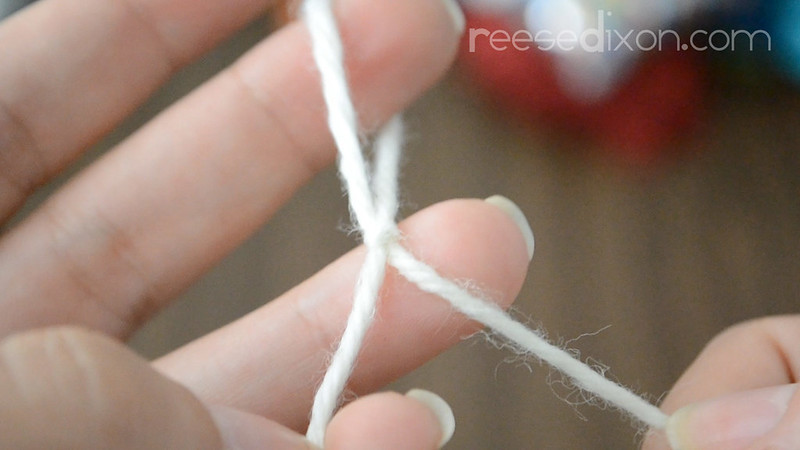 Pull that long tail into a loop, and tighten your knot.
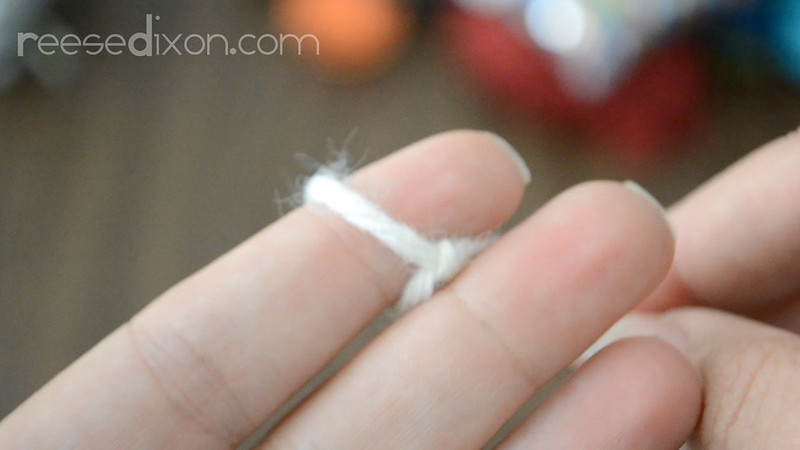 Now you’re ready to get knitting. Put that slipknot on your pointer finger. I have super long fingers so to make a knit that wasn’t crazy loose and open I had to move the knot to the tip of my finger. That just gave it less room to have to stretch.
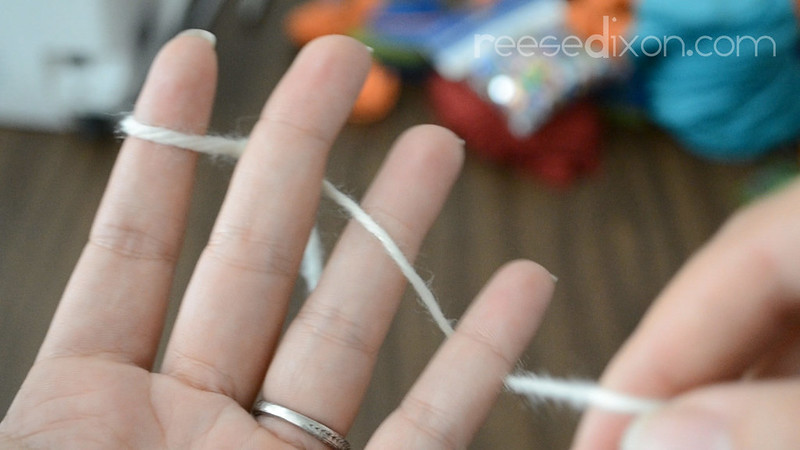 Start wrapping the yarn around your fingers. Go under your middle finger, over your ring finger, and then behind the pinky.
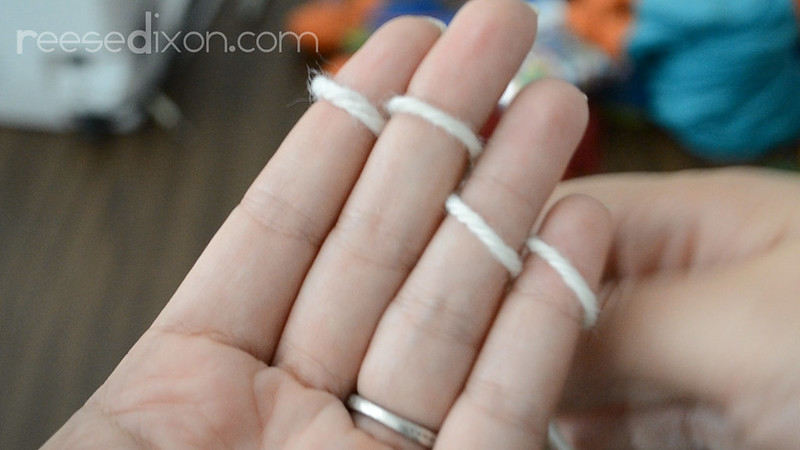 Then go back the way you came by wrapping to the front of the pinky, behind the ring finger, over your middle and behind the pointer. This makes one row.
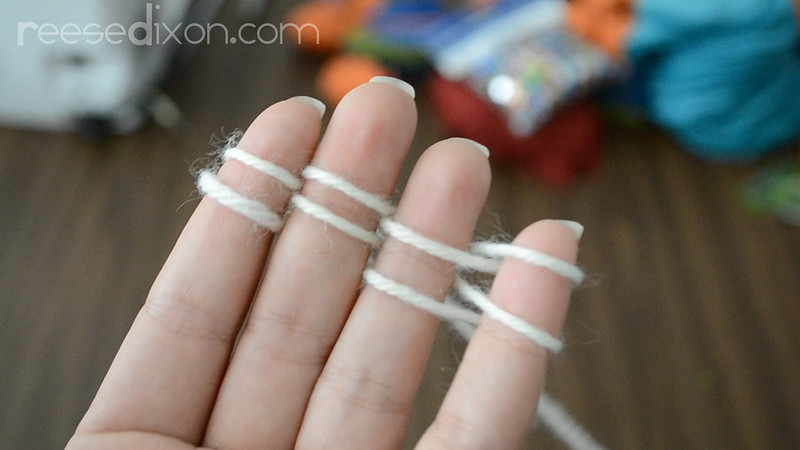 Weave back and forth one more time until you have two rows on your fingers.
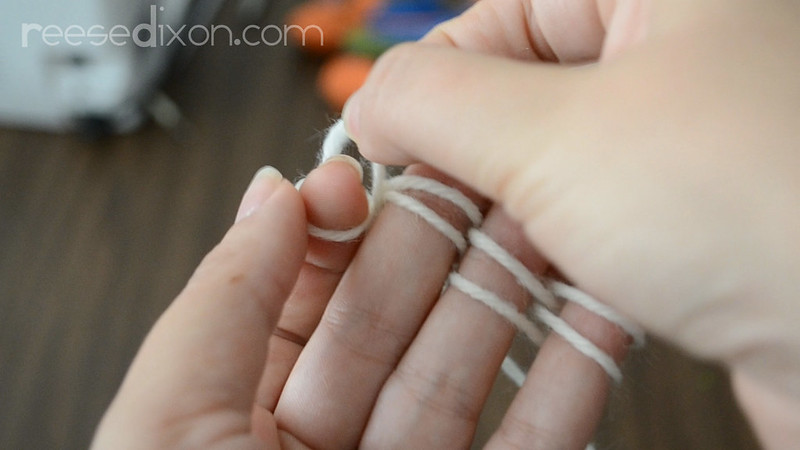 With two rows in place, lift the bottom loop up and over the top loop, and then over the back of your finger, leaving just one row of loops on your fingers.
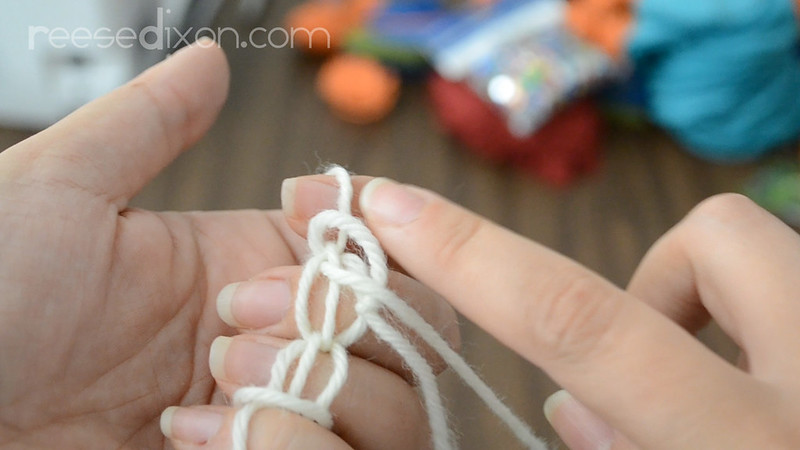 This is what the chain looks like after one row. Pick your yarn back up from where you left it in between your pointer and middle fingers, and weave a new row. Lift the bottom row of loops up and over, and repeat until the chain wraps around your house.
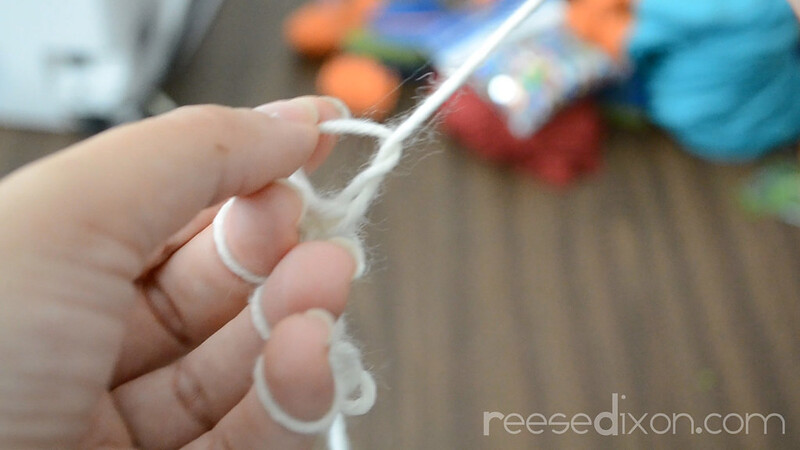 To finish the chain so it doesn’t unravel, cut the yarn leaving a few inches. Thread the loops from off your fingers and onto the end of the yarn, pull tight, and tie a knot.
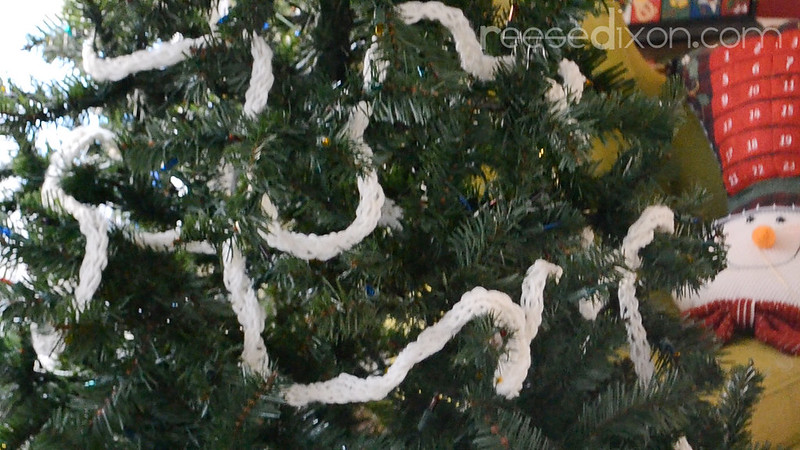 I think this tree looks so adorable all wrapped up I kind of what to get a jumbo pair of earmuffs and call it decorated, but the rest of the plans I have for the tree are too good to stop now. Tomorrow starts the ornaments, and we’re going to begin with a campy holiday classic: The ugly Christmas sweater. Don’t miss it!

Observer bias is also a phenomena which is occur during observation when researcher become biased while reporting his observation results. Biasness may be on cultural and religious or any other basis.
When she posted this adorable Ghost Garland that is created from finger knitting, and I knew I had to share it with you! Make sure you sneak on over and check out her simple
regarding
indian astrologer in USA