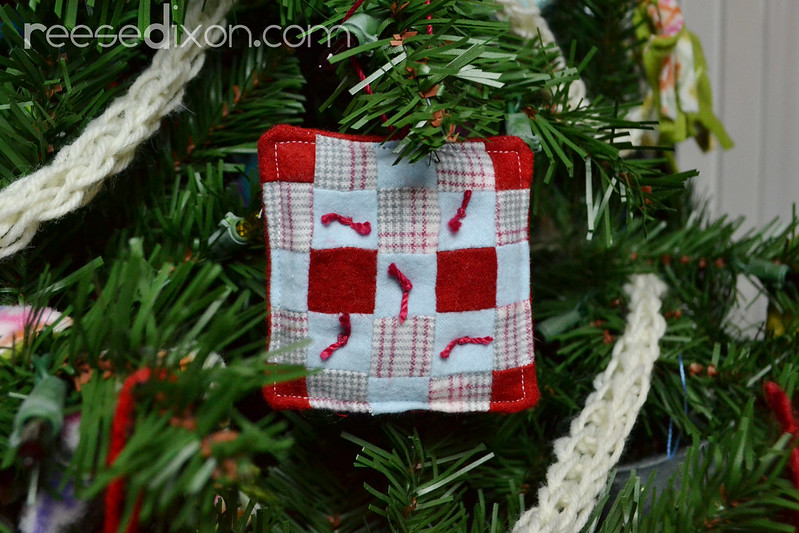
 Oh the last minute. It and I are bosom companions. In planning my calendar I, of course, never planned two a day tutorials, or even a tutorial on Christmas Eve. I mean, who’s still making ornaments besides crazy old me? But if I’ve learned anything from so many years blogging, it’s that these kinds of ideas are entertainment just as much as they’re inspiration, so in that spirit, and to complete the record of this sweet little tree I’ve been frantically building in between killer colds and holiday party and cramps that are trying to kill me. Given my current level of pain and what I long to do, I think it’s perfectly fitting that my last ornament for this cozy Christmas tree is a quilt.
I didn’t just want to cover the tree in blankets, but I knew I needed a blanket somewhere. It’s too much a part of our family life: snuggled up together on the couch watching TV, having a family slumber party under the weight of a homemade quilt, laying outside in the sunshine on the giant picnic blanket I made. So to finish off this tree I had to make the teeniest tiniest quilt ever.
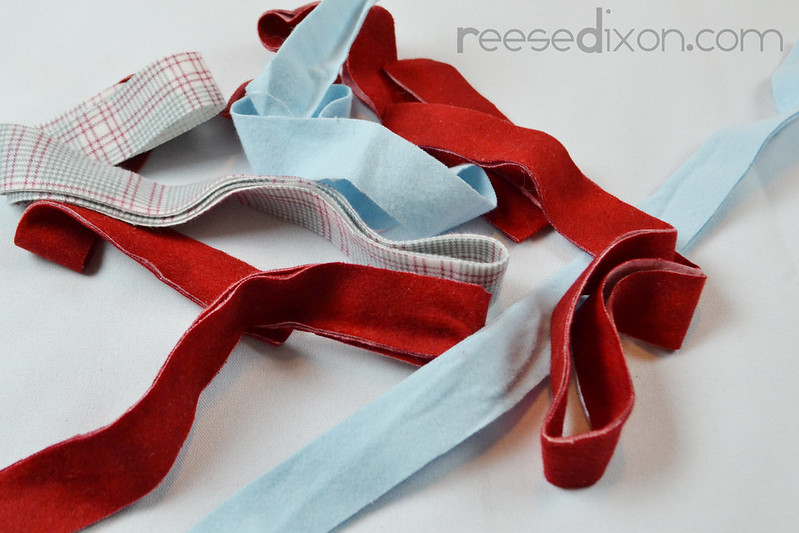 Cut a bunch of strips out of your fabric one inch wide and plenty long. If you really want to you could just cut a bunch of one inch squares, but you will give yourself a WHOLE lot more sewing to do that way.
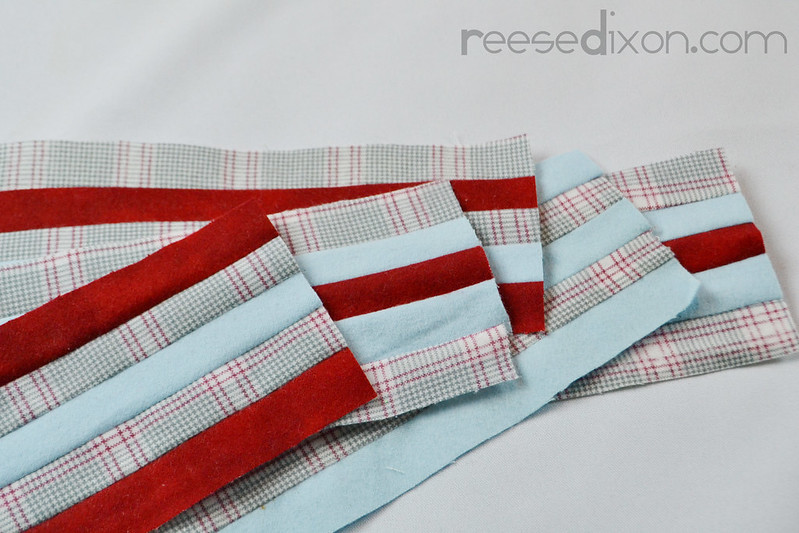 Sew five of these strips together to make each row. You’ll have to do a little planning so that you make sure when your rows are laid together you get the colors where you want them to be. I just started sewing willy nilly and then had to rip a bunch a part because once I laid the rows out I had a bunch of reds touching. Once your rows are all sewn up, iron the seams flat.
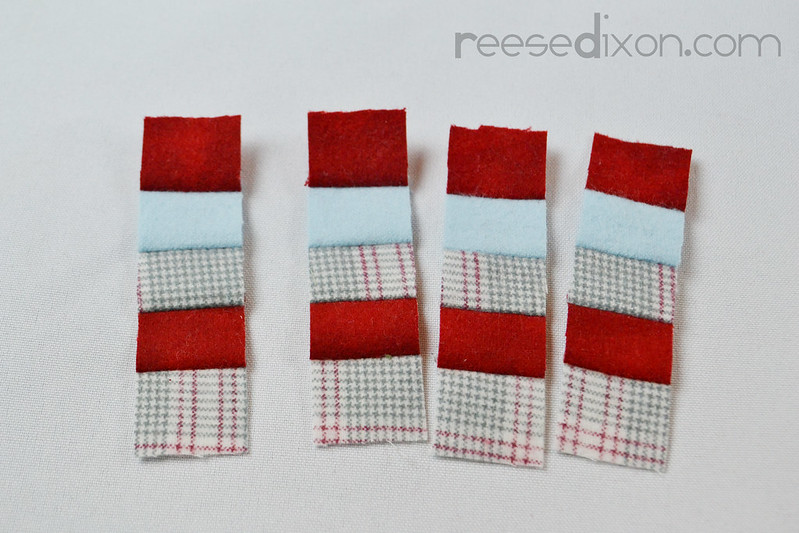 Cut across your panels to make the rows 1 inch tall.
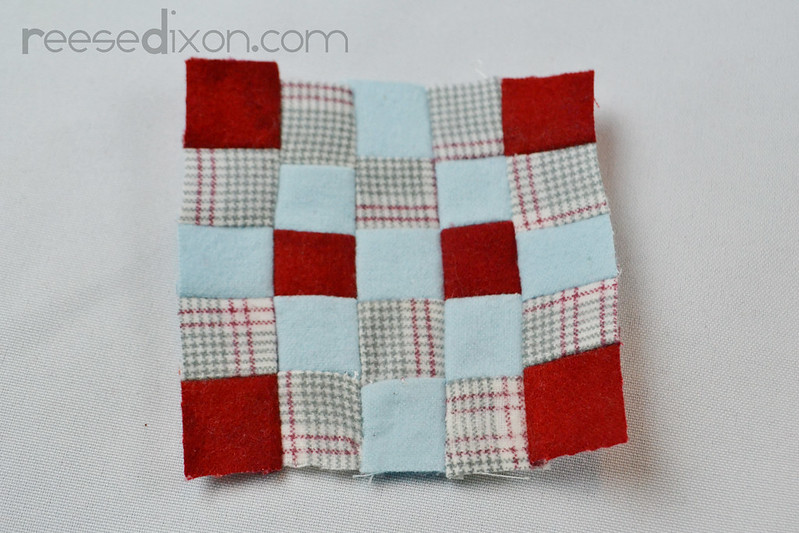 Sew five rows together as you had them laid out and iron the seams flat.
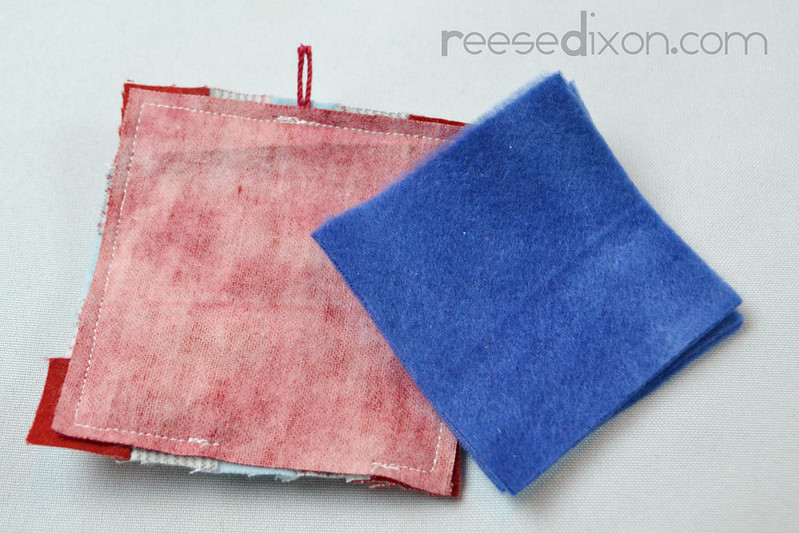 Cut a square of fabric the same size as your quilt and sew them right sides together leaving a 1 inch opening for turning. Be sure and add a loop of yarn for an ornament hanger between the layers before you sew. For stuffing, since I wanted it flat like a blanket and not puffy like a pillow, I cut a couple of pieces of polar fleece 1/2″ smaller than my ornament. Turn your quilt right side out and put the fleece inside, fiddling with it until it lays flat and the corners are tucked up inside of the corners of the quilt.
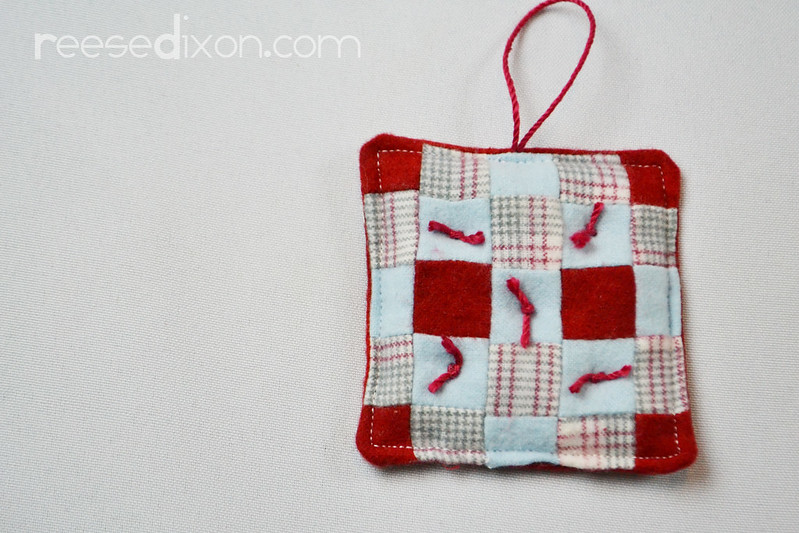 Tuck the edges of your opening inside and sew a line of topstitching all the way around your quilt to close it up. You could stop there, but I wanted to make my quilt look like an old-fashioned tied quilt so I used a little more crochet thread on a needle, threaded it down through the quilt and then right back up and tied it in a knot.
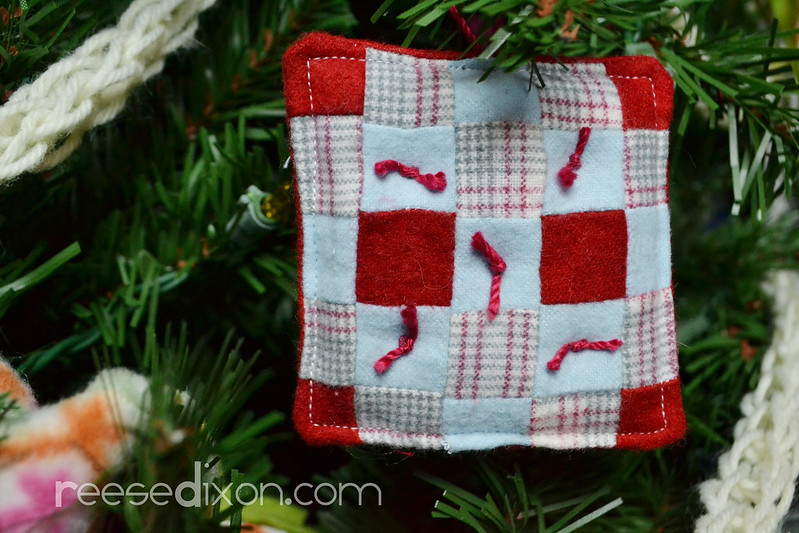 Now that this last ornament is done, I’m ready to show you the finished project. Coming up in just a few hours – our Christmas home tour and the unveiling of the Cozy Christmas tree.


Reese, I am STILL making ornaments! I made over 35 to give away, so now I'm making some for my own tree. I show them in this blog post. http://missesstitches.blogspot.com/2014/01/embroi…
Hang in there, girl!