
For most of our marriage Bear and I have prided ourselves on being above Valentine’s Day. We’re really really good at this marriage stuff, we don’t need candy and card makers to give us a day to remind us to be good at it. But this isn’t the first thing that having a kid has made me soften on, and I doubt it will be the last. Now that Atti’s in school, all these little holidays are suddenly a whole lot of fun.
I made two different kind of heart “flowers” for my little bouquet, but they’re both super easy and darn near free.
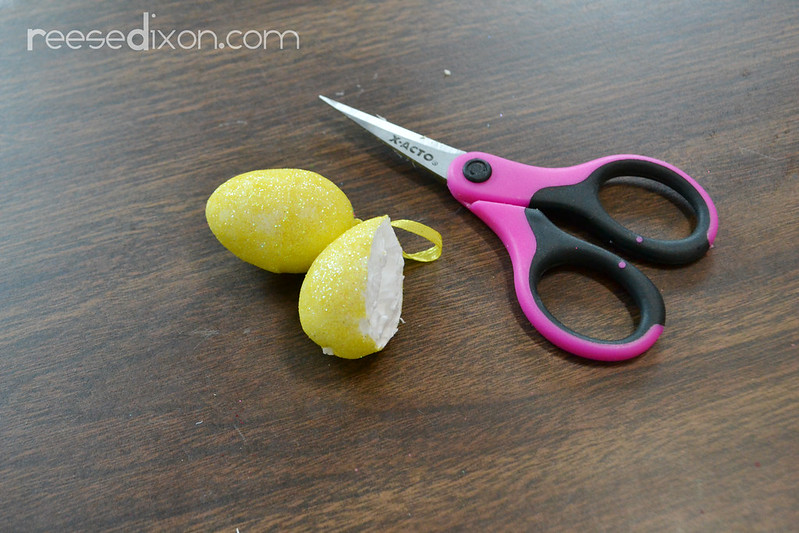
We’ll start with the glittered hearts. You might get lucky at your dollar or craft store and find some styrofoam hearts ready for glitter. I was not so lucky and it forced me to get creative. Instead of heart ornaments my dollar store had these styrofoam egg ornaments which I made into hearts, and I think it’s a neat trick. Styrofoam egg shapes are pretty easy to find. I don’t know why, but I always see them in the foam section, just about any time of year.
Each heart requires two eggs. Remove any hangers, if yours has them like mine did, and then cut a piece off starting just after the curve on the bottom finishes and cut across to where the top curve ends, leaving yourself a point on one side and a curve on the other.
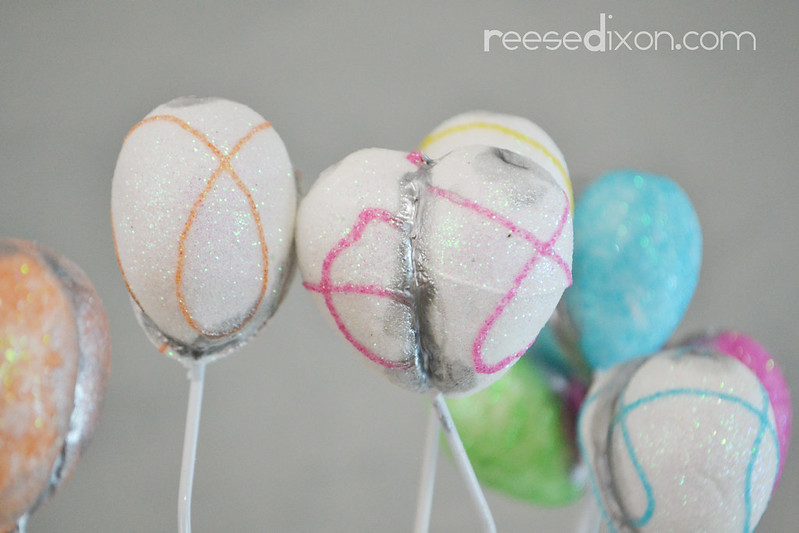
Glue the two pieces together with a piece of wire in the middle. I got my wire by cutting apart a wire hanger, and instead of glue I used dimensional fabric paint. Once the fabric paint is dry it will stick everything together just the same, but since it’s made to hold it’s shape you can use it like caulk to fill in any gaps or seams. Then your hearts will look more like one piece. They’ll be ugly at this point, so just bear with me. Everything is prettier once it’s glittered.
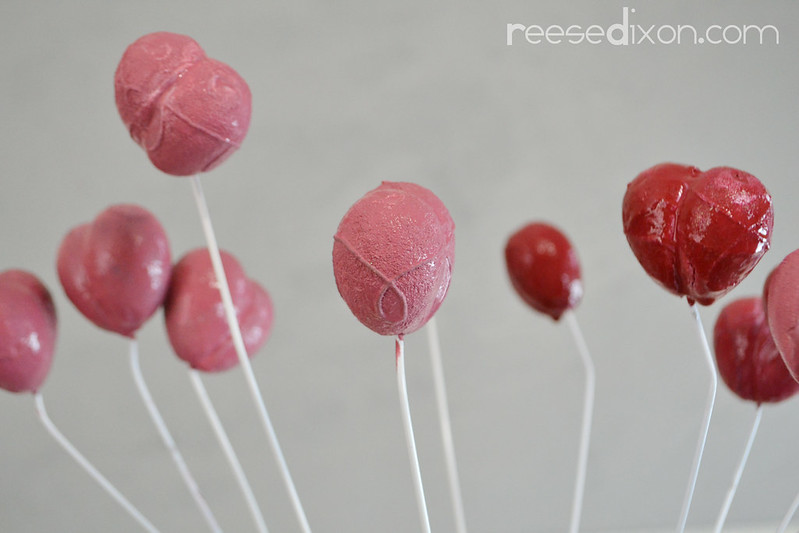
Give each heart a coat of paint that matches the glitter…
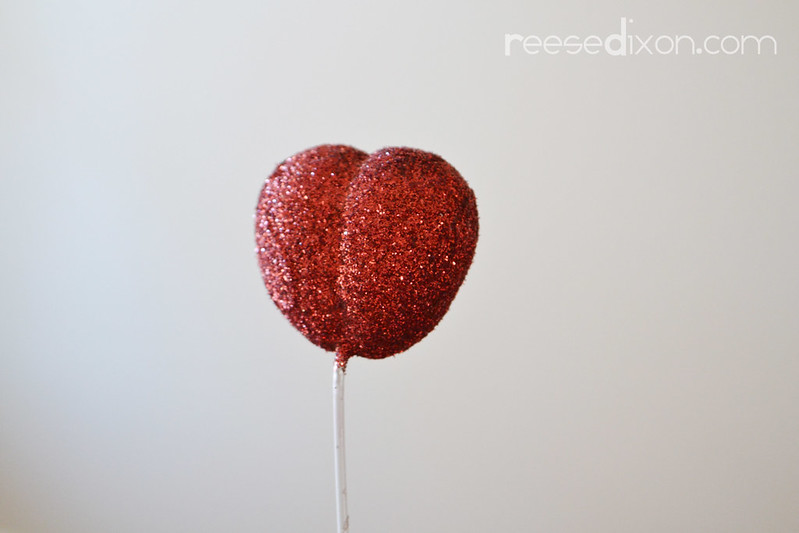
Then give it a coat of glue and sprinkle the glitter on top. Shake off the excess and let it dry.
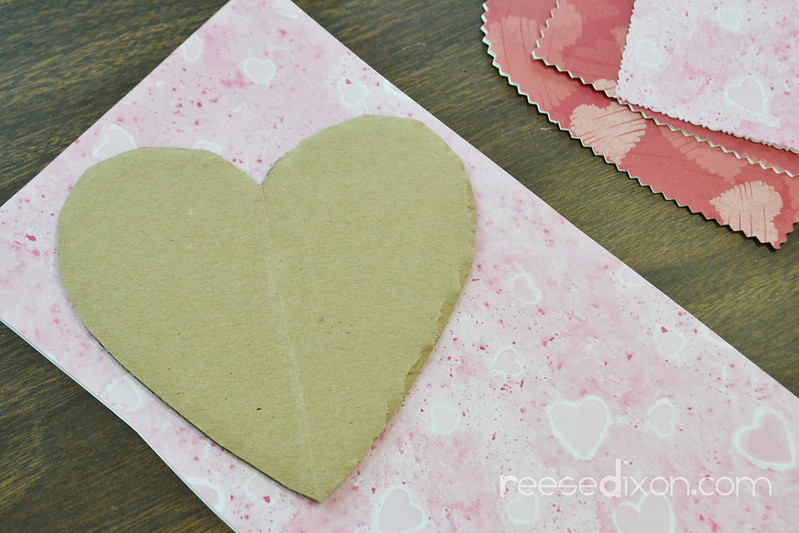
Now on to flower number two! For this one you just need scrapbook paper, glue, and ribbon, all of which I had on hand, which means that this project officially cost me $1. I cut a heart shape out of cardboard to serve as my template, and this will keep me from having to fold a big center line down the middle of all my pretty paper. Cut out two pieces of paper to the shape of your template. I cut them both at the same time and lined them up with the wrong sides together so that they would line up perfectly when it was time to glue them together. I also took this opportunity, as long as I was raiding ancient stashes, to bust out my dusty decorative scissors and give these hearts a pretty edge.
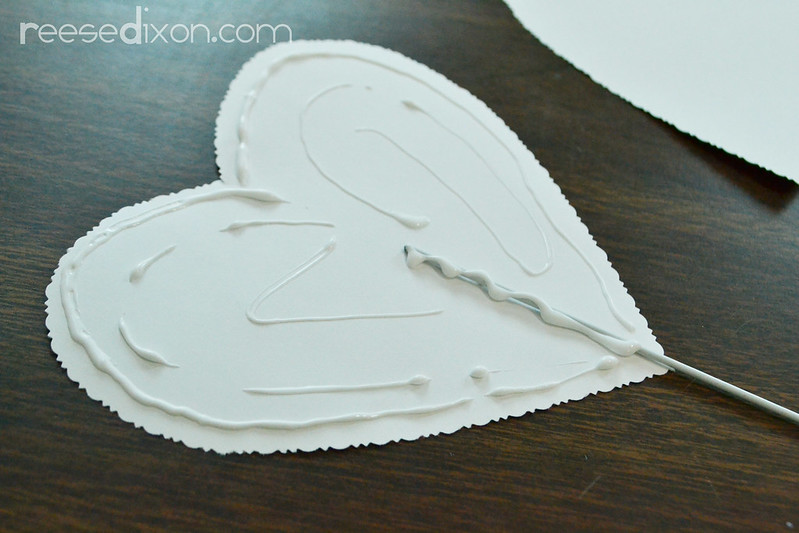
Place another piece of sturdy wire (the other half of the wire hanger in my case) on the back of one of the hearts and cover the whole thing in glue.
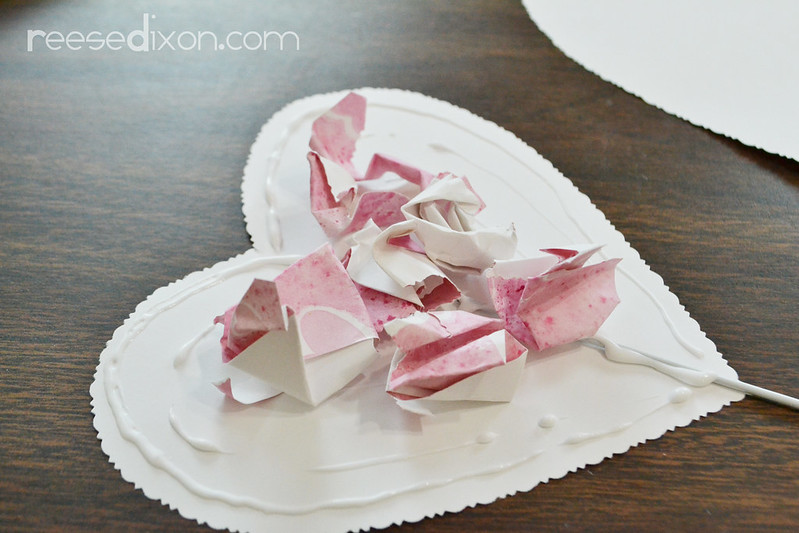
Place a few pieces of crumple up paper on top, gathering it towards the center to give it some dimension.
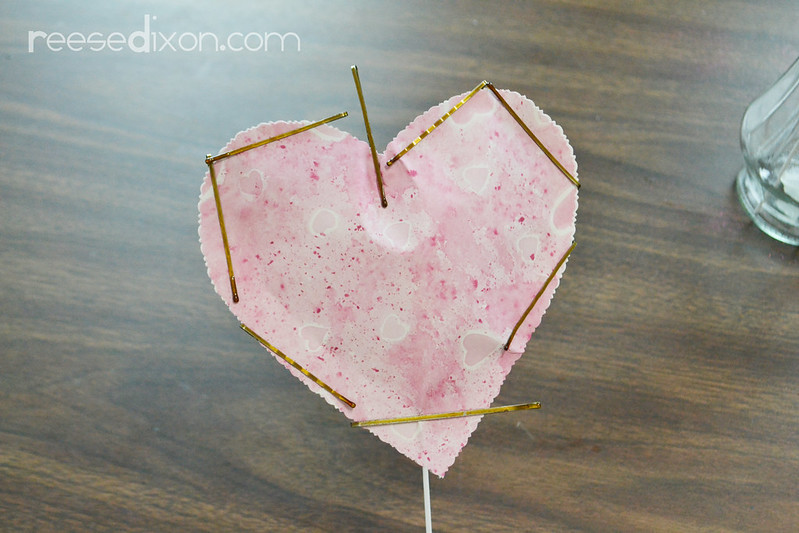
Then place the other heart on top of the wire sandwich and use bobby pins to keep the edges together until the glue dries.
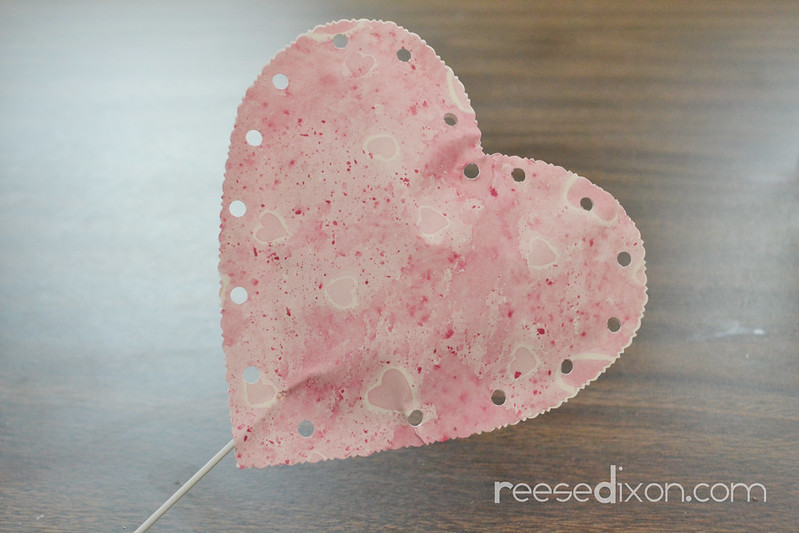
Use a hole punch to make holes all around the outside at regular intervals.
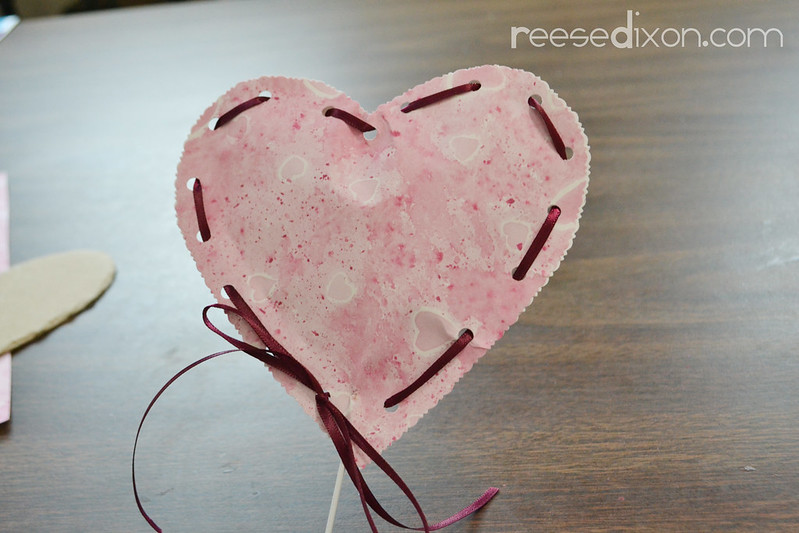
And lace some ribbon through them, tying a bow at the bottom when you’re done. I didn’t even count the number of holes I was making, so if yours come out uneven like mine did, just bring the end of the ribbon back up through the same hole you started from in order to tie the bow.
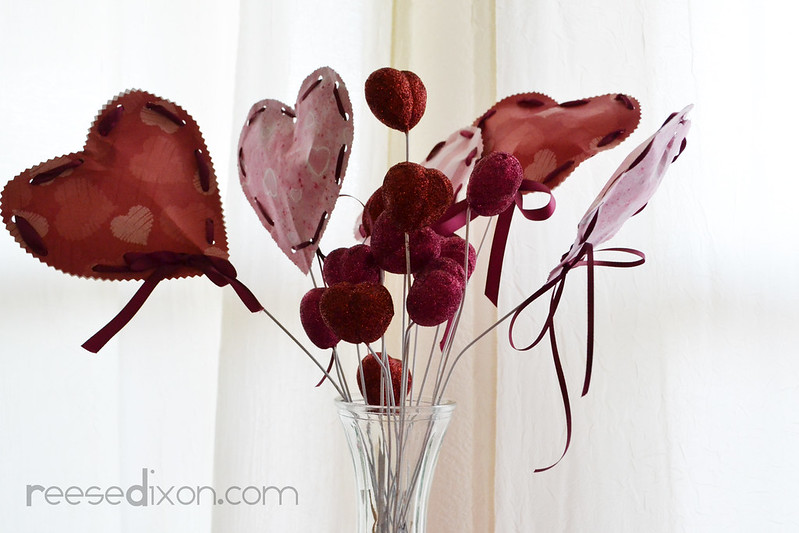
I think this would make an adorable teachers gift, especially since your kids could easily help. Even the youngest kids school kids can do some lacing, and imagine how proud of themselves they’d feel when they gave their teacher something they took part in.

I love bouquets on a very loving and wonderful day. I will definitely make try this to give it to my loved one. I am sure she will love this more than I do.