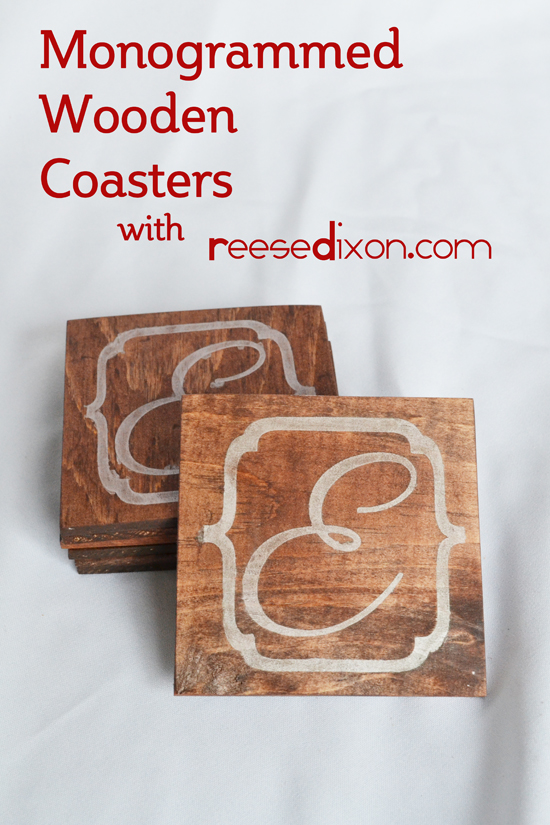
 I don’t know if it’s just that I’m coming off of a hard year and need to keep things kind of simple, or if it’s just happenstance, but every idea I seemed to have this time around could be made in minutes. I had to repeat the stencil idea from yesterday, but instead of freezer paper – which wouldn’t stick to wood – this time we’re using vinyl shelf paper. Another exacto session and a little paint drying and this project is done in time to give to the hostess of the Christmas party that evening.
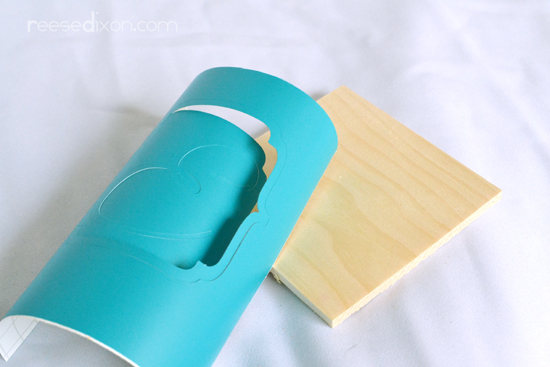 You will need:
a square wooden piece – I got mine precut in a bundle of 2 at Michael’s, but you could easily cut a piece yourself. You just don’t want it too thick.
a vinyl stencil – If you’ve got a vinyl cutter this is even easier, but without one you just get your image printed out, tape it on top of the shelf paper, and then use an exacto knife to cut through both layers at once.
Paint
Wood Stain
 Peel off the paper backing and stick the stencil to the wooden piece. Take care to burnish all the edges down really tight to make a good seal.
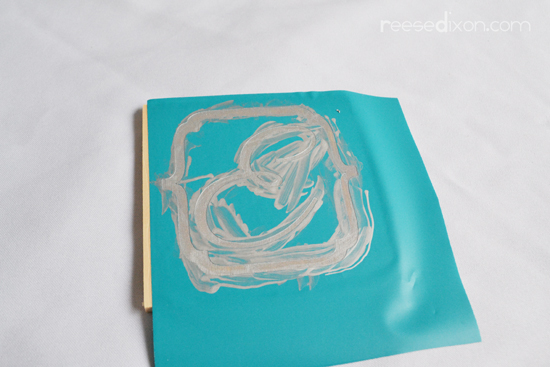 Paint your image. I found that a thick craft paint worked best for this. Wood stain or dye or markers – anything very watery – will get absorbed by the wood grain and bleed through.
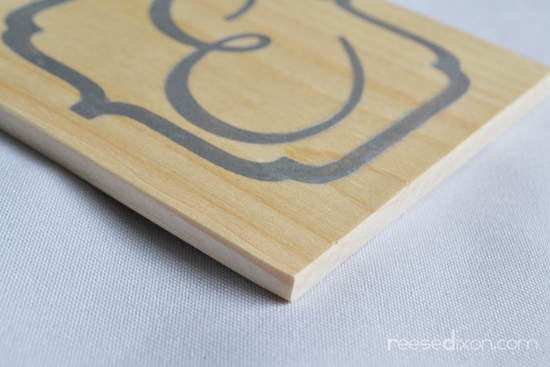 When your paint is dry, peel off the stencil. Give the edges a good sanding and if you want to distress your paint a little you can give that a sand as well. I like to take down the sharp edges as I’m sanding because I think it gives it a really finished look.
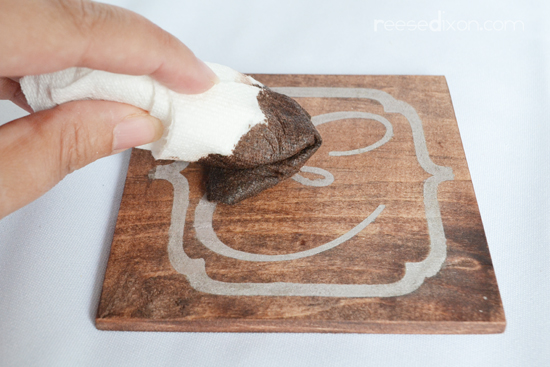 Use a paper towel or shop rag to rub wood stain over the entire coaster. Make sure to get the edges and the back as well. Let it dry thoroughly.
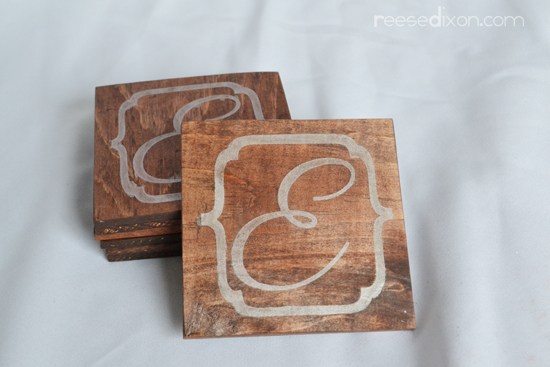 Repeat this process until you have a whole set ready for giving.
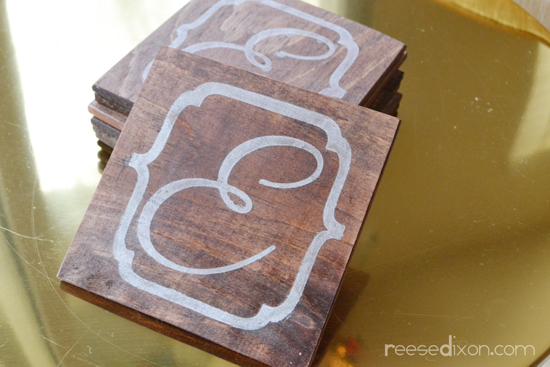 I’m not normally a fan of the rustic – I’m all clean lines and polish – but there’s something about wood that makes me throw all that out the window. I think these are lovely enough to just sit on a tabletop all the time, but because it’s unsealed wood it will also be the most absorbent coaster ever.
It is really a great art design. I love such type of handmade craft work.
use a milk frother to create milk froth Great tips and very easy to understand. This will definitely making lattes with milk frothers be very useful for me when I get a chance to start my blog. check here