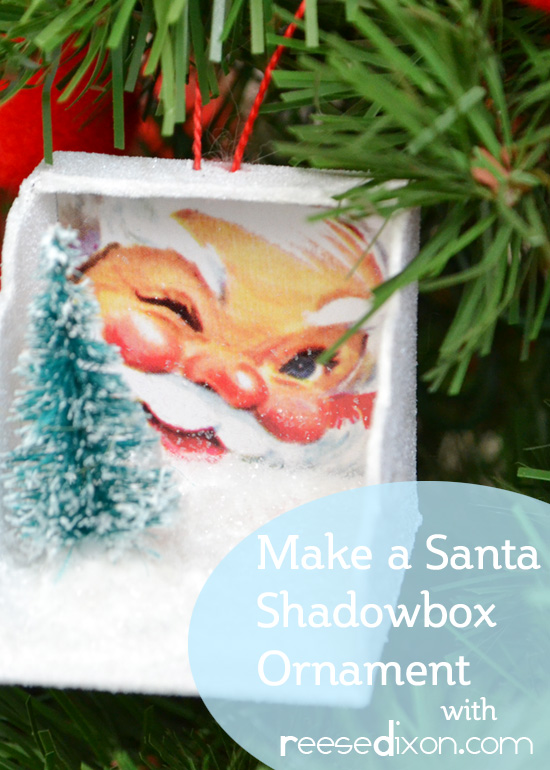
One of my favorite things to do from the end of Halloween straight through to the end of the year is go to all the fancy stores I can find and check out their Christmas decorations. The fancier the store the more I enjoy it because I just whip out my phone, snap a picture, and then go home and make it for a fraction of the price. Being a crafter is a superpower.
This was one of the first ornaments I found this year that I wanted to put my own spin on. The fancy boutique was calling this a “Santa Bucket” for some reason, when really it’s just a tiny little shadowbox. I loved it because it’s such a unique and interesting shape when so much that goes on a tree is globe shaped, and because it let me bring in some vintage artwork to sell the time period I’m working in for this year’s tree. Plus, there’s glitter. And you know I never miss a chance for glitter.
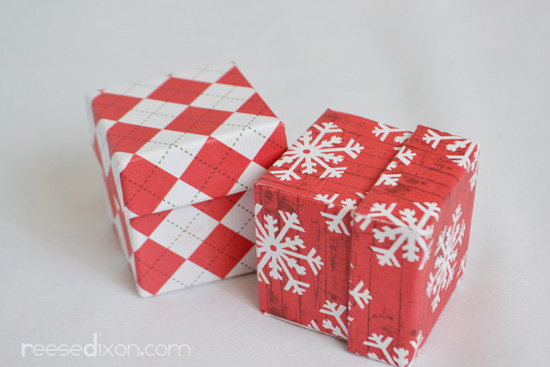
I found these miniature gift boxes in the dollar section at Michael’s as you wait to checkout. I grabbed a whole bunch of them thinking I was just going to put them on the tree as gift boxes, but then I got creative. Save the lids to your boxes because we’ll use those next week.
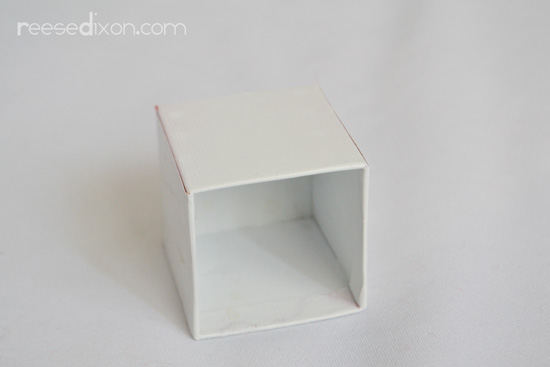
As pretty as those boxes were, they weren’t going to work for my purposes with those bright patterns on them. So the first thing I did was spray paint all the boxes inside and out. I chose spray paint because it’s so fast, but regular paint will get the job done too.
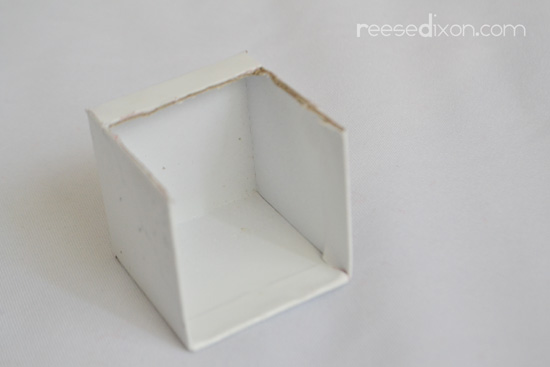
Use an exacto knife to cut off one side of the box. Leave about 1/4 to 1/2 an inch in the back to keep the box strong and to give yourself a place to put the ornament hanger.
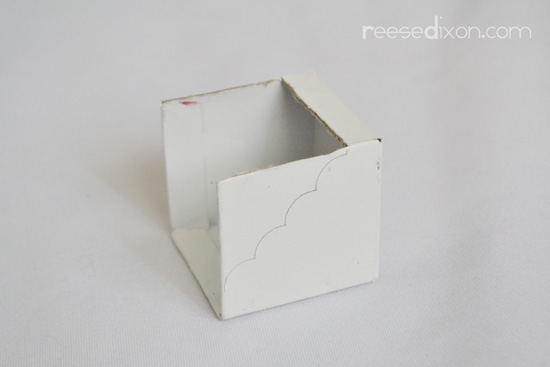
I needed to cut down the sides so that the artwork in the back would be visible, so I took the opportunity to make the shape even more special by tracing a scallop pattern on each side.
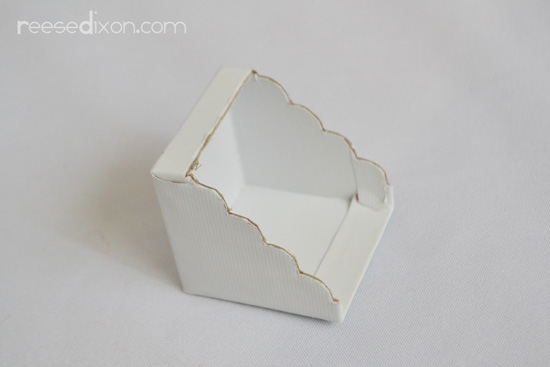
It’s a bit of a trick, but be patient and use the smallest scissors you have on hand to cut out the scallop shape. I have lots of teeny scissors because of all my embroidery work, but if you don’t try your exacto knife again.
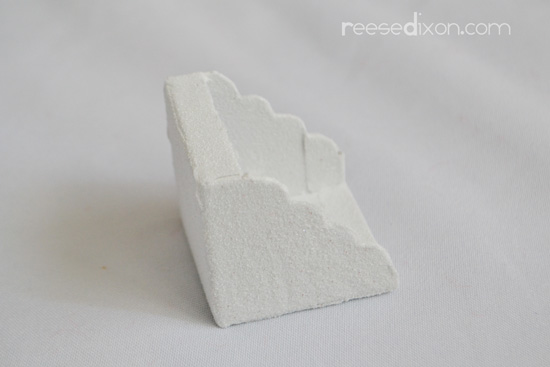
Add you glitter coat. I apply glue with a paintbrush, shake glitter over the top of it, then shake off the extra and let it dry. Be sure and collect all your extra glitter on a plate or a piece of paper or something.
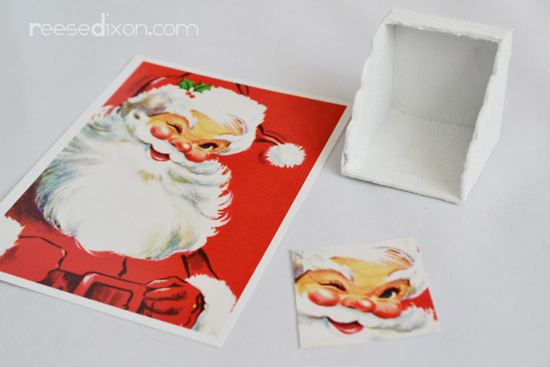
When your glitter is dry you’re ready to add your artwork. I searched the internet for vintage artwork and there is just a wealth of great stuff out there. If you have a good home printer your options are endless. I decided to order postcards from Zazzle.com so I could make sure I wouldn’t get any fading. Cut it to fit the back of your shadowbox and glue it in place.

Decorate the foreground of your box by hot gluing a tiny bottle brush tree in place. Then paint more glue all over the bottom, the thicker you apply it the better, and sprinkle artificial snow over the top of it. You can find giant bags of that wherever they sell village accessories.

To add the ornament hanger poke a couple of holes in what remains of the top and thread a needle with thick thread or yarn on it through them. Tie a knot in the two ends and hang it from the tree.
I really loved how this one turned out, especially with the artwork I chose. It has a very “he sees you when you’re sleeping” quality to it, which should be useful when I’m trying to keep Atticus in line.

