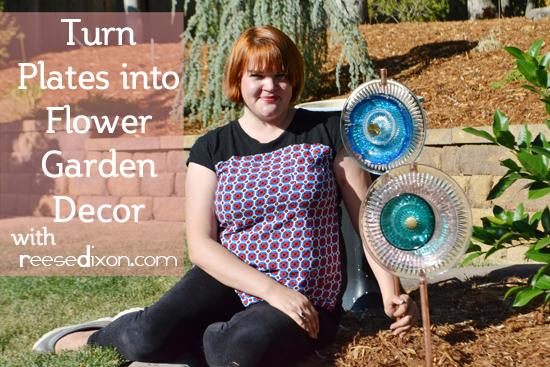
One of my favorite ways to spend a day is combing through thrift stores and junky old antique shops. Around here, because I live in a touristy area, there are lots of stores featuring random collections of cool stuff, combined in new and interesting ways. Lots of vintage tractor seats turned into stools, old doors turned into potting tables, barn wood turned into wall art. In one of those stores I saw a bunch of glass plates mounted together to look like a flower. That version was really simple and made to hang on a wall, but as soon as I saw it I knew I could do a version that would stay in the garden and keep things looking beautiful even when the real flowers weren’t blooming.
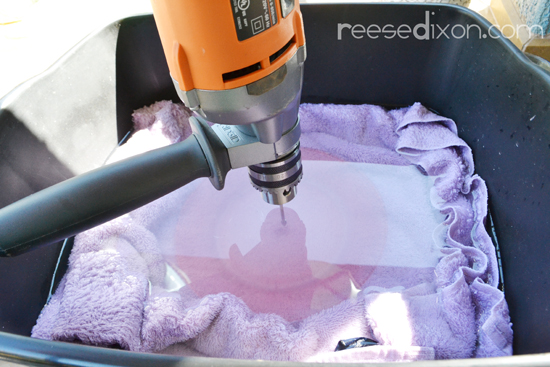
First you’ll need a collection of glass plates. The more variety you have in colors, sizes, and shapes, the more amazing these flowers will look. To attach them together and to the stem we’ll need a screw right through the center. Drilling through glass might seem intimidating, but it’s just a matter of having the right tools for the job. I get real specific about that in my birdfeeder post, but really you just need a drill bit made to drill through glass, a tub of water to keep things cool, and a towel in the tub to keep things from moving around and to absorb the drill once you make it to the other side of the plate.
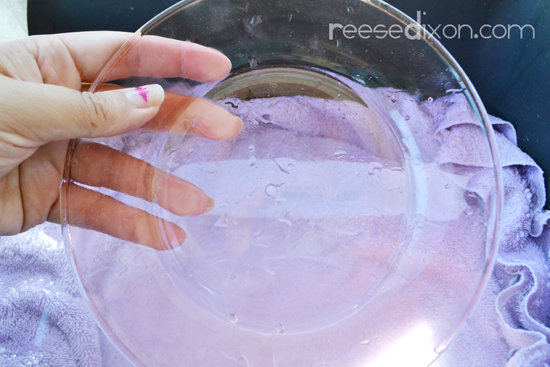
Aim for the center, but it’s really not crucial that your aim is true. The center of your flower will be a drawer pull, so make sure you use a drill bit the same size as the screw that fits that.
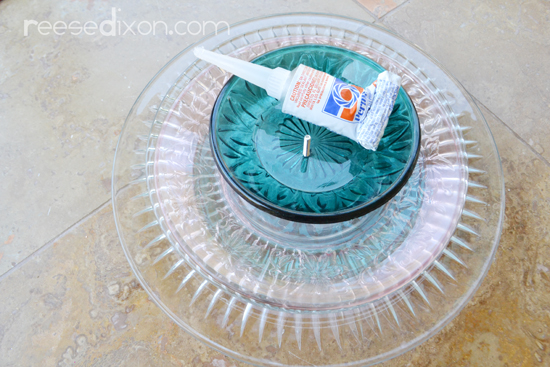
Depending on the thickness and number of your plates, you might need to buy a longer screw. You’ll need the screw to be long enough to go through each plate, plus the pipe, and have enough left over to screw into the drawer pull that will be the center of your flower. Stack your plates up on top of that screw and use silicone caulk to glue the plates together. Don’t glue the screw, you’ll need to take that back out so you can attach your pipe, but using it at this stage means all your holes will line up the way they’re supposed to. The silicone caulk will glue the plates together but also provide a little cushion so you can’t overtighten the screw and break anything, but they also won’t rattle around every time the wind blows.
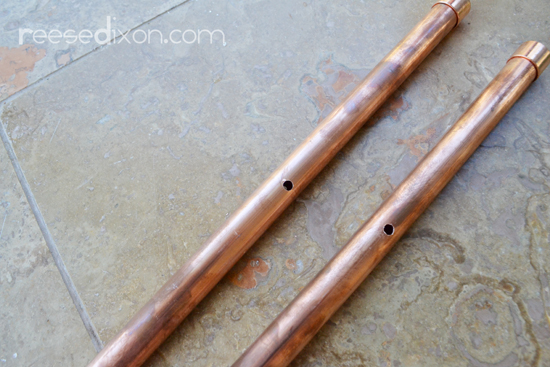
Cut your copper pipe the length you want for your flowers to stand up, plus enough to bury in the ground. Drill a hole all the way through the pipe a few inches from the top.
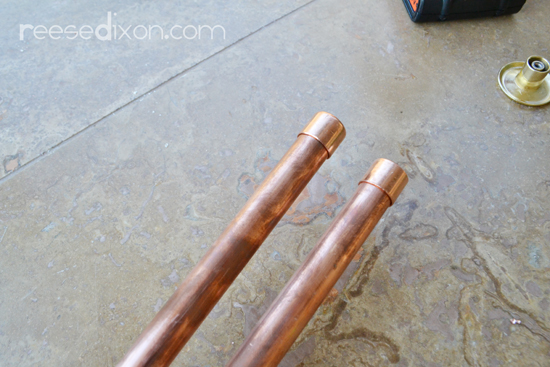
Cap your pipes so they look finished and pretty.
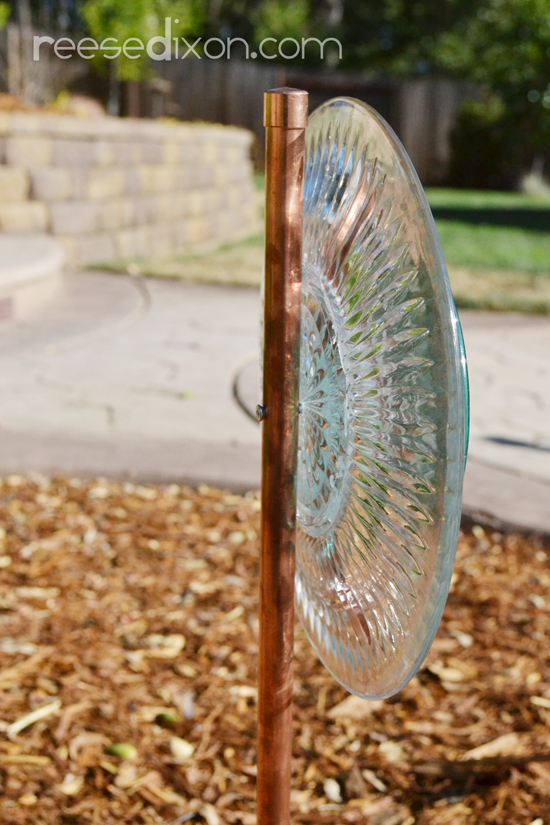
Now you can insert the screw for real. Thread it through the pipe and through your stack of glued plates, then screw the drawer pull onto the front and tighten until it’s secure. Use a mallet to pound your flower into the ground, making sure to hit the pipe and not the plate.
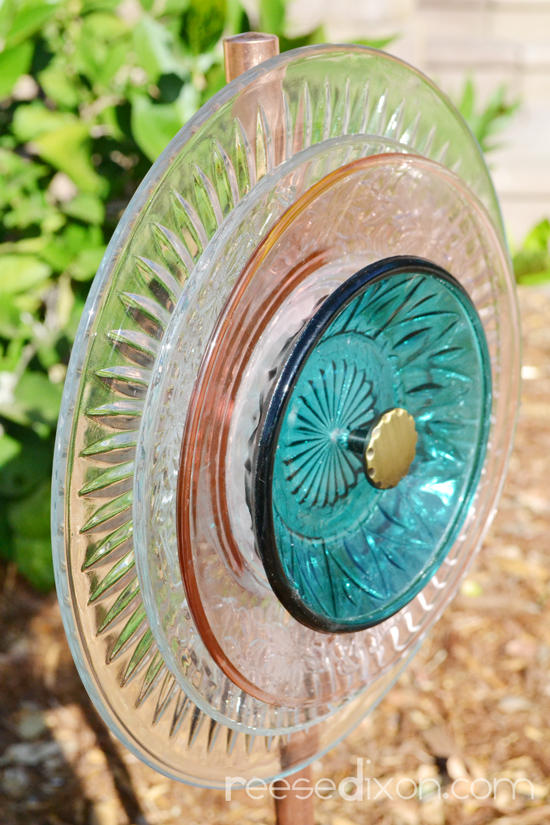

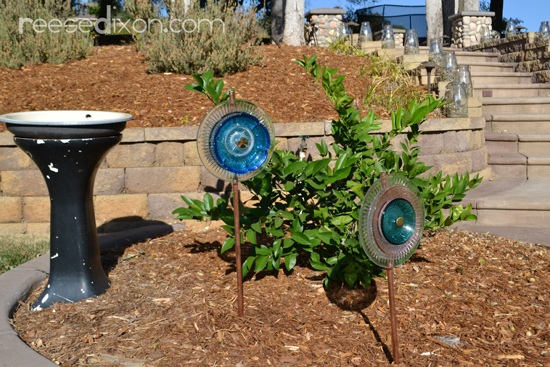
I love the sparkle and color these add to my yard. And as we’re still recovering from a drought, it’s great to have a way to add a little beauty to my yard that doesn’t require any water. I might have to let my yard die for the sake of the environment, but these flowers will still stand tall and beautiful.


It is a great idea and my gardener are trying to implement that. Now, Your site is truly cool and this is an extraordinary motivating article. Much thanks to you to such an extent.
You are right about this. I Agree with you.
Very attractive creativity.
interior design companies in delhi ncr
beautiful idea.
Divorce Lawyer in Gurgaon
OMG, These are looking fantastic. What a piece of design, I must say.
small business ideas in Germany