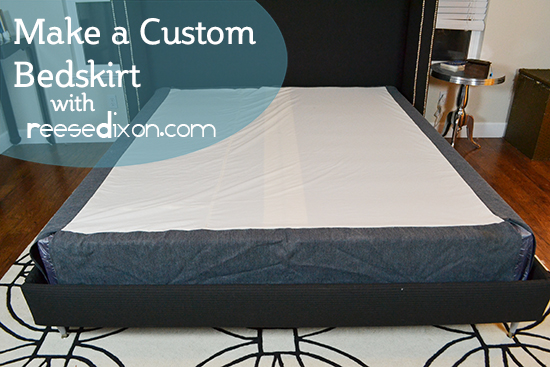
If you put all the effort into a gorgeous bed like this one, you can’t just throw old dorm sheets on it. I have spent way too many years with my mattress on the ground and my comforter dragging on the floor, but now it’s time to do things right, which means I don’t want an old mattress with pet stains around the bottom poking out from my beautiful bed. The solution is to use a bedskirt, which is a layer that sits between the mattress and the box spring just to cover up the box spring. You could buy a bedskirt as part of a bedding set, but you all know I’m not going to be content with that.
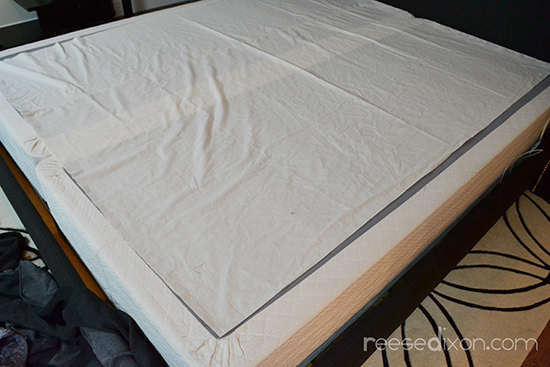
Because most of the bedskirt will be covered by the mattress, you don’t want to use a fancy fabric. You could use anything cheap, but I went with muslin because it’s pretty much the cheapest you can get, but I’d avoid a lining fabric or something slick so that it doesn’t move around on you too much. Depending on the size of your bed you might need to sew a couple pieces together to get the fabric the right size. Box spring manufacturers save money too, so the muslin should be the size to cover the cheap fabric the manufacturer uses because that’s the part that won’t ever be visible.
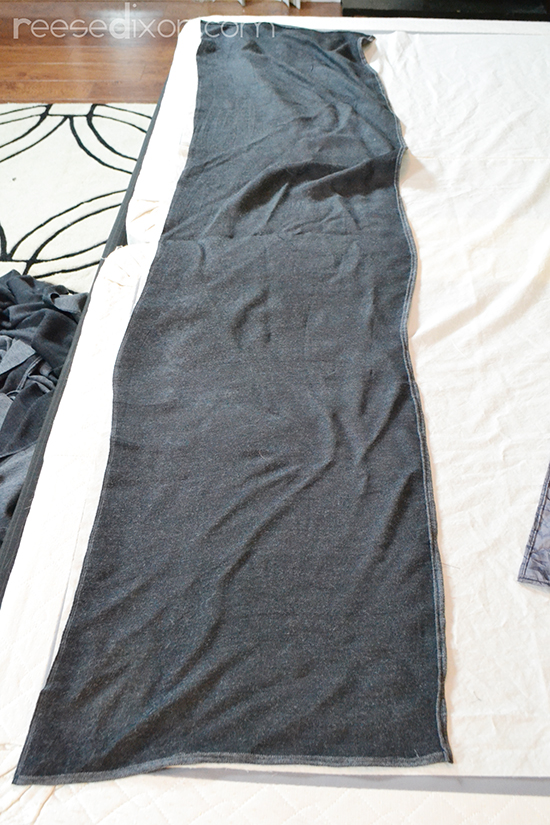
The fabric you want to be visible will need to be the same length as your muslin piece, and about 17″ wide. 17″ is what will be long enough for hemming, seam allowance, the side of the box spring, and the couple of inches of the top of the bed it will have to cover. Sew your side fabric to the muslin piece.
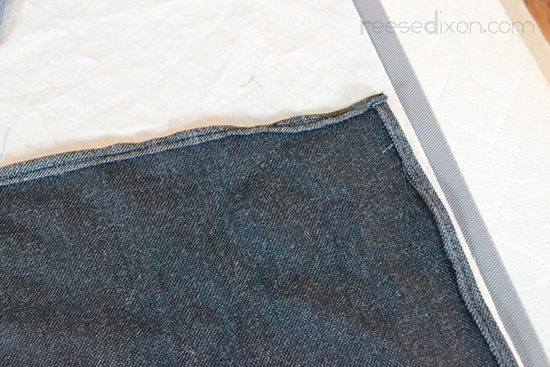
Hem the three sides that aren’t sewn to the muslin.
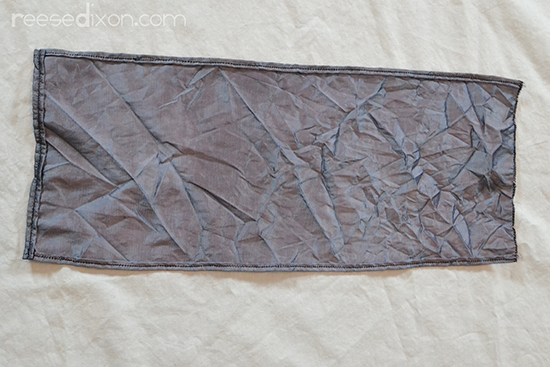
The corners of your box spring will poke out if you only have the four sides covered, so you need a corner piece to bridge that gap. Mine measures 8″ wide and 17″ high, although if I was making it again I would make it a few inches wider, so I had plenty of room to overlap. Hem the three sides that won’t be sewn to the muslin.
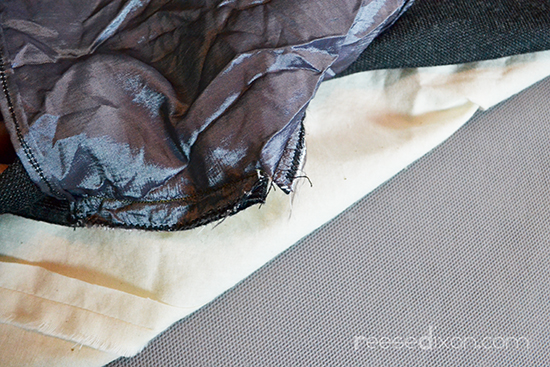
Find the center of your corner piece and pin that to the corner of the muslin. Pin the rest of the corner piece down so that it overlaps the side pieces. Snip the corner piece right in the middle, just to the seam allowance. This will give you more room to change directions easier around that corner. Sew it in place.
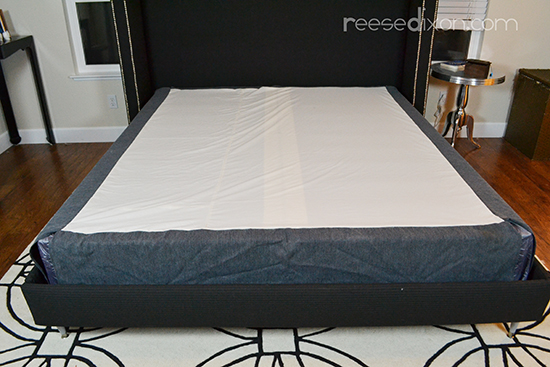
That’s all the sewing there is, it’s pretty simple. Now you can lay it out on top of the box spring and place your mattress on top.
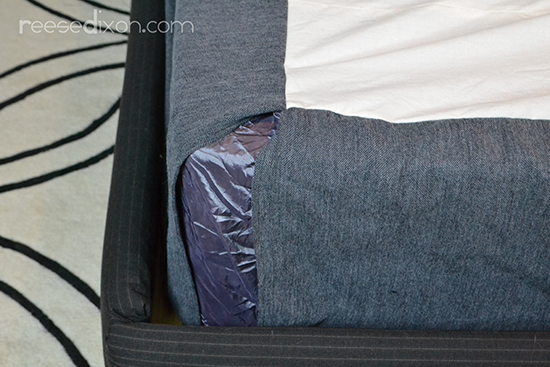
Here’s a closeup view of that corner piece. It’s a little confusing to write out, but it’s really simple in practice. You just need to make this piece bridge the gap.
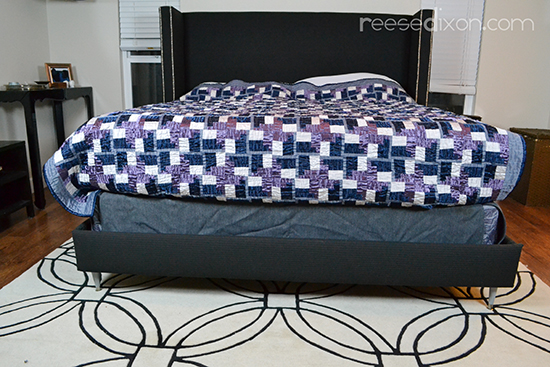
I still have a lot of bedding work to do on this bed, but I am super happy to have the mattress completely covered up. Now I can go crazy with quilts and pillows and I won’t have my relaxing oasis marred by the eyesore of something as functional and unattractive as a box spring.
