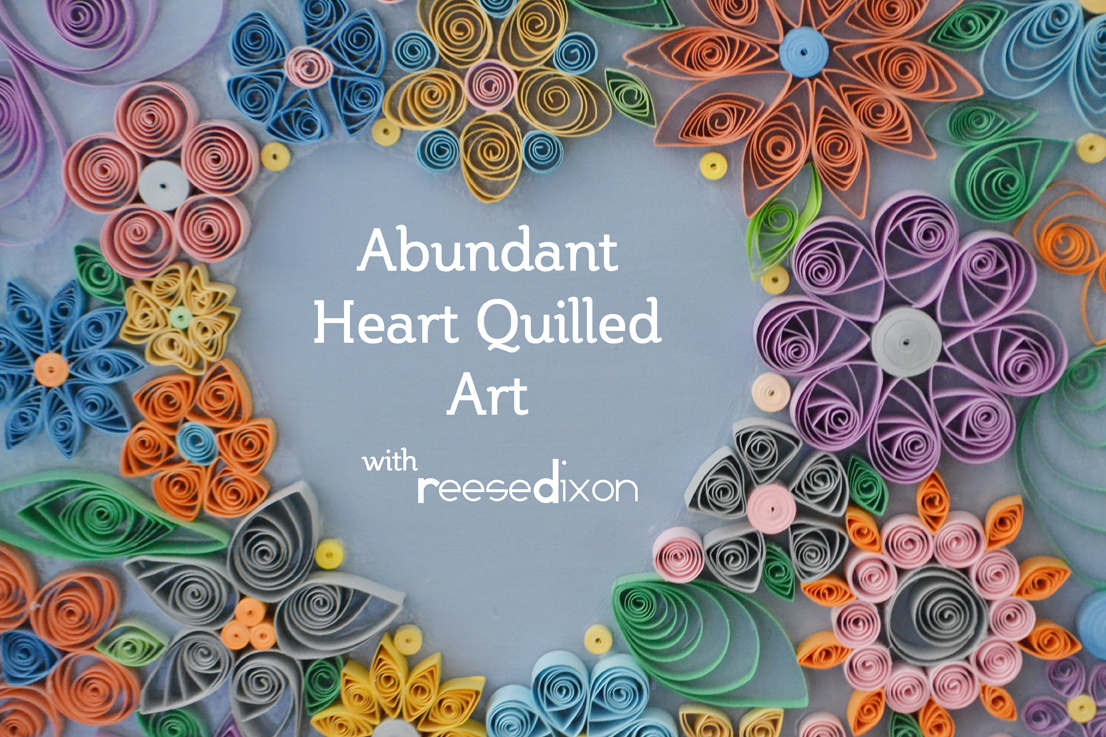
One of the most popular projects I’ve ever done is my quilled snowflake Christmas Ornament. It’s been in magazines, it’s been stolen and put in magazine’s under someone else’s name, I’ve taught classes on it a million times, it is the little project that could. And one of the reasons it’s so enduring is because it looks so incredibly detailed and intricate. That’s why I adore quilling the way I do. With a few simple twists of paper you develop something that blows people’s minds with all those tiny layers. They never need to know how easy it really is. All you need to know how to do is twist paper up into a circle.
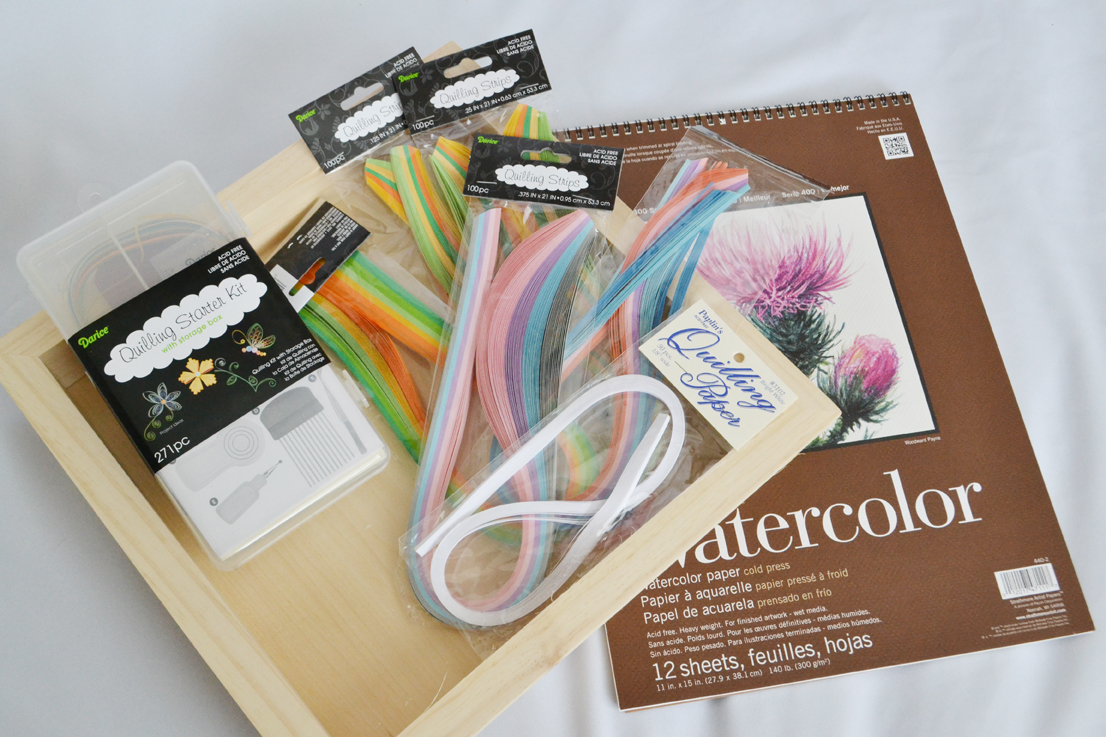
Supplies:
Quilling paper. You can buy it precut in kits like this, or trim paper yourself to be 1/8″ or 1/4″. I like to vary the thickness for different effects.
Quilling tools. I love this kit, but you can also buy a quilling tool alone.
Picture frame. I love to use an open shadowbox type like this one so there’s plenty of room for the 3D style of quilling.
Watercolor paper. Any thick paper will do, you just need something to take up space.
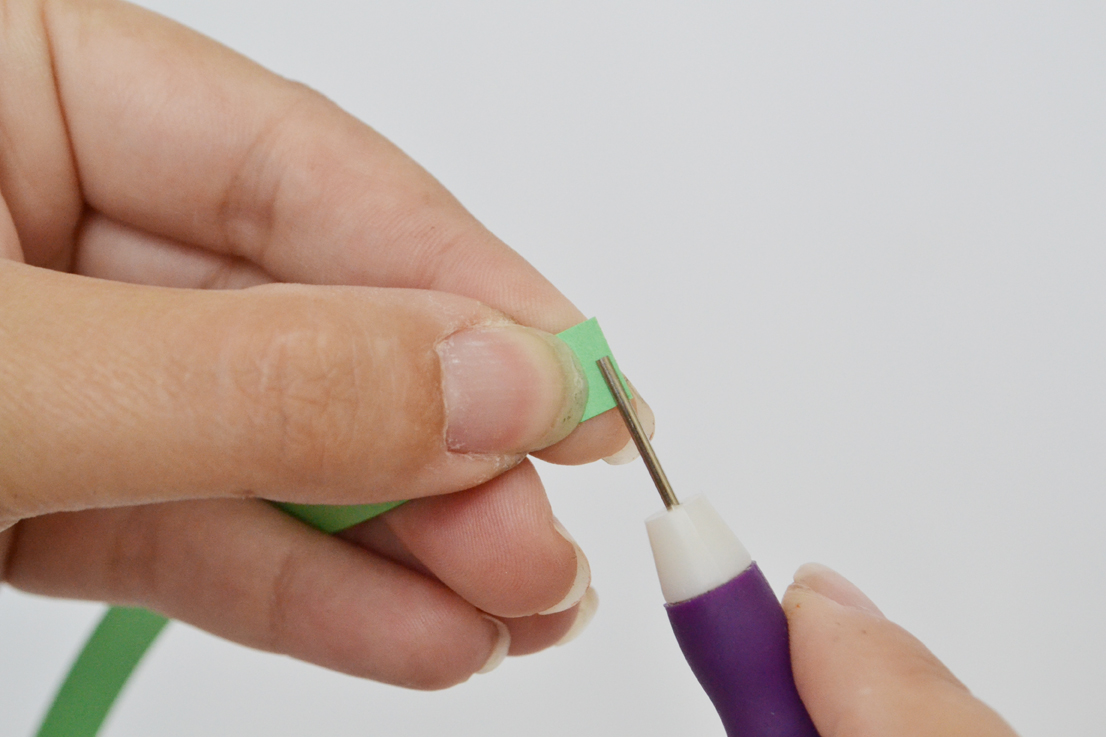
This is the whole secret to quillling right here: Slide the paper into the notch of the quilling tool, then slide the tool to the very end of the paper.
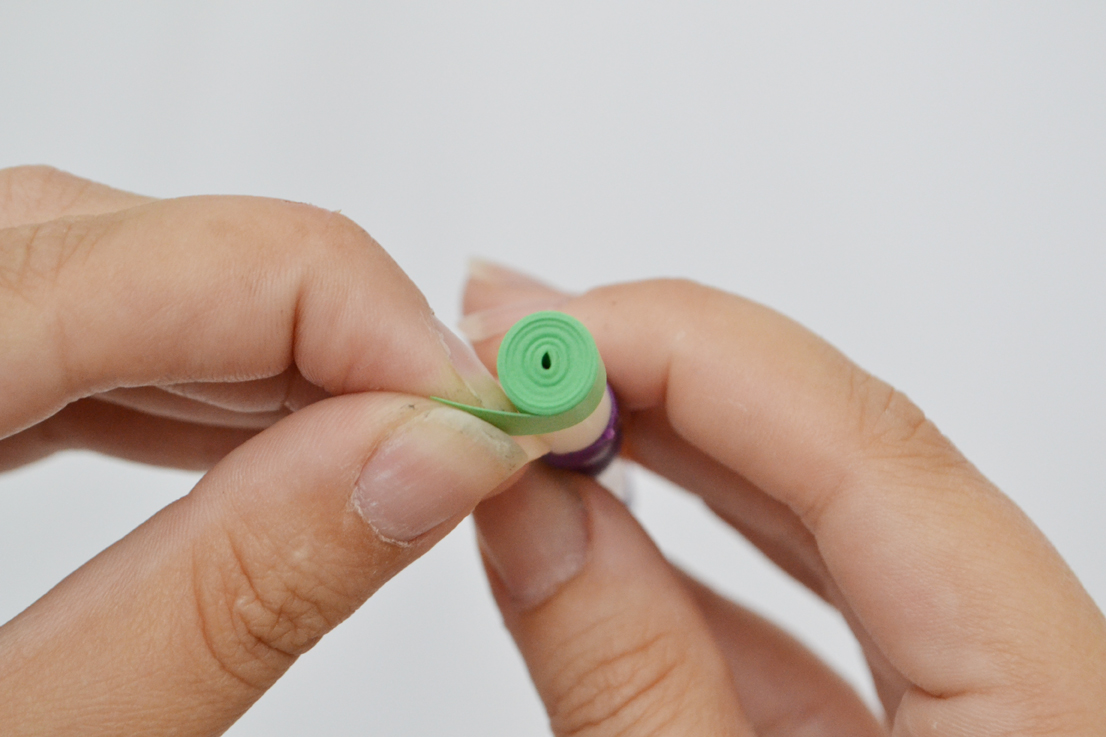
Keep twirling all the way to the end of the paper strip. The length of the strip is what will determine the size of the piece you’re making. If you want to keep your circle tight, carefully lift it off the tool and glue the edge down while holding the circle tight.
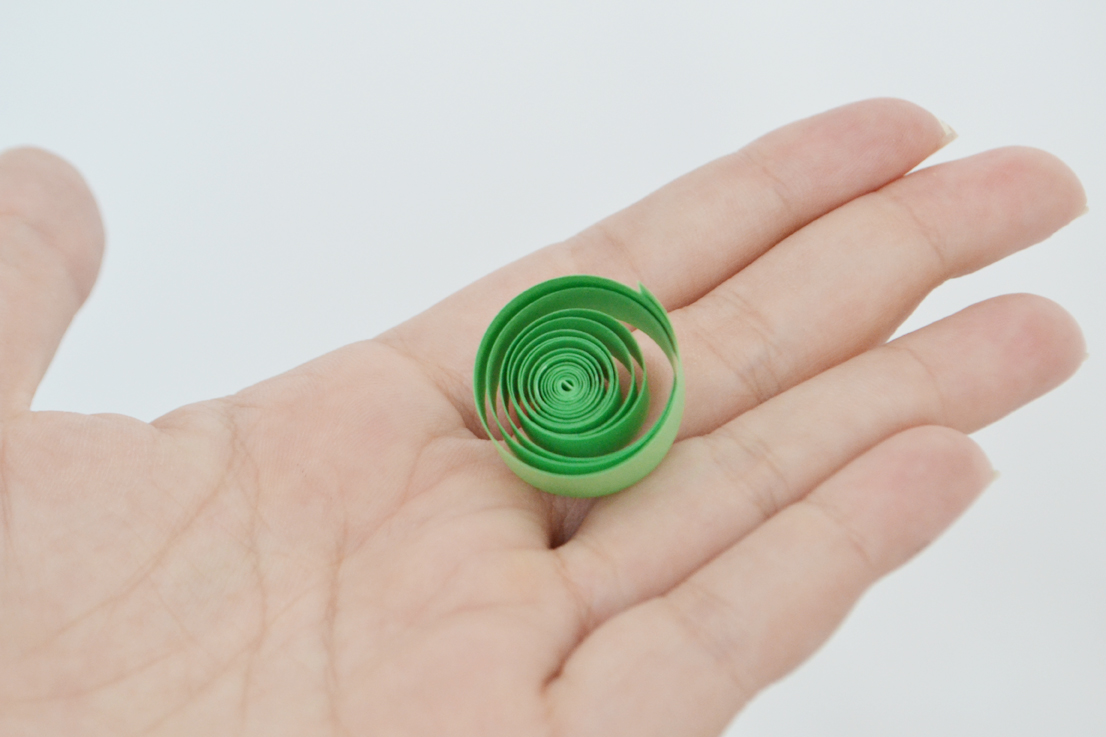
To make the loose circle, drop the rolled up circle on your table and let it unfurl.
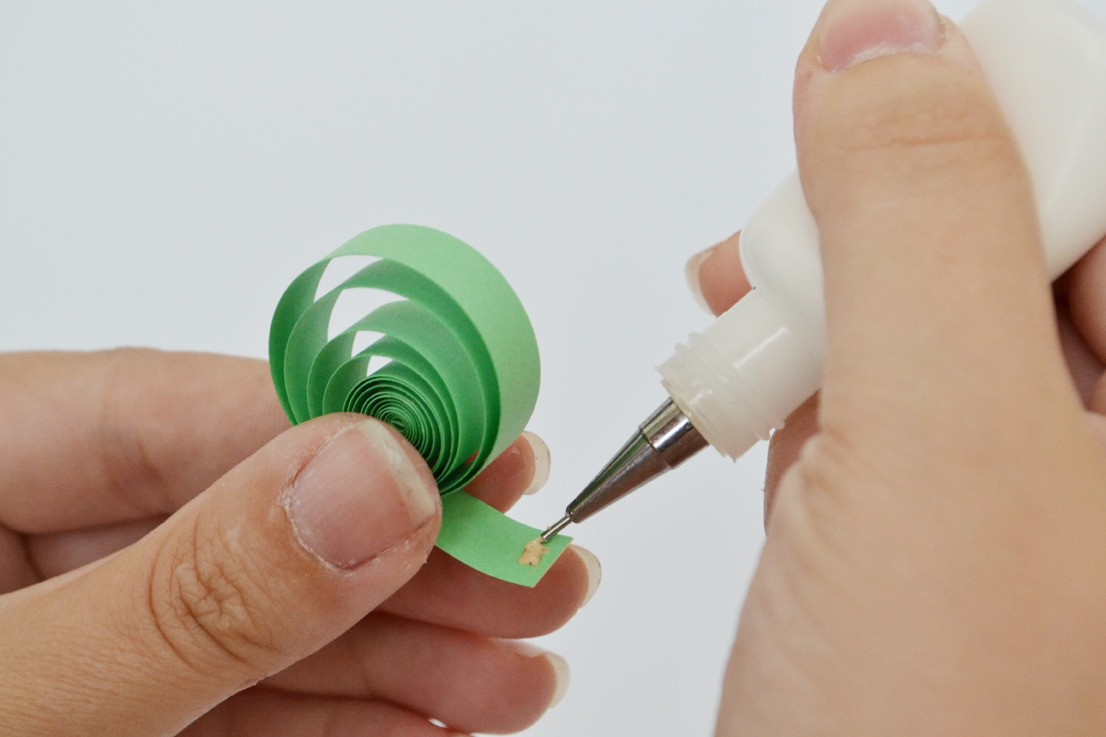
Add some glue to the end of the strip and gently touch it to the rest of your circle. If you can make the loose circle and the tight circle, you can make every shape there is.
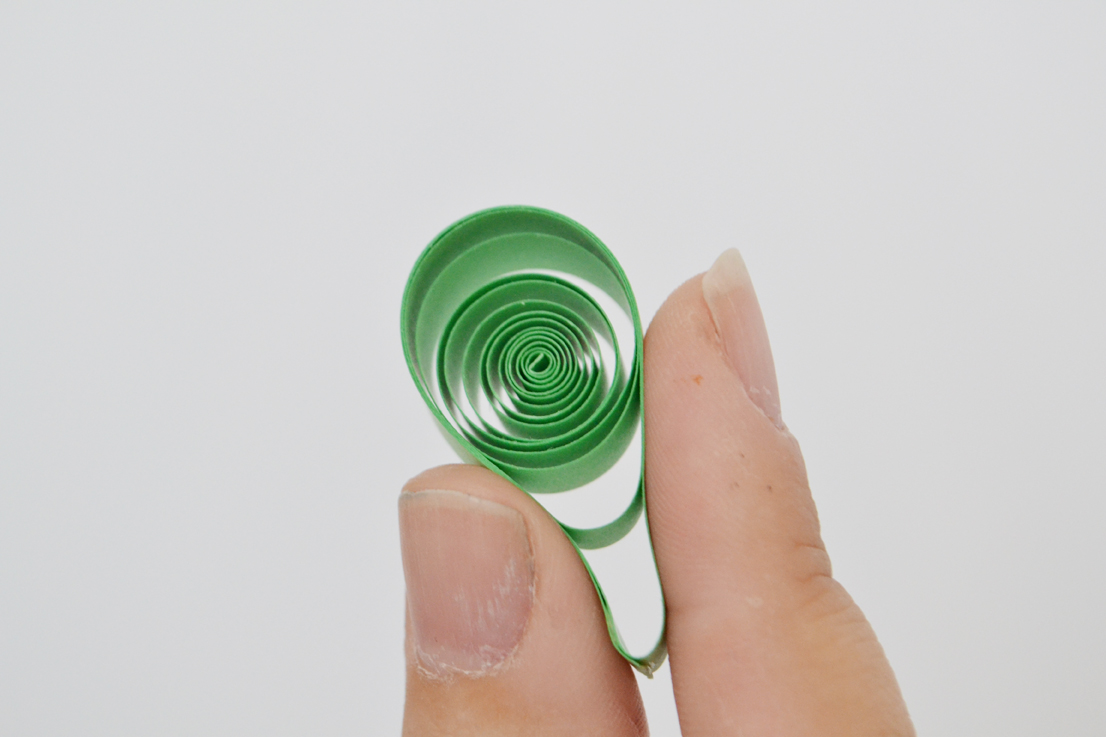
Pinch one end to make a teardrop shape.
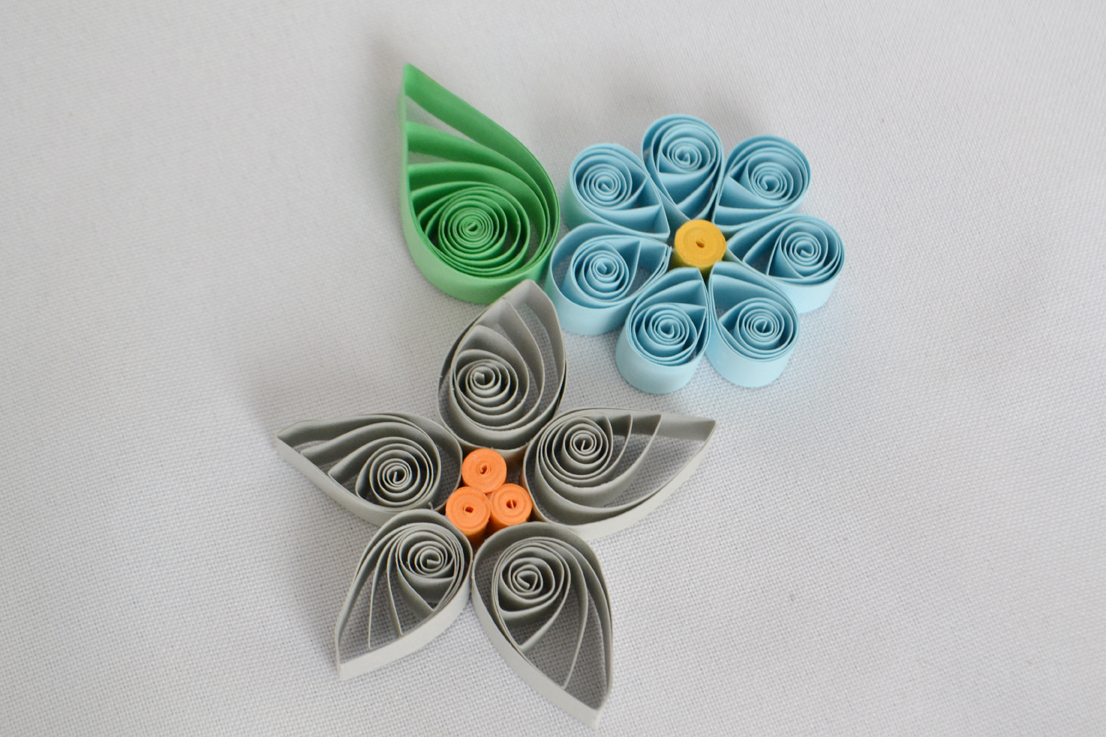
Combine the tear drop shape in different sizes to make a series of flowers. The center stamen can be a tight circle, or a loose circle, or a series of tight circles. The possibilities are literally endless. Just glue your shapes to each other wherever they touch, being careful to only use a small amount of glue. Messy glue will make your whole flower look messy.
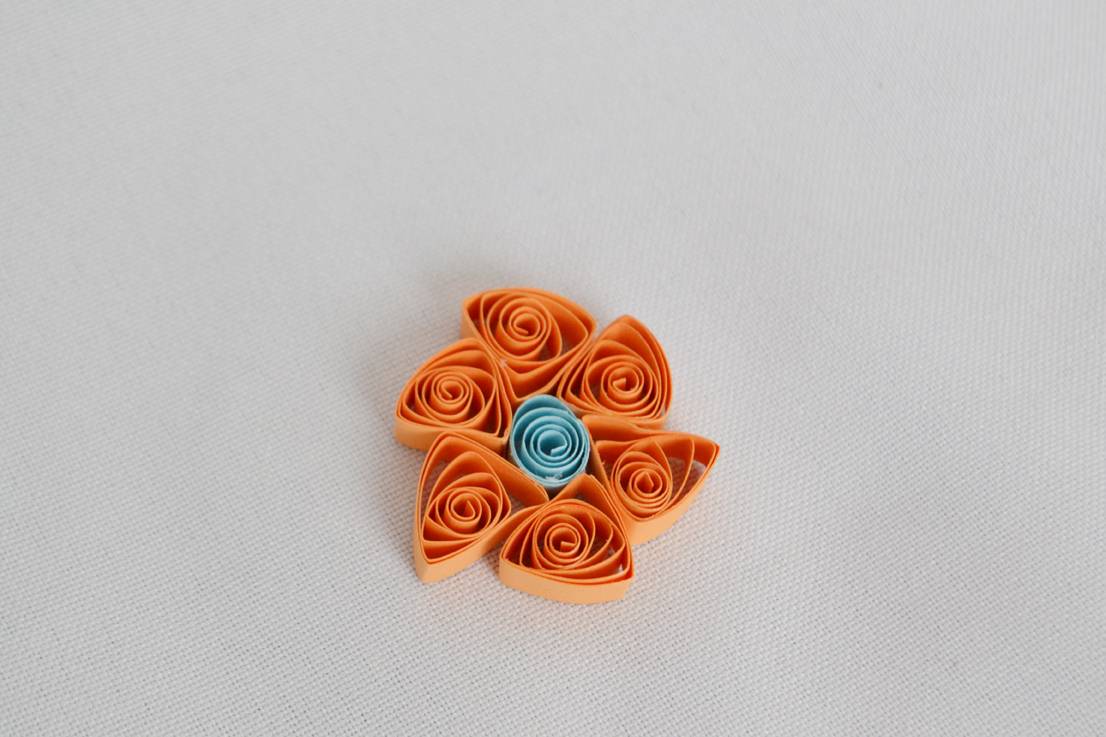
Every way you pinch your circles can make a flower as long as you make enough to be petals. This flower is made up of six loose circles pinched into triangle shapes, glued to one loose circle.
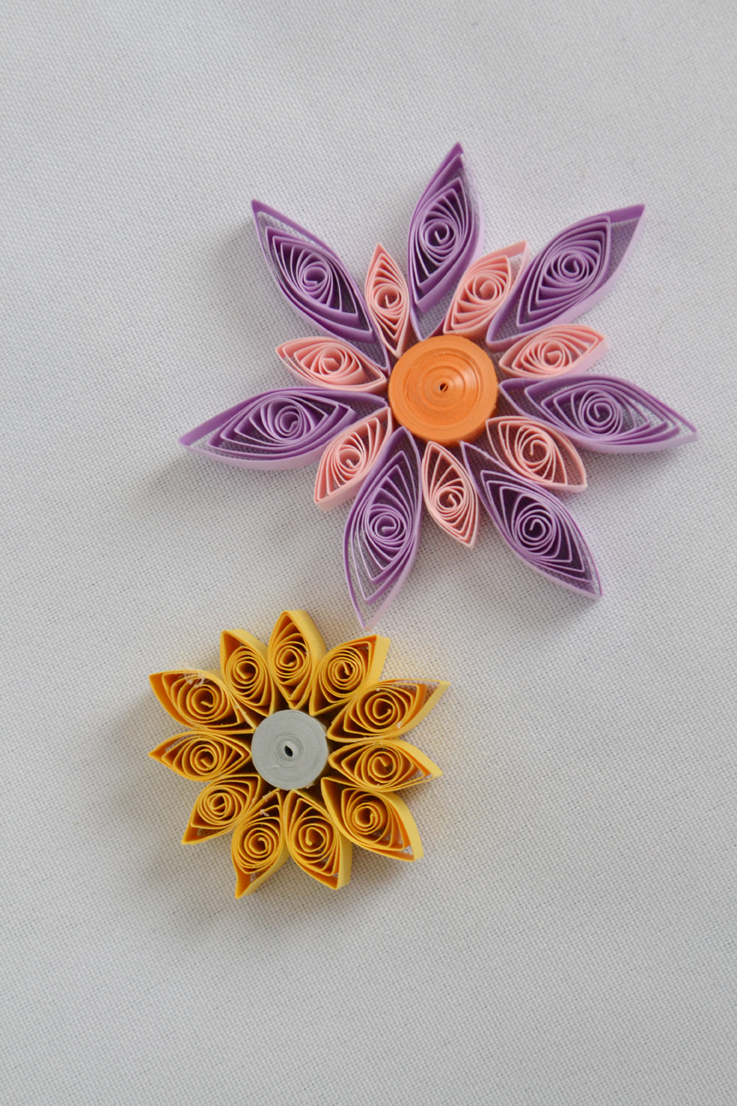
These are diamond shapes surrounding and glued to tight circles, and to each other wherever they touch. These you just make by pinching one end to make a teardrop, and then pinch the other end to make the diamond.
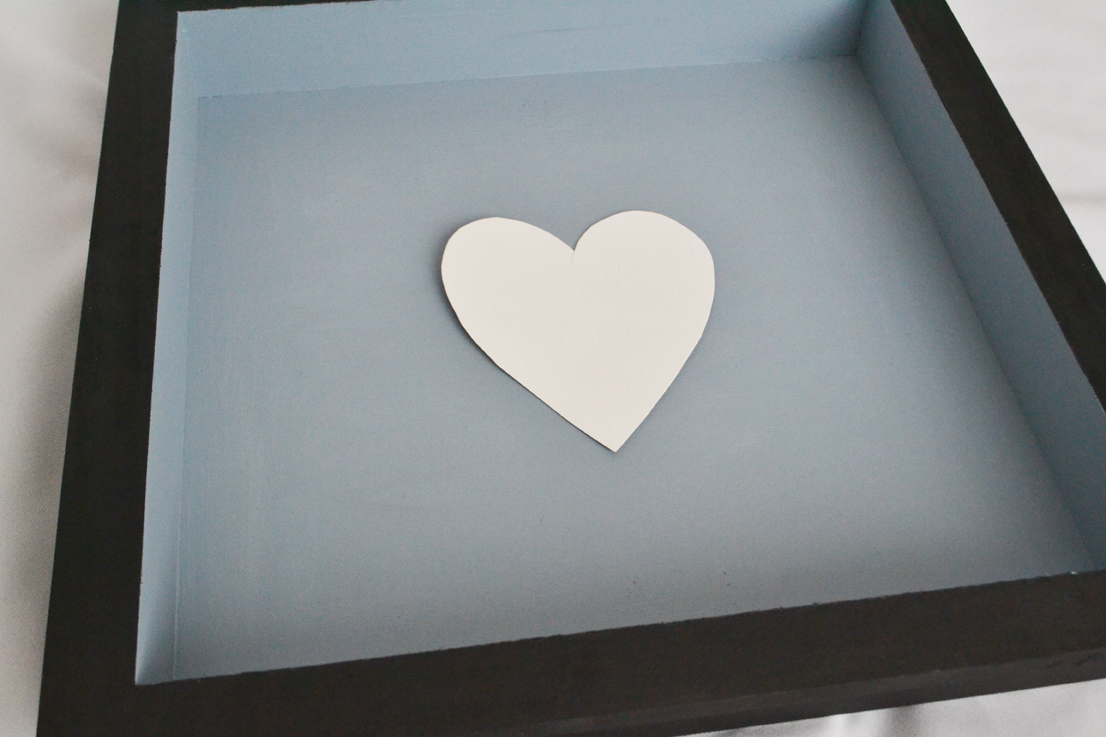
Prepare your frame. Cut a heart out of watercolor paper and use a piece of double sided tape to stick it to the center.
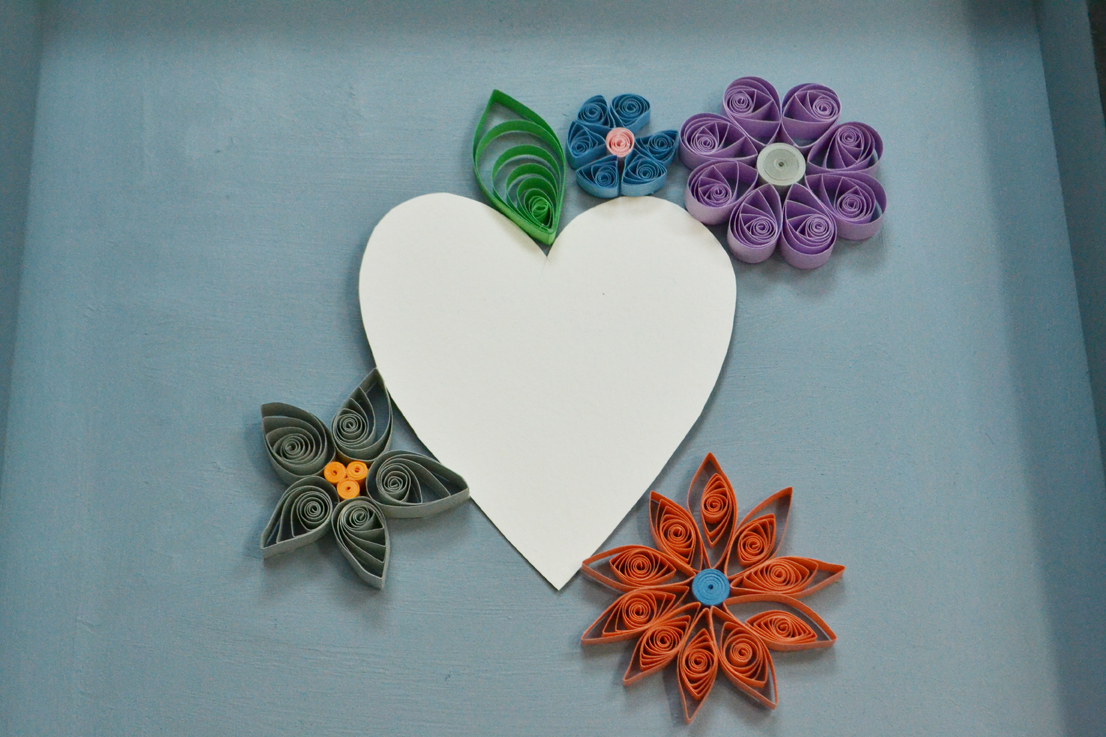
Arrange your flowers around the heart, carefully gluing them in place.

Since I was going for solid coverage, I painted the parts I wanted covered with glue, including the sides, and then placed the finished flowers into the glue. Fit the flowers in together as tight as you can, like a puzzle. Extra pieces of tight circles are great to fill in little gaps.
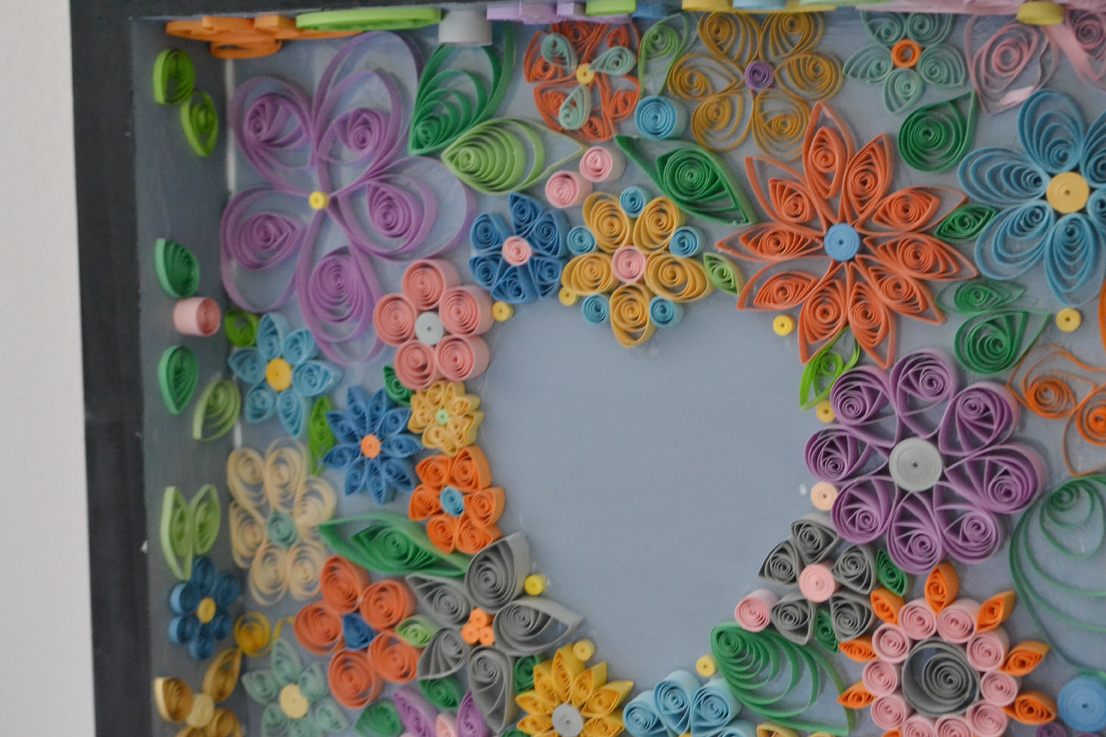
When you have your flowers glued in position, remove the watercolor paper to reveal a leftover heart space.
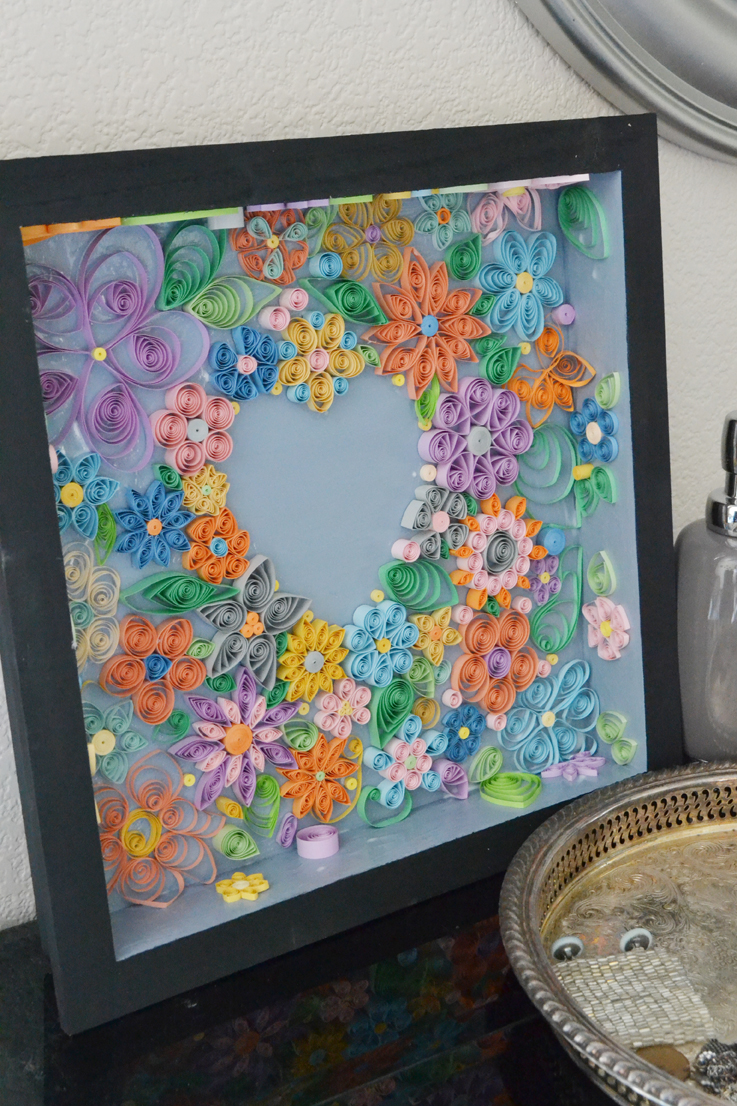
Since I first shared pictures of this project on my social media outlets, I’ve gotten tons and tons of inquiries about selling it. I love that compliment, but I usually chuckle to myself. If only people realizing how easy and satisfying this is! Well now you know, and you can take all the compliments over your creative genius too.



That’s cool and pretty! I like this wall decor since this is very unusual and different. I would love to make this at home to gift to my sister hope she likes it and can able to deccorate her house. Thanks for sharing researchwritingkings video tutorial!