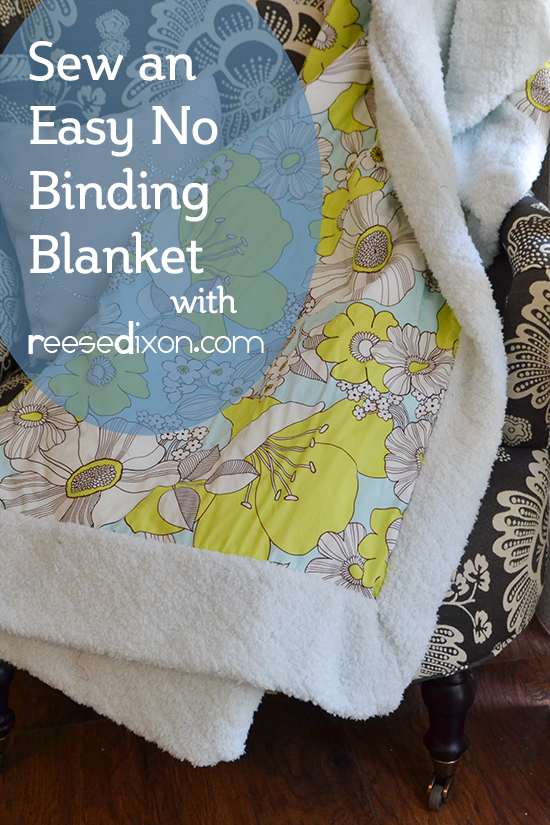
I am obsessed with snuggly blankets. They are piled on every surface in my home, spread across my lap during every binge watch of the Golden Girls, and fought over with Atti as he tries to claim them for his own. A fuzzy blanket is a prized commodity in my house, which is why I had to make one for my dream bedroom.
While I was at it I tried to solve a mystery that has been plaguing me my entire sewing experience. I knew there had to be a way to make the back of a blanket wrap around to be both the back and the binding. If you’ve never sewed a quilt or baby blanket before, there are basically two ways to finish it so that there are no raw edges to interfere with the snuggling. You can sew two pieces of fabric together and turn it right side out, with all the raw edges inside, or you can put a binding on it to coverup the raw edges after the quilt is finished. Both techniques have their pros and cons, but I find the binding to be too important to the life of the blanket to leave off. That’s the part that rubs up against your chin when you’re sick. It’s the outline to the drawing. But it’s also a lot of extra work. I wanted to create a technique that had the ease of the inside out option, with the benefits of a binding. So I did.
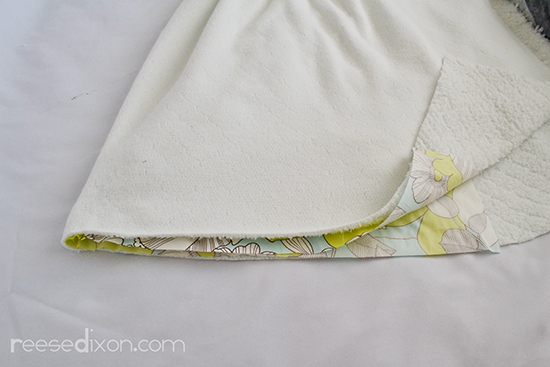
This technique will work on any sized blanket with any sized fabric. As always, my haphazard measurements are done after the fact. I was working with scraps of fabric I had on hand so I just went with the sizes they came in. If I was measuring for this I’d cut the soft minky fabric to be the size I wanted the finished blanket to be, plus the size I wanted the binding to be. Then the lining fabric I’d cut to be the finished blanket size minus the size of the binding. Just remember to account for seam allowances or your finished size will wide up being an inch smaller on all sides than you meant it to be. So let me do a math problem for you so you can see what I mean. Let’s say we want the finished blanket size to be 50″ x 50″ (which would be a horrible size for a blanket but an easy size for a math problem). And let’s say I want a 4″ binding on each side, and a 1/2″ seam allowance on each side too. That would be 50″ + 4″ + 4″ + 1/2″ +1/2″ = 59″ And then the lining would be 50 – 4 – 4 + 1/2 + 1/2 = 43.
Once you get your fabric cut to the size you want, fold each in half to find the middle point, then lay them right sides together by matching those middle points and pinning them in place. By matching the middles you make sure that all the extra binding fabric is evenly distributed on both sides. Sew the pieces together and repeat for all four sides, making sure to leave a few inches open in the middle of one side so you can turn it right side out.
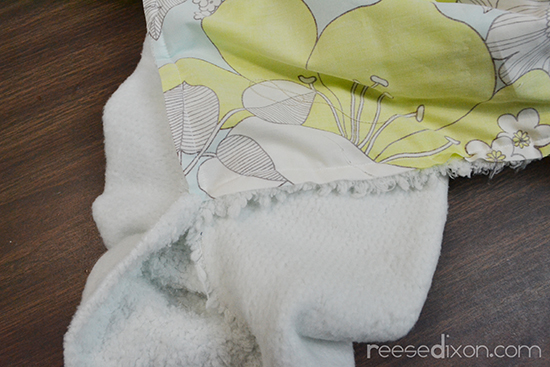
It starts to look like a bit of a bunched up mess as you sew each side together, matched up in the middle each time. All that extra fabric that will eventually become the binding can start to look like a nest. Keep the faith, it will all work out.

You can see the natural miter that starts to take place in the corners. There is totally a point in this project where looking like a mess means you’re doing it right.

Lay the blanket out on the floor pulling the lining fabric taut and evenly distributing the binding on all four sides.

Now is when we turn our attention to those corners and make the miters. If you lay the corner out smoothly it will fall into place pretty obviously. Take the time to smooth everything out well to get it to lay right and you’ll see a triangle made up of the leftover fabric from each side.

Use a row of pins to make the diagonal line from the corner of the binding to the corner of the lining fabric. Take it to your machine and sew a line right where those pins were and then cut off all that extra fabric to leave a 1/2″ seam allowance.

With the corners finished, turn the blanket right side out through the inches you left open where the lining meets the backing binding section. Lay it back out flat and then sew a line where the lining meets the backing binding. This will not only close up the part you left open, but provide enough quilting to keep the two pieces from shifting around and keep it as one solid piece.
Quilting and binding will always be my favorite technique, but sometimes the clock just won’t allow it. This technique results in a great looking, great to use, and easy to make blanket. I’ll be using it for every baby shower I go to from now on.

I love making self bound blankets. It never occurred to me to make them with fuzzy fabric. What a great idea! I am excited to give it a try. I have only done small baby blankets but a me sized cozy blanket would rock!