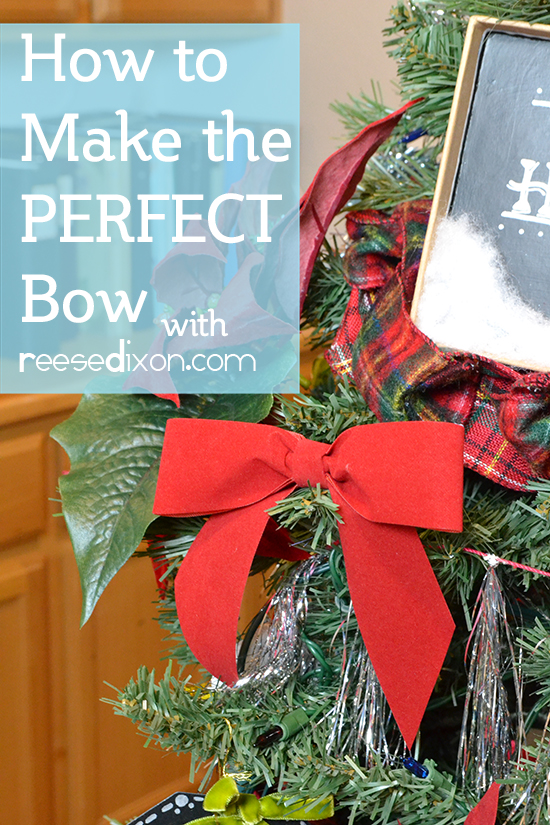
I’m counting this as an ornament because I’m using it as one, but this is so all purpose I could count it as everything from gift wrap to floral design. I use these bows EVERYWHERE. And I bet you will too once you know how to do it. Bows are one of those things that seem like they should be easy because most of us tie our shoes all the time, but there is a huge gap between functional knot tying for your sneakers and making something pretty enough to display. No matter how often we tie our sneakers, I bet none of us holds them up and shows them to our friends. This little bow is not only beautiful, but requires NO KNOTS. No fussing and pulling and aggravation. And once you make it once, you’ll have it forever. No untying required.
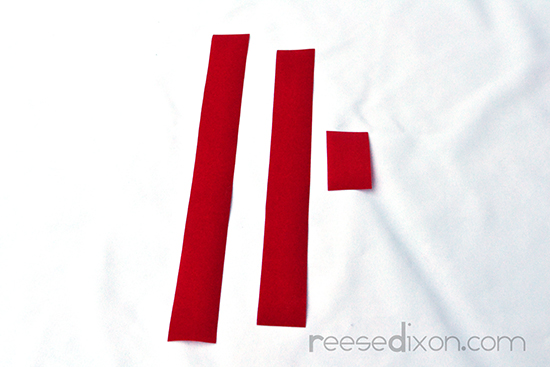
You’ll need three pieces of ribbon. The tail piece is 14″, the loop piece is 12″ and the knot piece is 2″. This makes a bow that’s a little less than 6″, so if you want it bigger, just make your pieces bigger. The knot piece, however will need to be wider than longer.
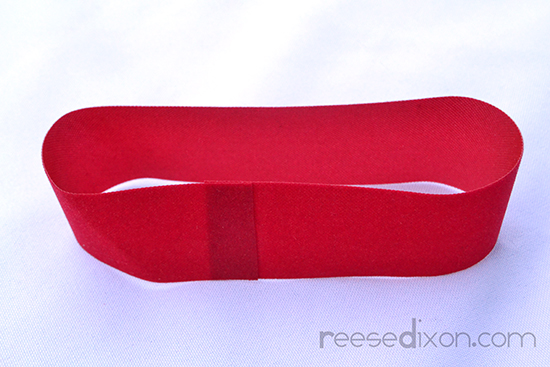
Glue the ends of the loop piece together. This step isn’t strictly necessary, but it does help prevent the ends of the loop from pulling out as you’re adjusting everything.
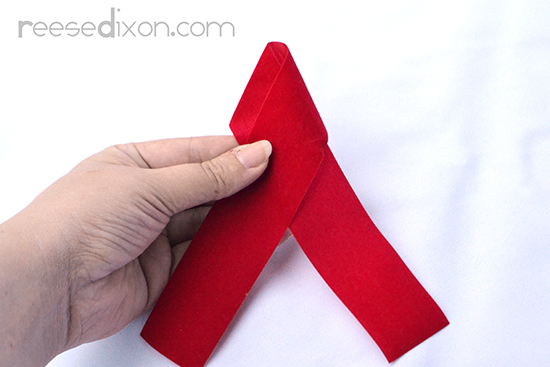
Cross the ends of the tail piece over itself and pull until you have a tight point.
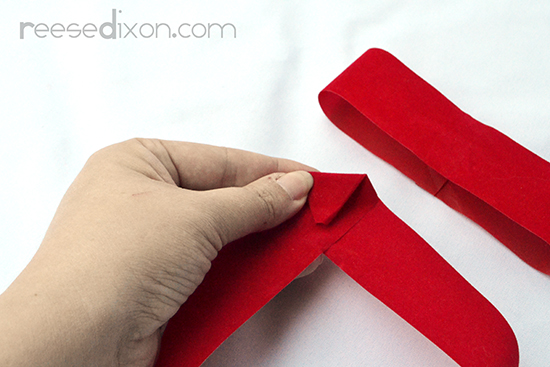
Then fold that point down on itself to keep it out of your way.
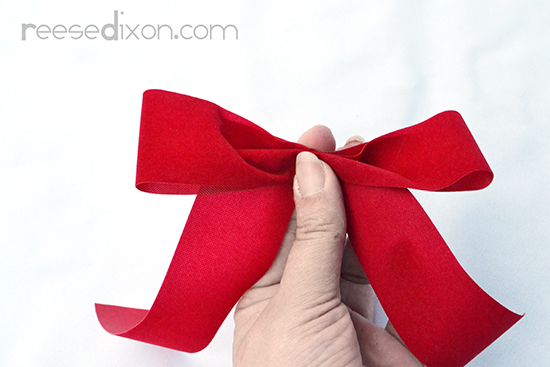
Put your loops on top of the tail and pinch the center together.
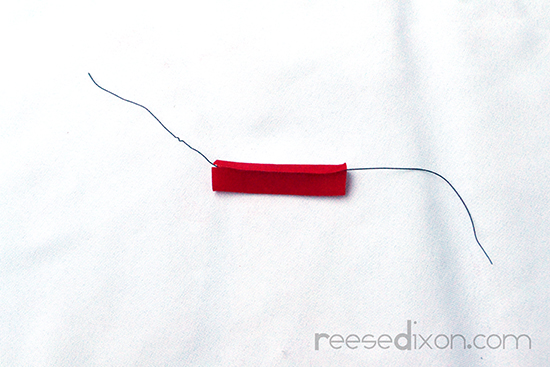
Fold your knot piece into thirds and put a length of wire inside it. The wire can be any length, really, but you probably want at least 7 or 8 inches. Any gauge wire will do as long as it’s strong enough to hold these ribbons in place.
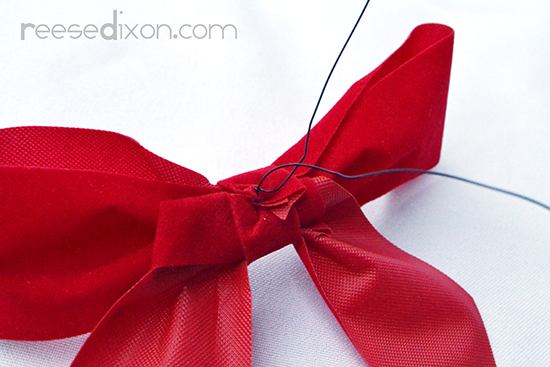
Wrap the knot piece with the wire inside it around the front of the bow and twist the wire in the back to hold it in place. Depending on how tightly you pinch your bow, you might have leftover fabric on your knot piece. Trim off whatever you need to, just make sure you don’t cut through the wire.
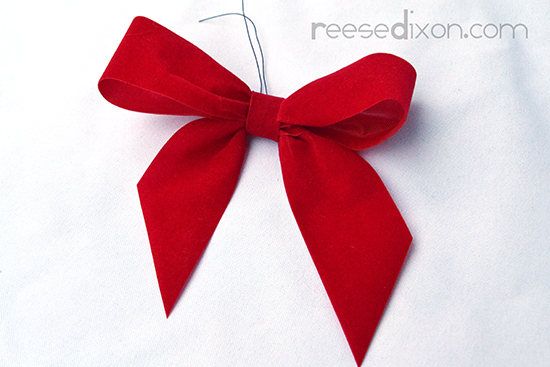
Cut the tails of your ribbon so they end with a pretty little point.
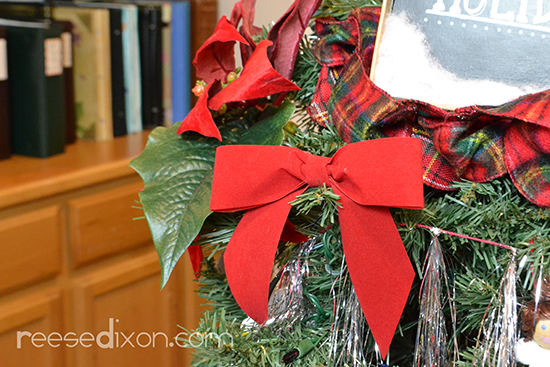
With the wire that’s left on the back, you can put this bow anywhere. I wrapped it around a tree branch because a nostalgic Home for the Holidays tree needs bows on it, but I’ve used this same bow on garlands, on wreaths, you could even use this bow to wrap around the most obnoxiously shaped presents that you don’t want to wrap. Anything from a stuffed animal to a new car would look festive with this bow. All you have to change is the size.


I was trying to tie a bow, but it wasn't nice. Thanks to your tutorial, I now know how to do a perfect bow that will decorate my projects.
Thank you so much for explaining this clearly and I hope after seeing this video there will be nobody who didn’t know how to tie the perfect bow. As you have taught this thing very easily and clearly. Keep going to share such creative suggestion on http://www.allaboutessay.co.uk/essay-on-abortion/ your website.