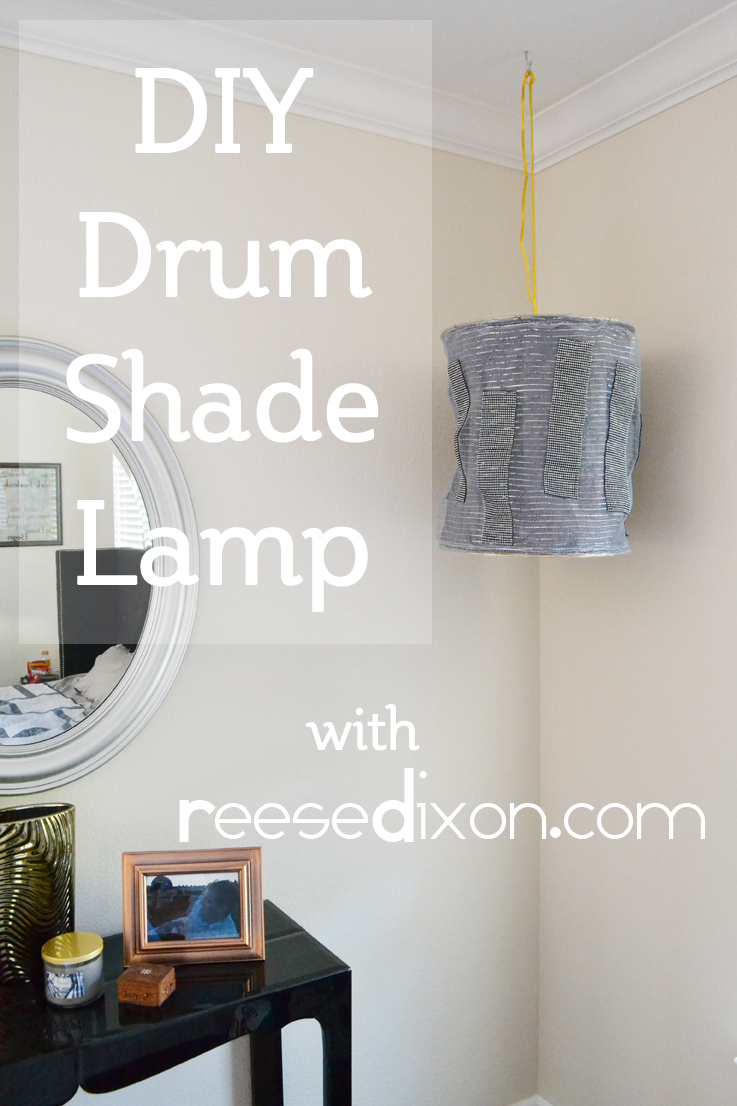
This corner of my bedroom needed some help. It’s furthest away from the light, and it’s right where I read. Plus, every time I looked at the furniture in my room, I just knew something tall needed to be in that space. I’m sure there’s a design principle I should reference, but I wasn’t going off of one. I just knew this space seemed to beg for something to take up space near the ceiling and I knew a fabulous light would solve both those problems.

To make this light fixture here’s what you’ll need:
2 16″ macrame hoops
a roll of floral mesh
3 rolls of rhinestone bling
thick wire
a lamp kit
lamp harp
fabric for lining
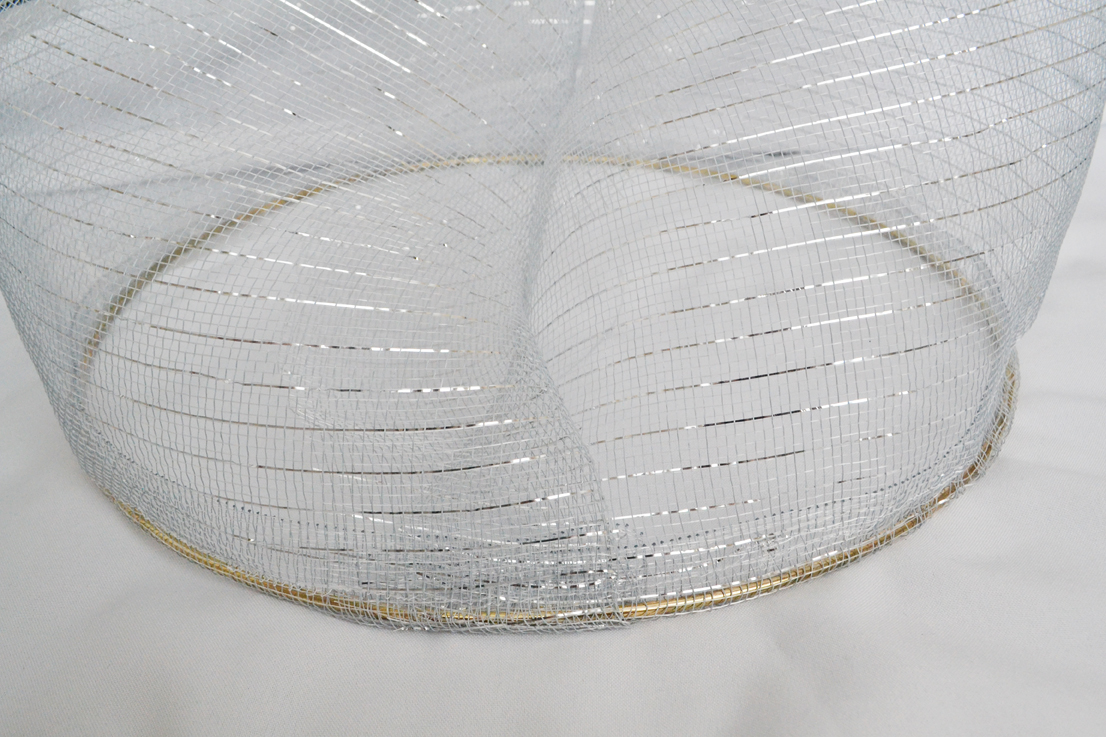
Cut a piece of the floral mesh long enough to wrap all the way around the outside of a hoop with a few inches overlapping. Wrap the long end around the hoop and sew in place. I found using a zipper foot really helpful so I could get right up to the hoop easier. This project does take a bit of wrestling with the machine, between sewing materials that aren’t flexible and the mesh that is so open it can get caught on things easily, so maybe don’t do this with small children around so you can swear as necessary. Sew the other hoop around the other end the same way.
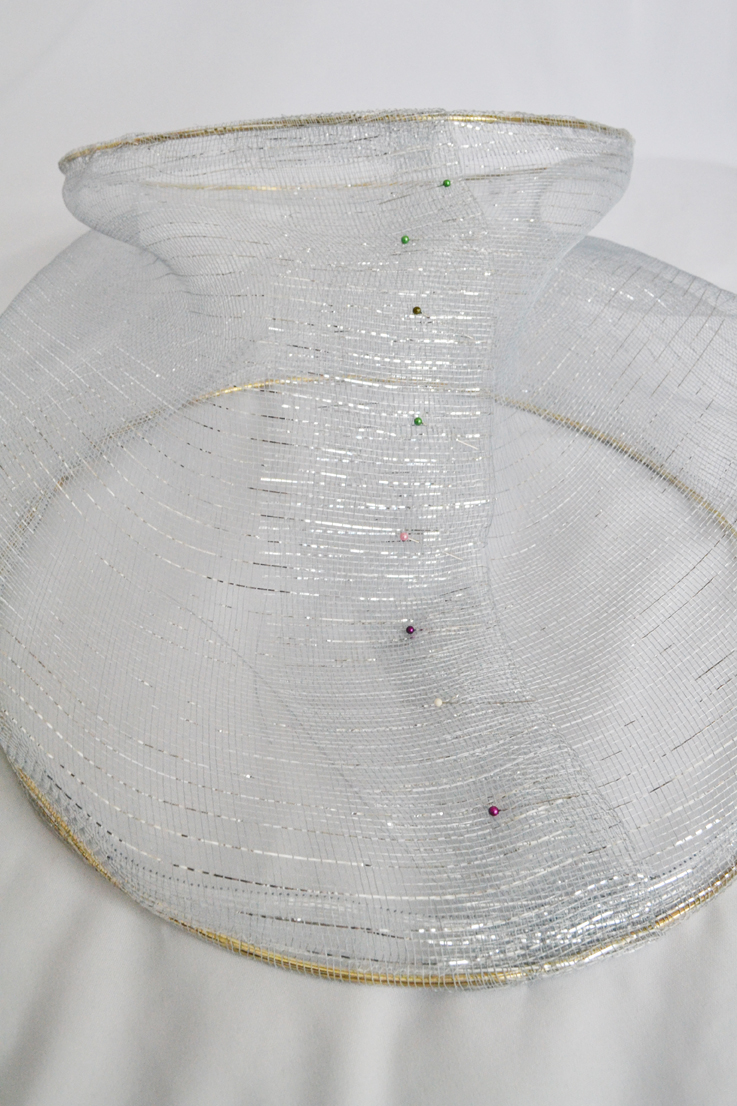
Pin the center together, folding the edges to the inside as you do. Sew in place. Doing this in a different order might make more sense to you, so by all means, do it in the way that works. I went this route for two reasons. 1) My math skills are shaky and determining circumference is not second nature to me, so this method means I don’t have to do that and 2) It helped me to keep the top and bottom the same size so I made a drum shade and not a cone.
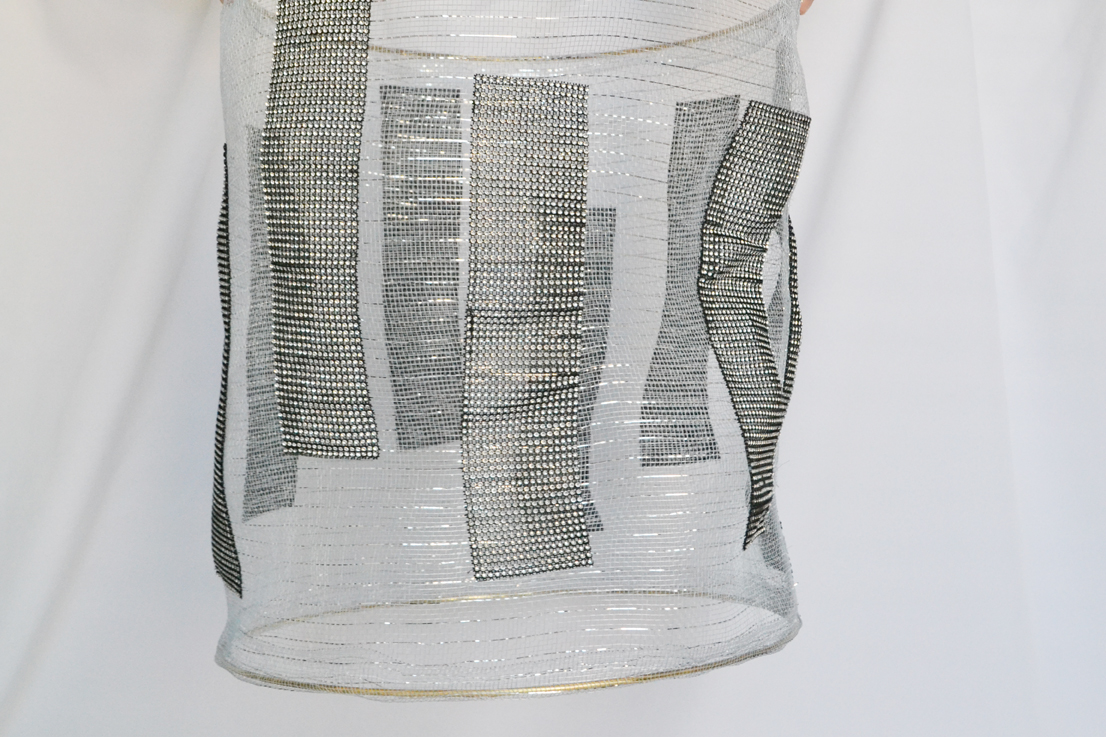
I cut my rolls of rhinestones into a bunch of strips and arranged them onto the mesh. When I was happy with where I put them, I sewed them in place by sewing over the layer of rhinestones and mesh with my sewing machine, just going around each side of the rhinestone rectangle. After making a bunch of mistakes I hit upon this method and I’m so happy it worked out this way because I like it so much better. Mistakes for the win!
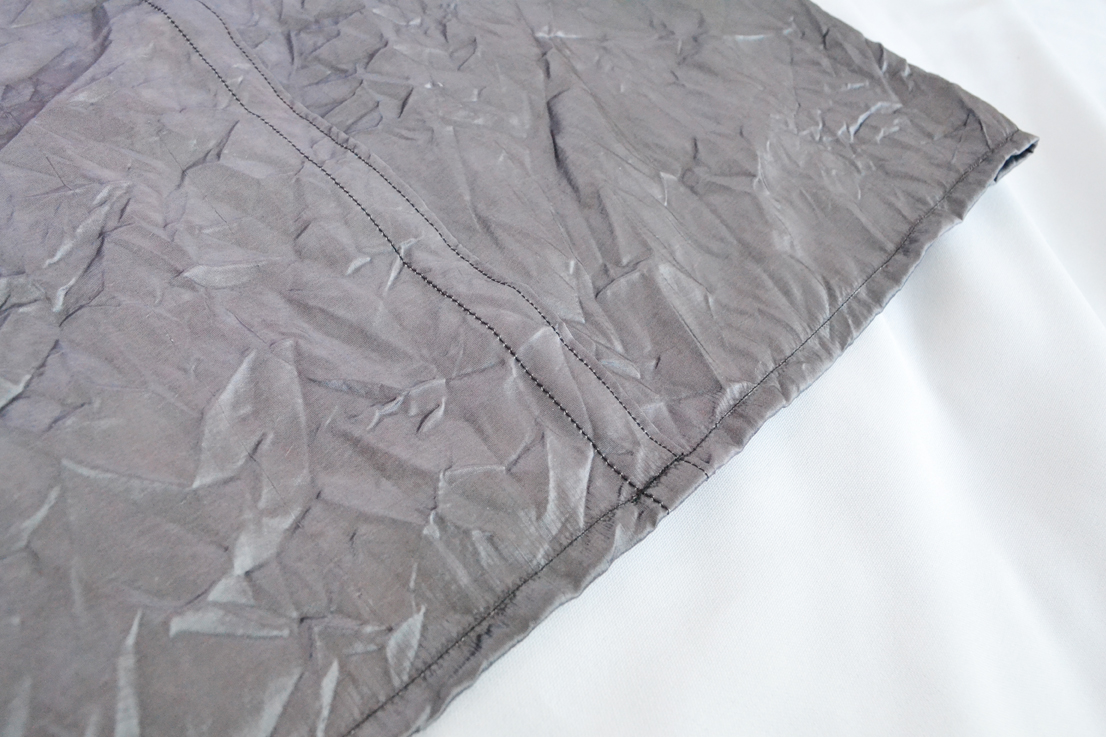
I didn’t want the naked bulb to show through, so I decided to line my shade. I died this fabric with Rit Dye Pearl Gray so it would match a bunch of other stuff I was doing in the room, including the bedskirt. I folded the fabric in half and then cut it 26 1/2″ long and as wide as the drum shade with room enough to hem both edges. Sew the ends of the fabric together at 25″ to leave 1 1/2″ seam. Make a french seam by rolling that extra fabric in twice to encase the raw edges and then sewing it down.
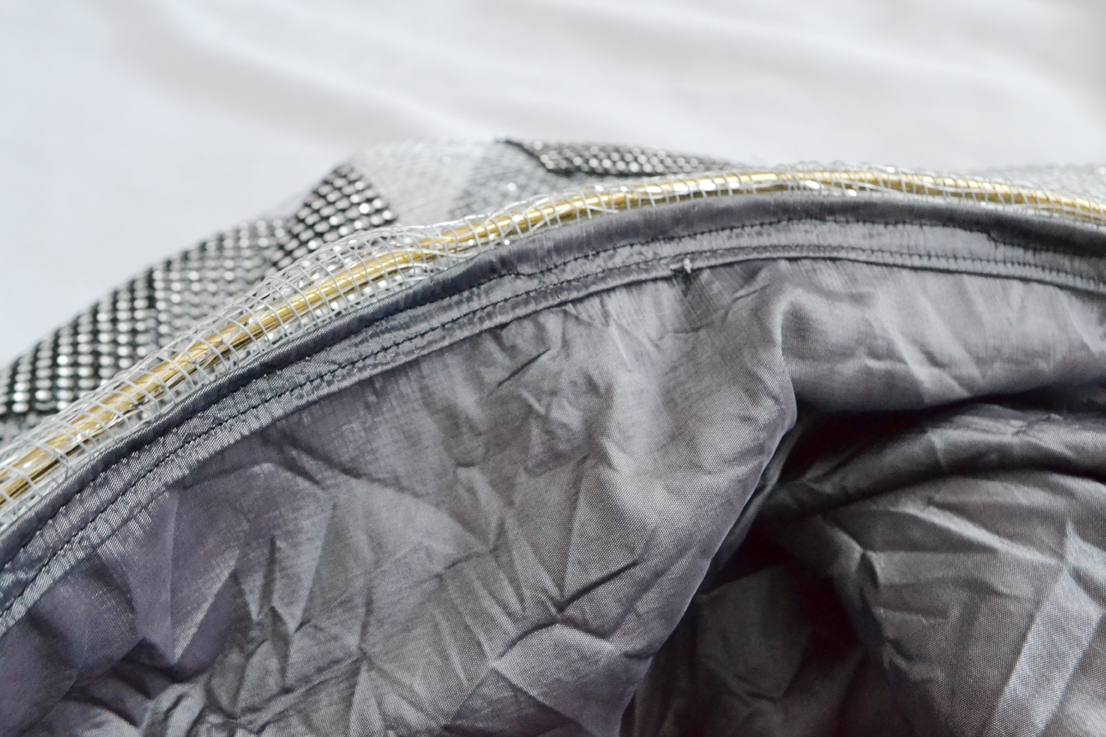
Attach the lining by sewing it to the drum shade just below the hoop. Sew on both ends.
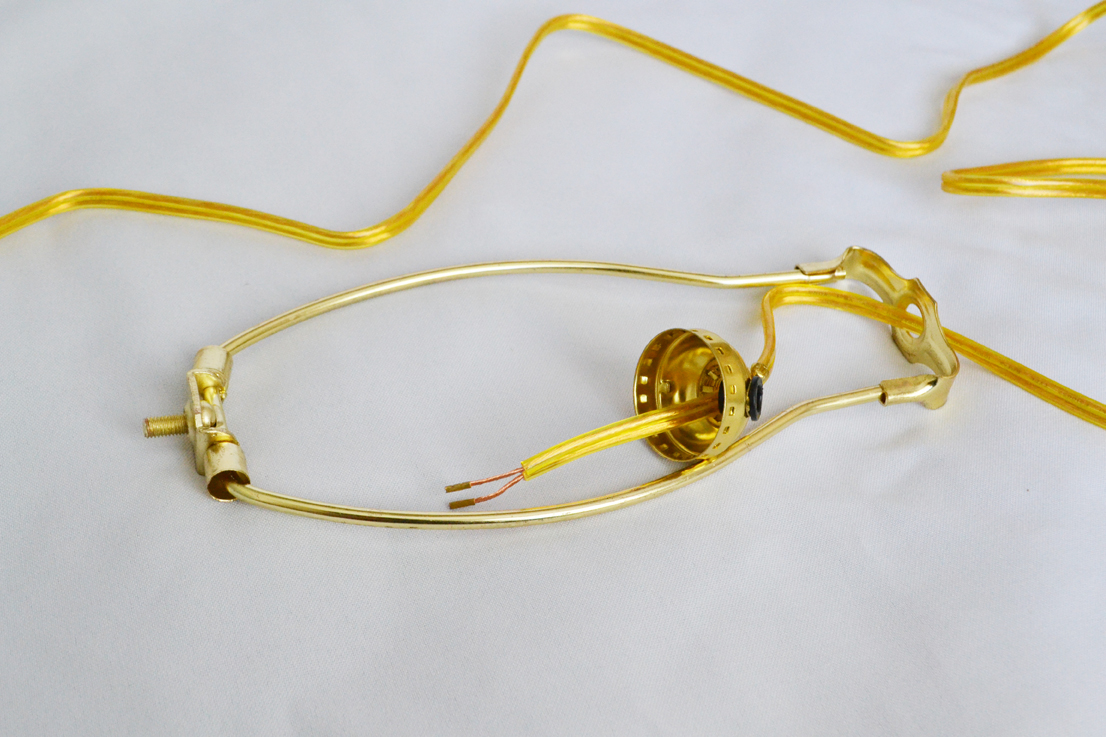
With your shade finished, it’s time to assemble the lamp. Run the wire through the lamp harp before attaching any other lamp parts.
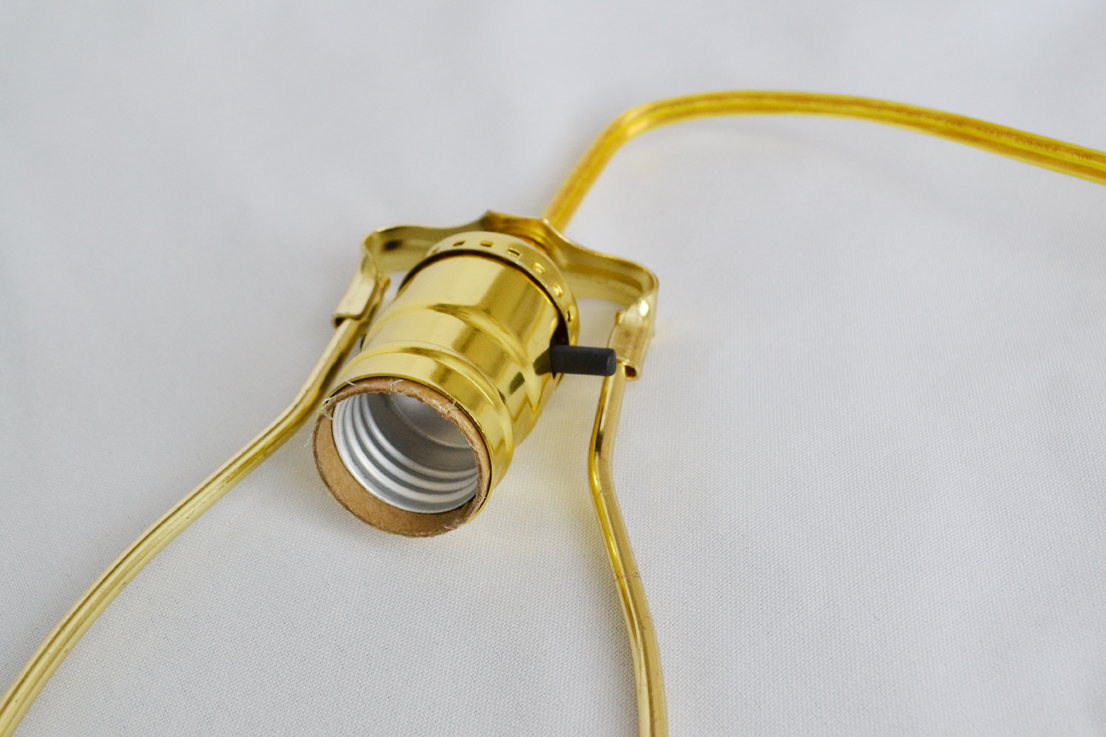
Follow the package instructions to finish installing the lamp kit.
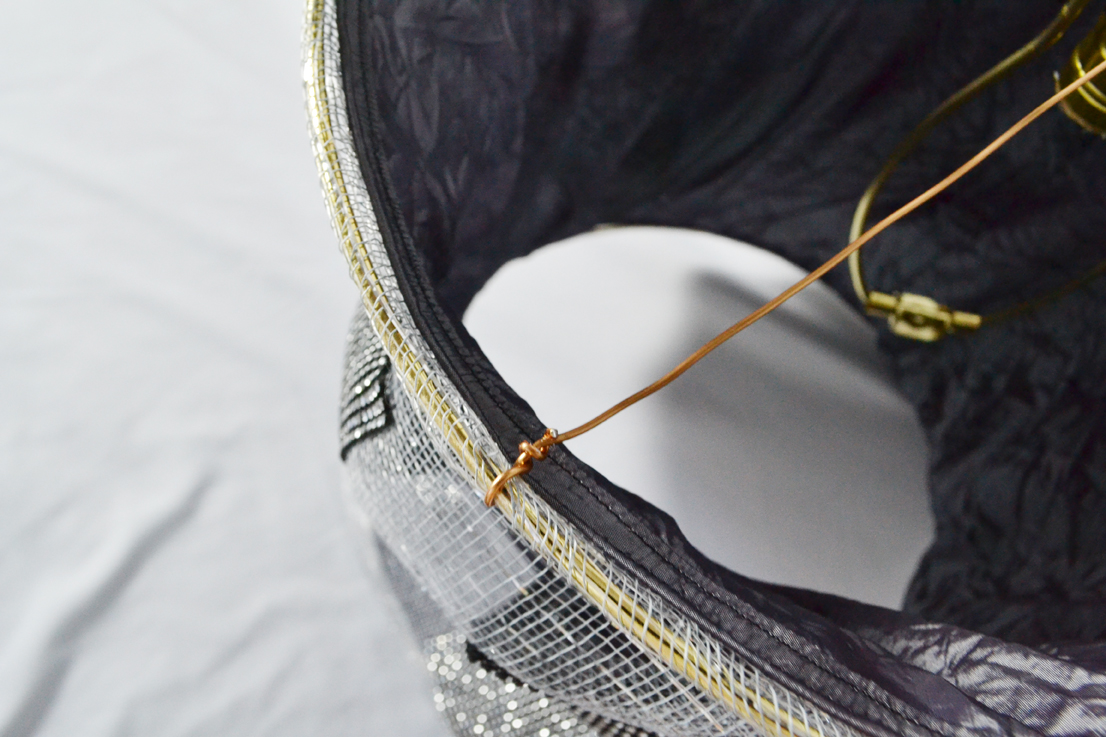
For the shade to be suspended, we have to give it something for the electrical works to hang on to. Run a piece of wire from one end of the shade to the other, wrapping it around the hoop and then twisting it over itself to make it extra secure. Keep the wire as tight as you can.
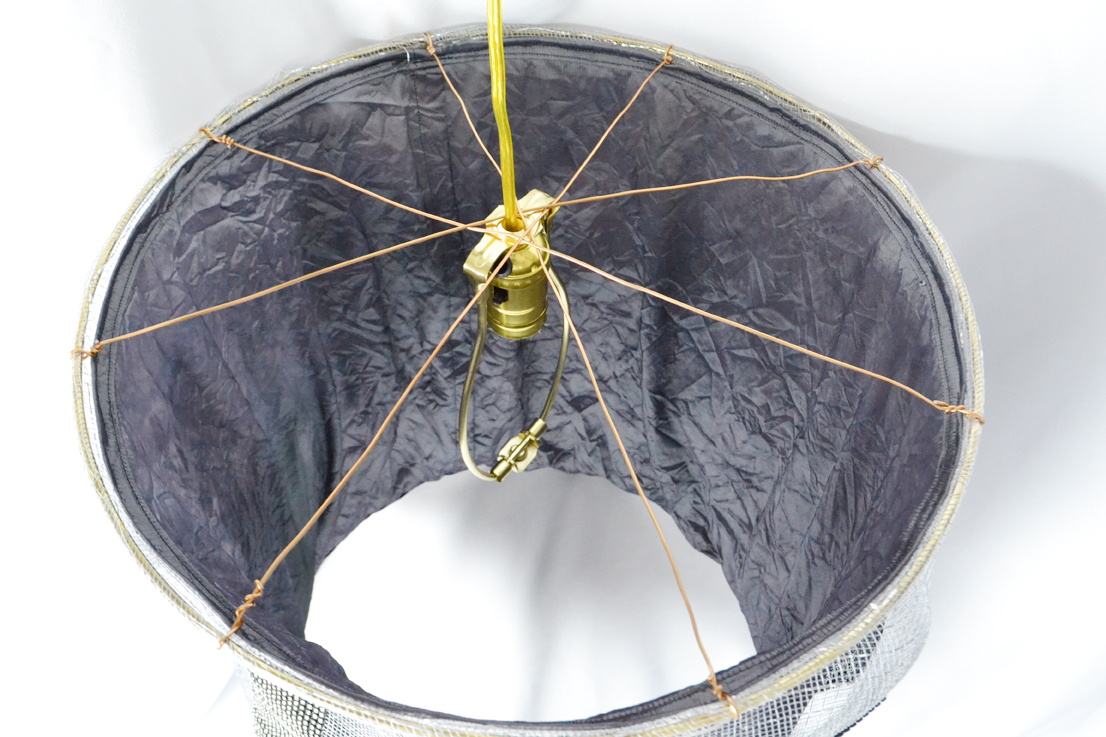
I repeated this until there were four wires crossing over each other, and then fed the plug up through the center of that criss cross. The wires will hang on the lamp harp nice and sturdy.
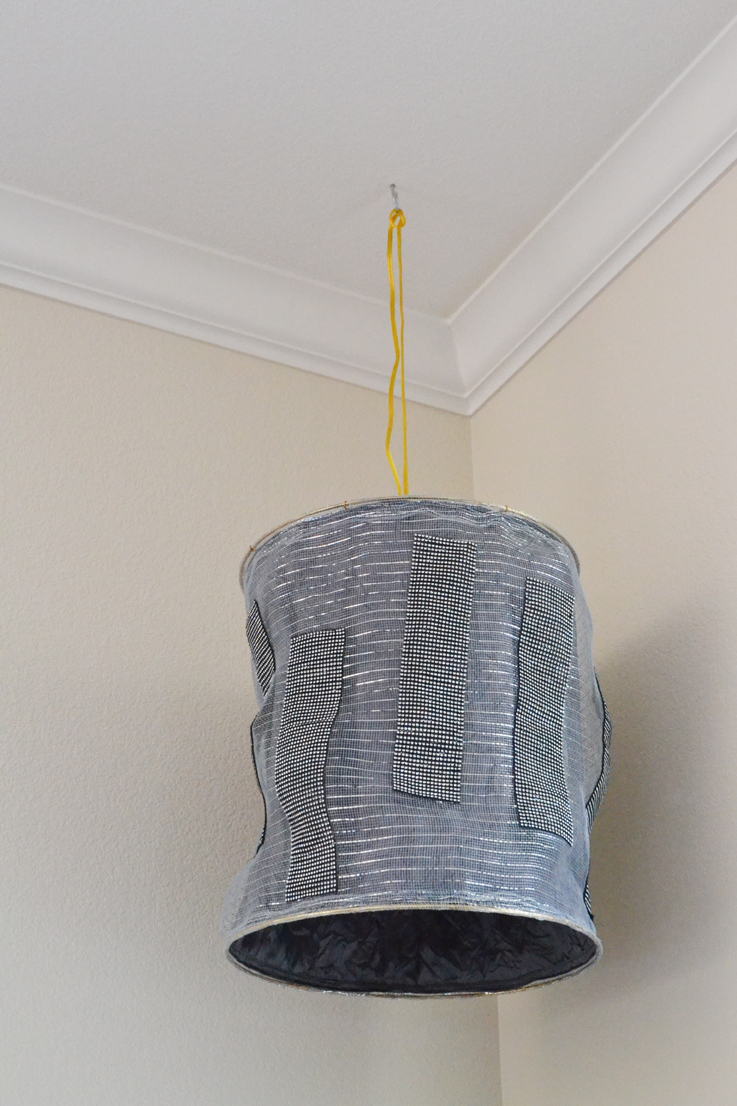
Hang in place and run the cord down to a convenient plug.
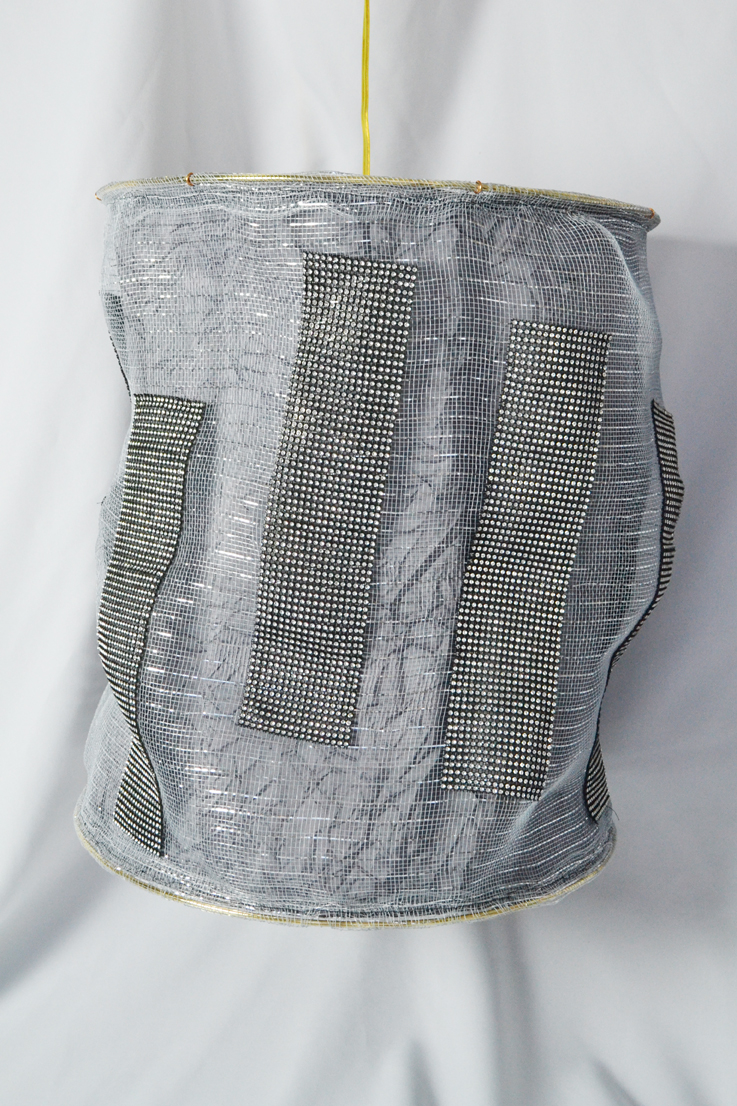
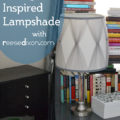
I think this looks so elegant and brings such a great bit of class to that spot of the room. Bedroom chandeliers were so in for a second there and those were never quite my thing. But a midcentury inspired drum shade with rhinestones reminiscent of a city skyline? Oh yeah, that’s got my name all over it.


DIY lamp is one of the most necessary home decorative stuff. generally we use light at our home but if we are making something difference than we should use different types of light and the first choice would be hanging light. some people are called it ceiling lamps. in that case you are written the perfect topic as usual.